


« Bourbon Poached Pears »
This summer, apricots poached in bourbon were the perfect foil for summer heat and cold vanilla ice cream. And now that it is fall, it is time to move onto pears.
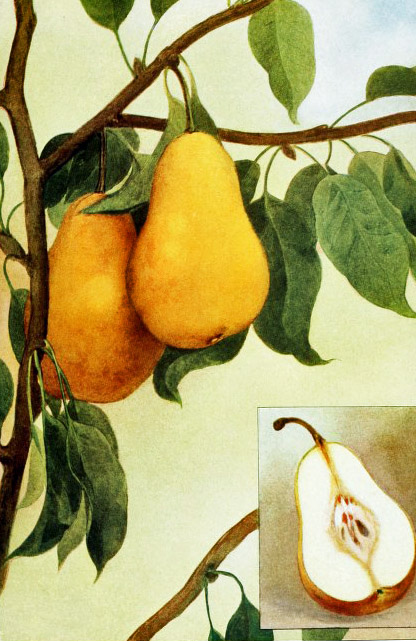
Bosc pears are perfect for this recipe, as they pair nicely with the reduced poaching liquid - which has a slight hint of butter and caramel.
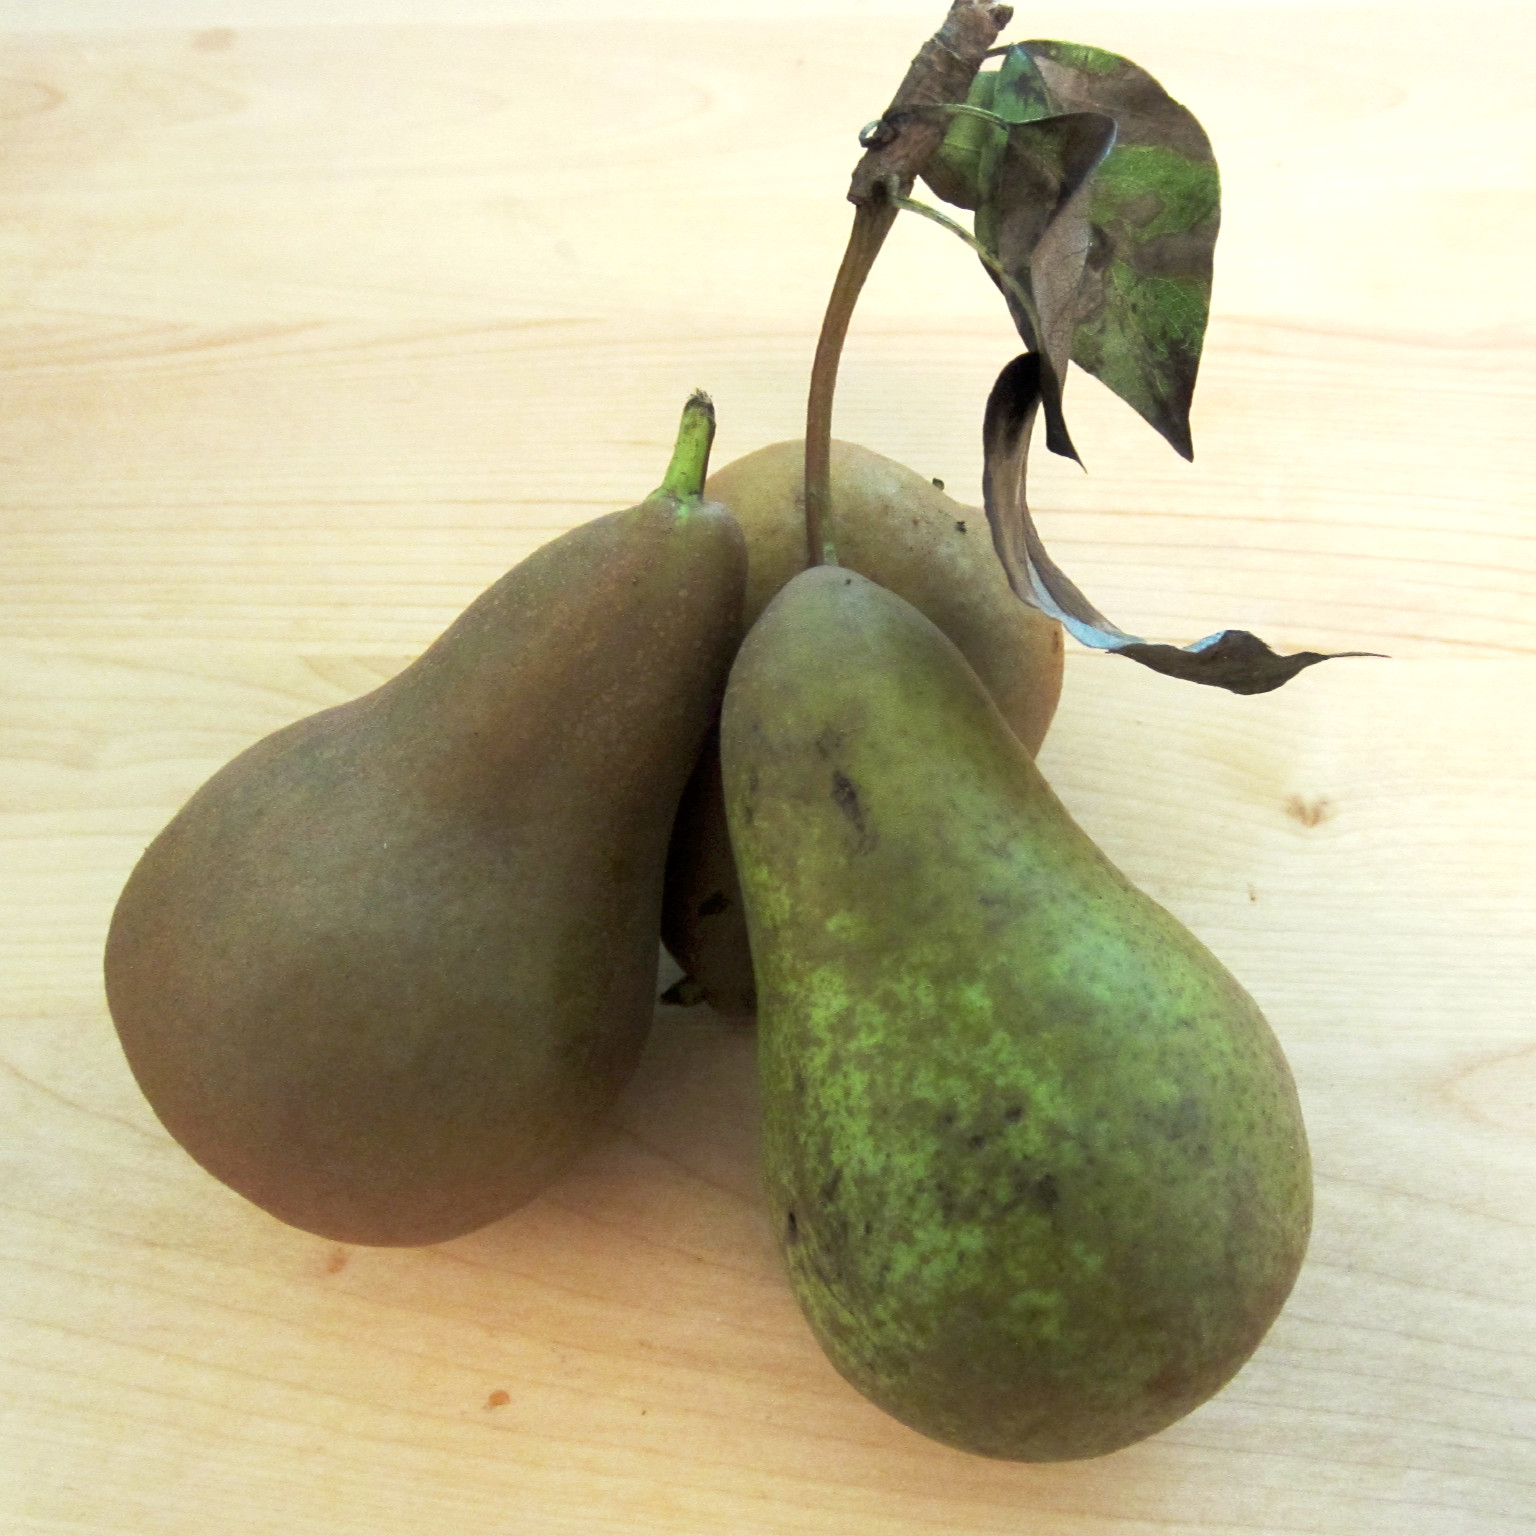
With their elegant shape and dense flesh, bosc pears are perfect for poaching. I bought these beauties at the green market. But this time of year, they are also readily available in the grocery store.
When selecting pears for poaching, look for fruit that is uniform in size, firm and blemish free. If the fruit is too ripe, it will be difficult to peel and will dissolve in the poaching liquid.
The pears should be peeled and cored before poaching -- but leave the stems intact. (They looks pretty, and come in handy when lifting the poached pears.) A carrot peeler and melon baller make easy work of this task, while a paring knife can be used to level off the base. After the pears are peeled, a splash of lemon juice will prevent them from turning brown while you are finishing up.
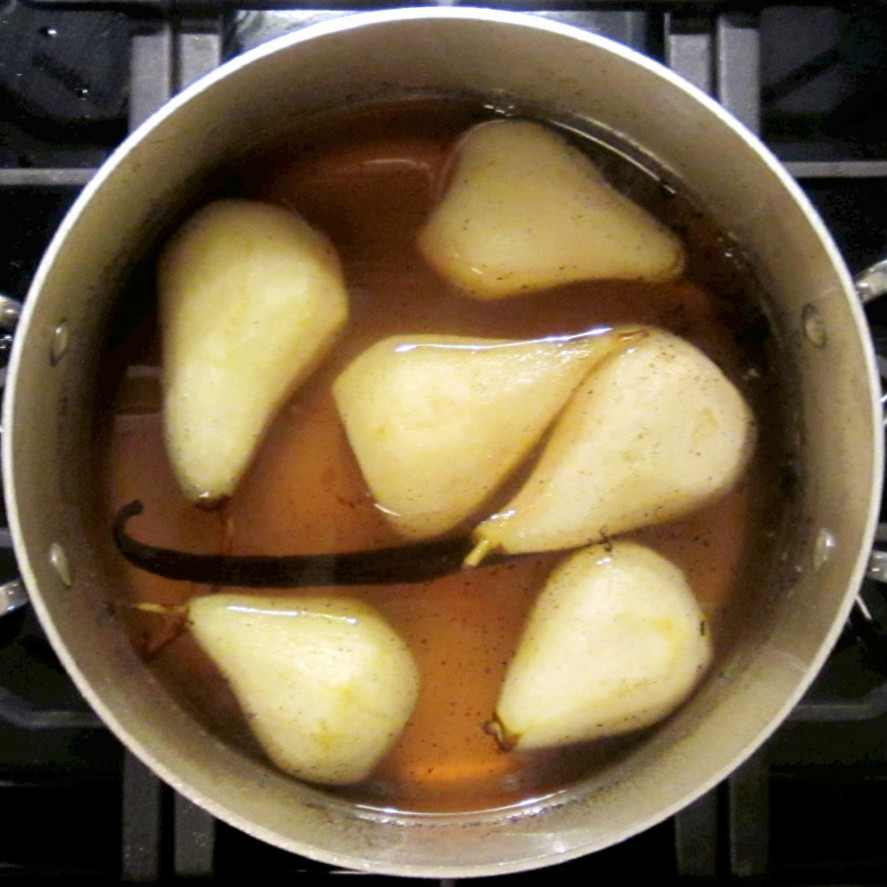
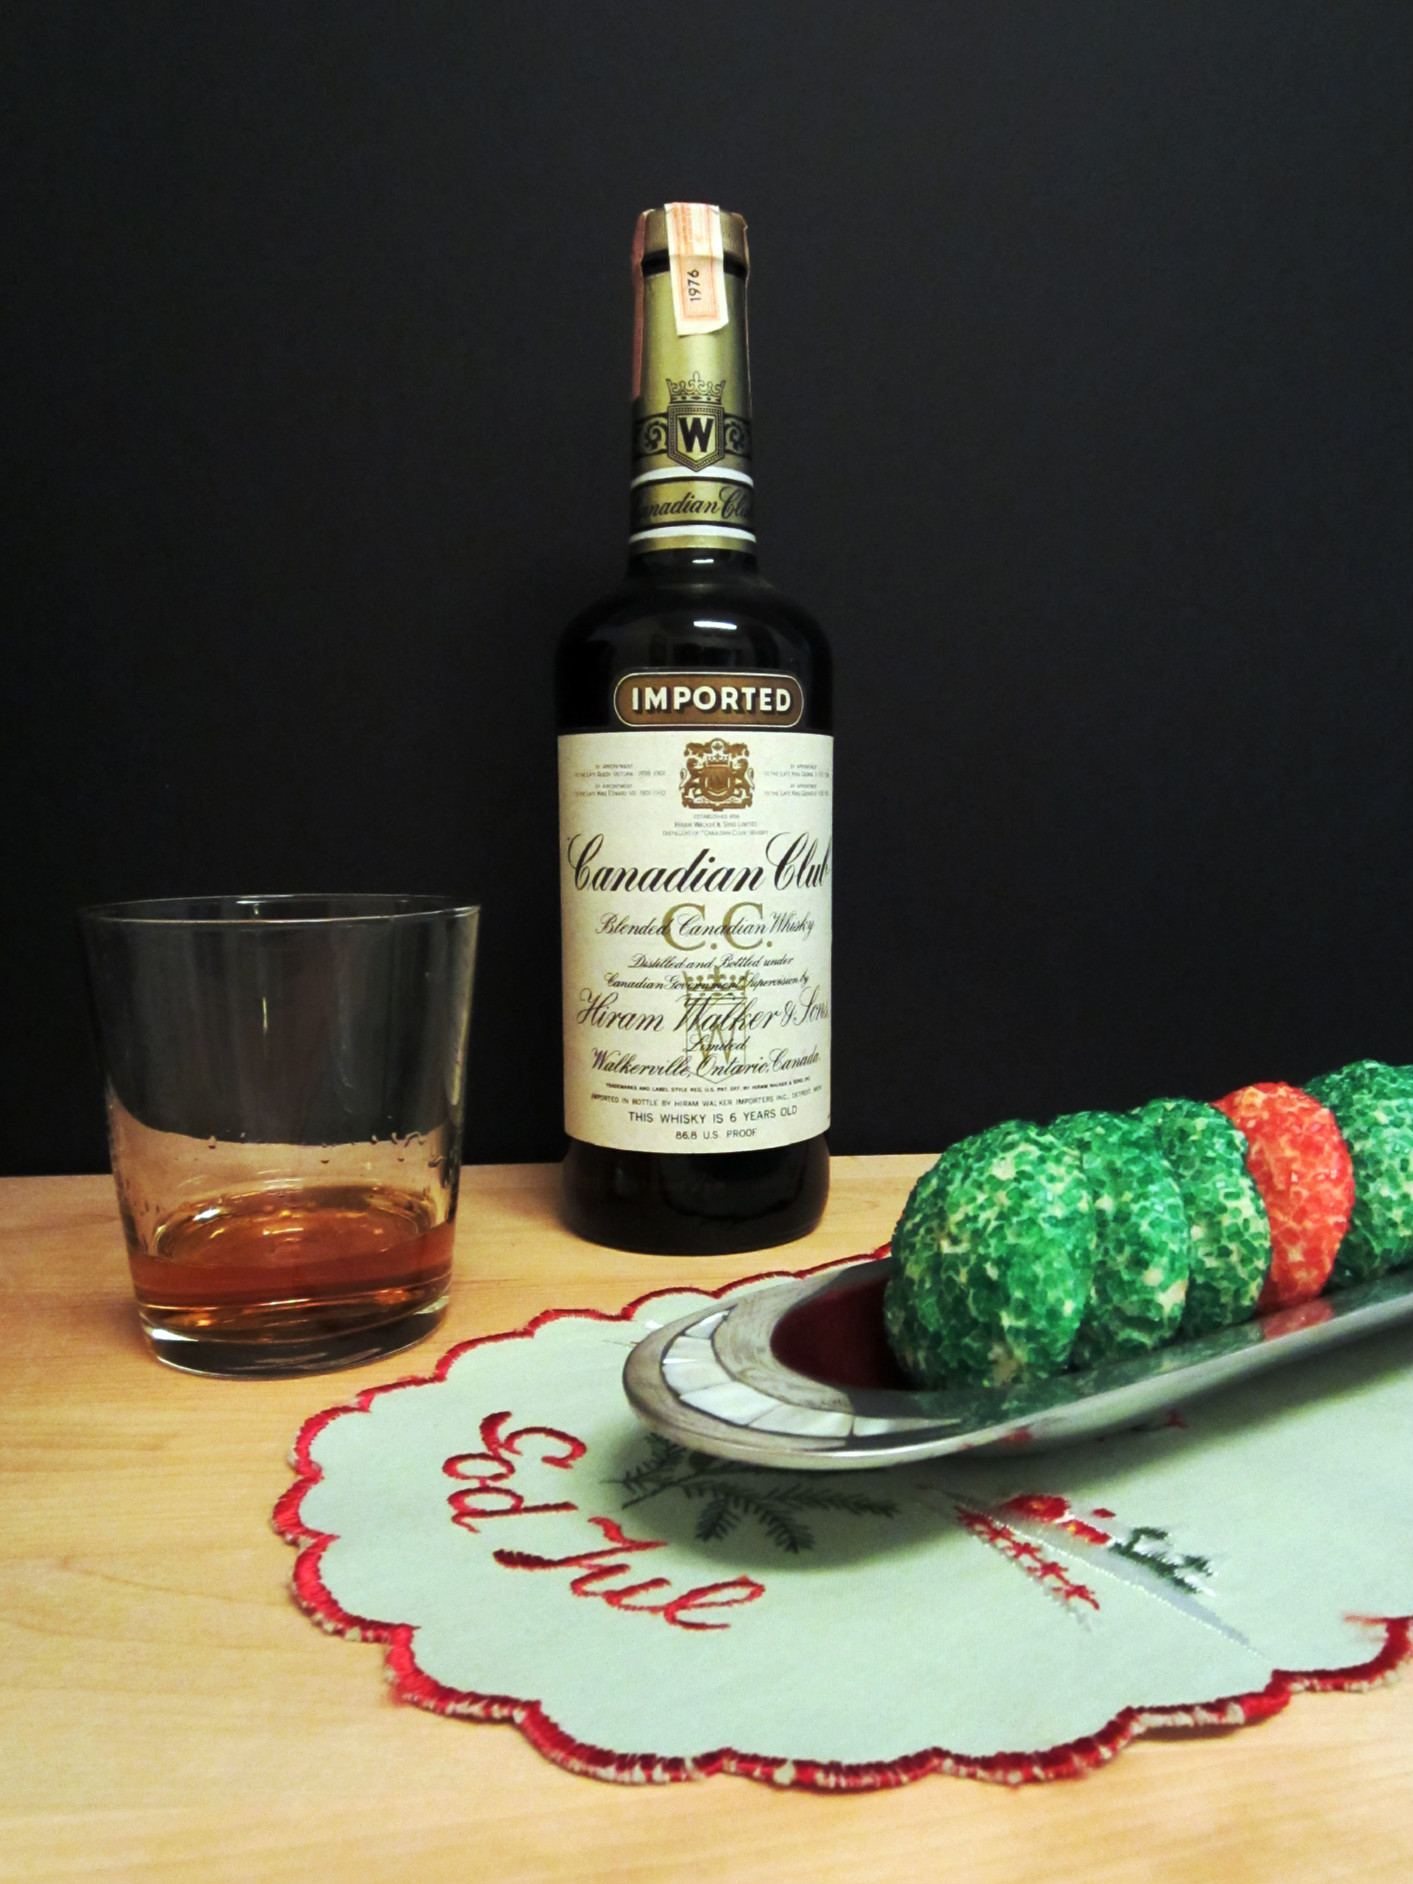
The poaching liquid consists of bourbon, water, sugar and a split vanilla bean. Before adding the pears, it is important to heat the liquid to completely dissolve the sugar. The poaching time will vary based on the variety of pear you are using, as well as the size and ripeness. For example, I poached (small) barlett pears earlier in the week, which took about 5 minutes; the bosc pears pictured here (which were very firm) took about 20 minutes on a low simmer.
The bottom line is, use your best judgement. The fruit is done when the point of a knife (or a wooden skewer) can be easily inserted -- but the pear is still firm enough to handle. If in doubt, remove the pears sooner than later. They will continue to soften as they cool.
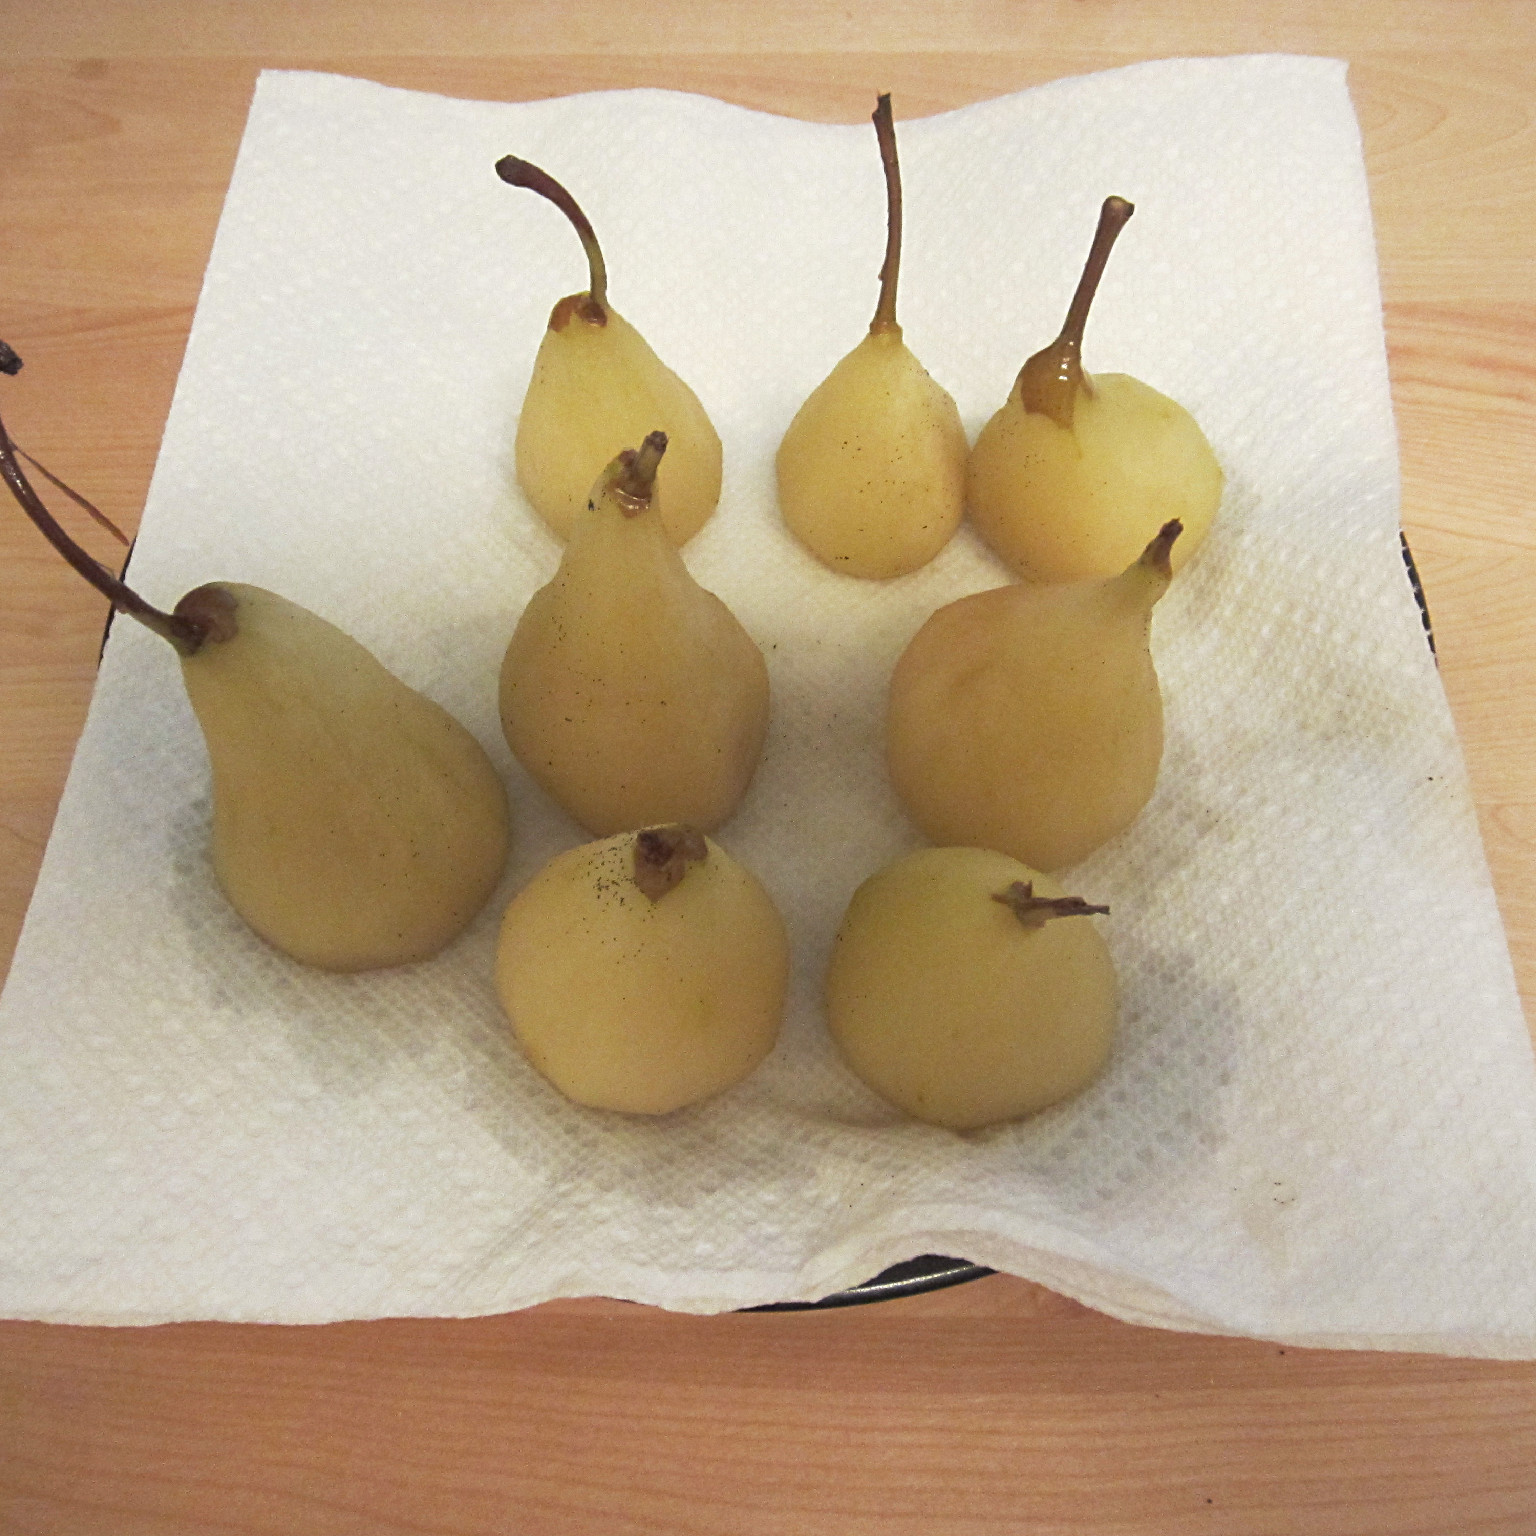
After the pears are done, use a slotted spoon to carefully lift them out of the poaching liquid. I like to briefly drain them on a paper towel to absorb any excess liquid. This step is especially important if you are going to bake with them.
While the pears are draining, reduce the poaching liquid until syrupy. The original recipe, adapted from Martha Stewart Living, suggested this should take about 15 minutes. I have found that it typically takes 30 minutes to reduce the liquid to a thick syrup.
Again, I would not use time as a gauge. Just reduce the liquid until it is the desired consistency. Be mindful that as the syrup reduces, it can quickly boil up. So keep an eye on it, and don't rush the reduction.
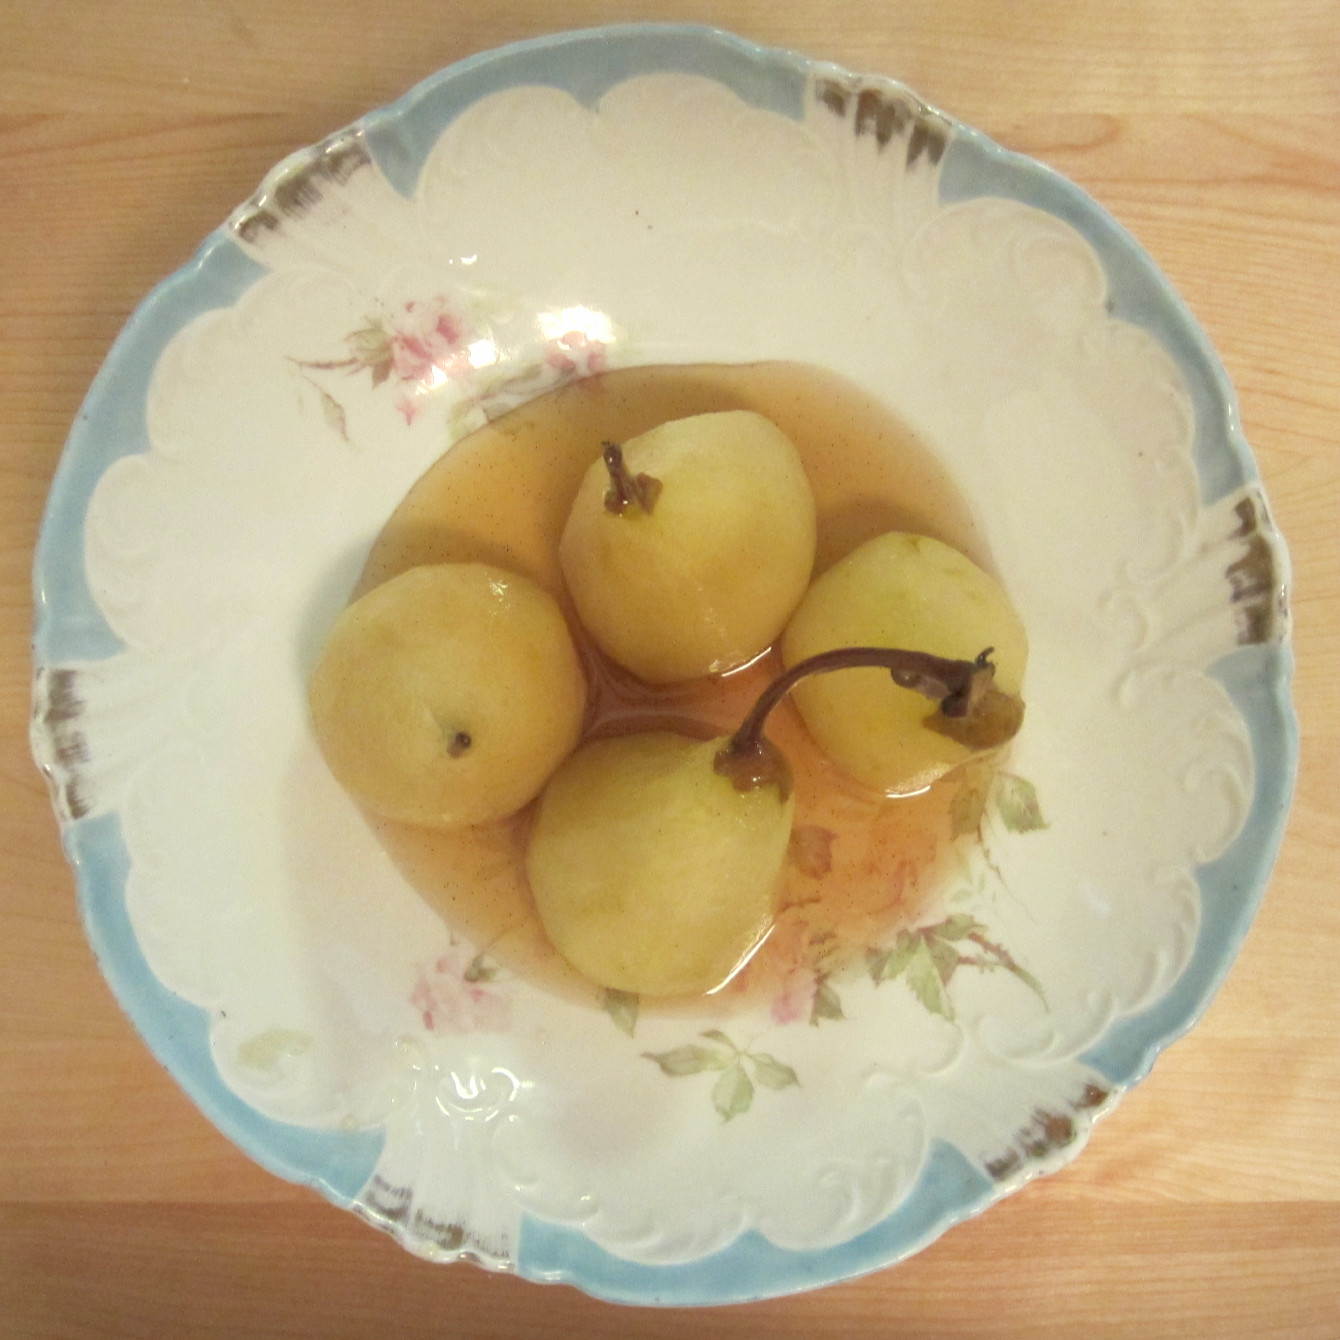
The pears are delicious served on their own, with some of the reduced poaching liquid. They are also delicious served with vanilla ice cream or a simple pound cake.
If you have any poaching liquid left over, don't throw it out. It stays well in the refrigerator for several weeks, and can be used to poach additional fruit. Enjoy!

The printable recipe is here.

 Michelle
Reader Comments