In and Out of the Kitchen
Recipe Galleries

Christmas Cookies & Candies

Pumpkin and Squash Recipes

Pear and Apple Recipes

Greenmarket Inspired Recipes


Most Popular Recipes


Monday
Jun272011

Squash Blossoms Stuffed with Goat Cheese

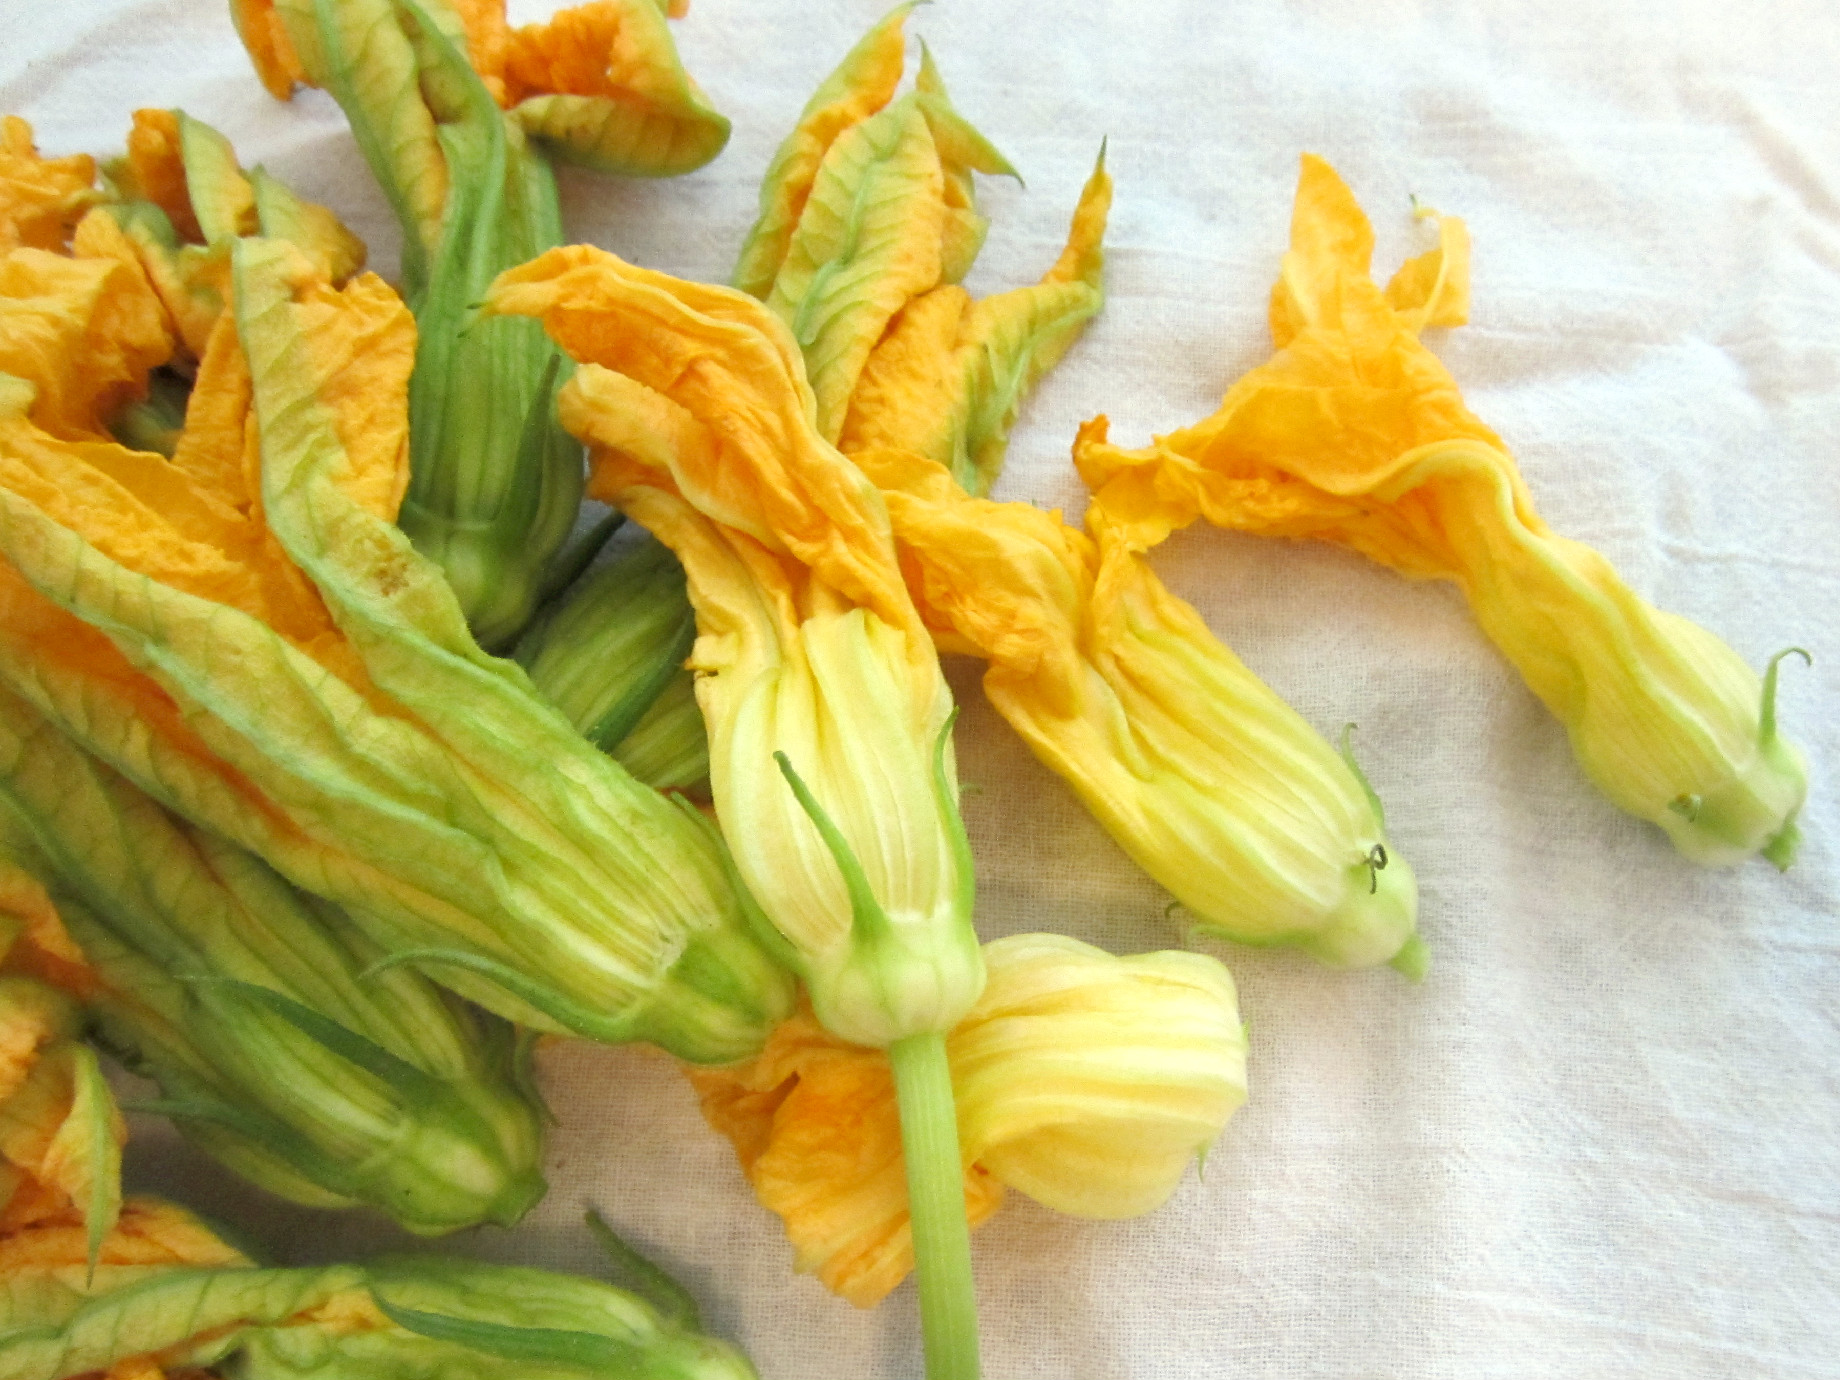
Squash blossoms are one of the delicacies of early summer. And just like sour cherries, they have a very short growing season and they are highly perishable.  As a result, grocery stores do not stock them, and there are limited supplies at farmer's markets. So when I saw these beauties at the Tribeca Greenmarket two weeks ago, I felt like I hit the jack pot.

As you might suspect, squash blossoms are the precursors to squash. But this is only part of a very interesting story. It turns out that squash are monoecious, meaning that they have both male and female blossoms growing on the same vine. Fertilization occurs curtesy of bees, which carry the pollen from the male blossom to the female blossom.  After fertilization is complete, the male blossoms fall off the vine, and the female blossoms develop into the fruit.

Both the male and the female blossoms are edible, but the male blossoms are more commonly used in cooking.

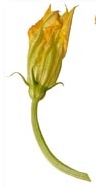
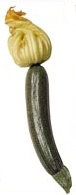
Female blossoms (left) tend to grow towards the center of the plant, and have a small swollen embryonic fruit at their base which grows into the squash.

The male blossoms (right) typically grow throughout the length of the vine and hang from long stems. They tend to bloom earlier than than the female blossoms and there are more of them on the plant.

There are many ways to prepare squash blossoms, but my favorite method is to stuff and fry them (a true guilty pleasure). In Italian cuisine, the blossoms are typically stuffed with a soft white cheese, such as goat cheese or ricotta (or a combination of both).  I had a 4 oz log of goat cheese in the house, so that is what I used.

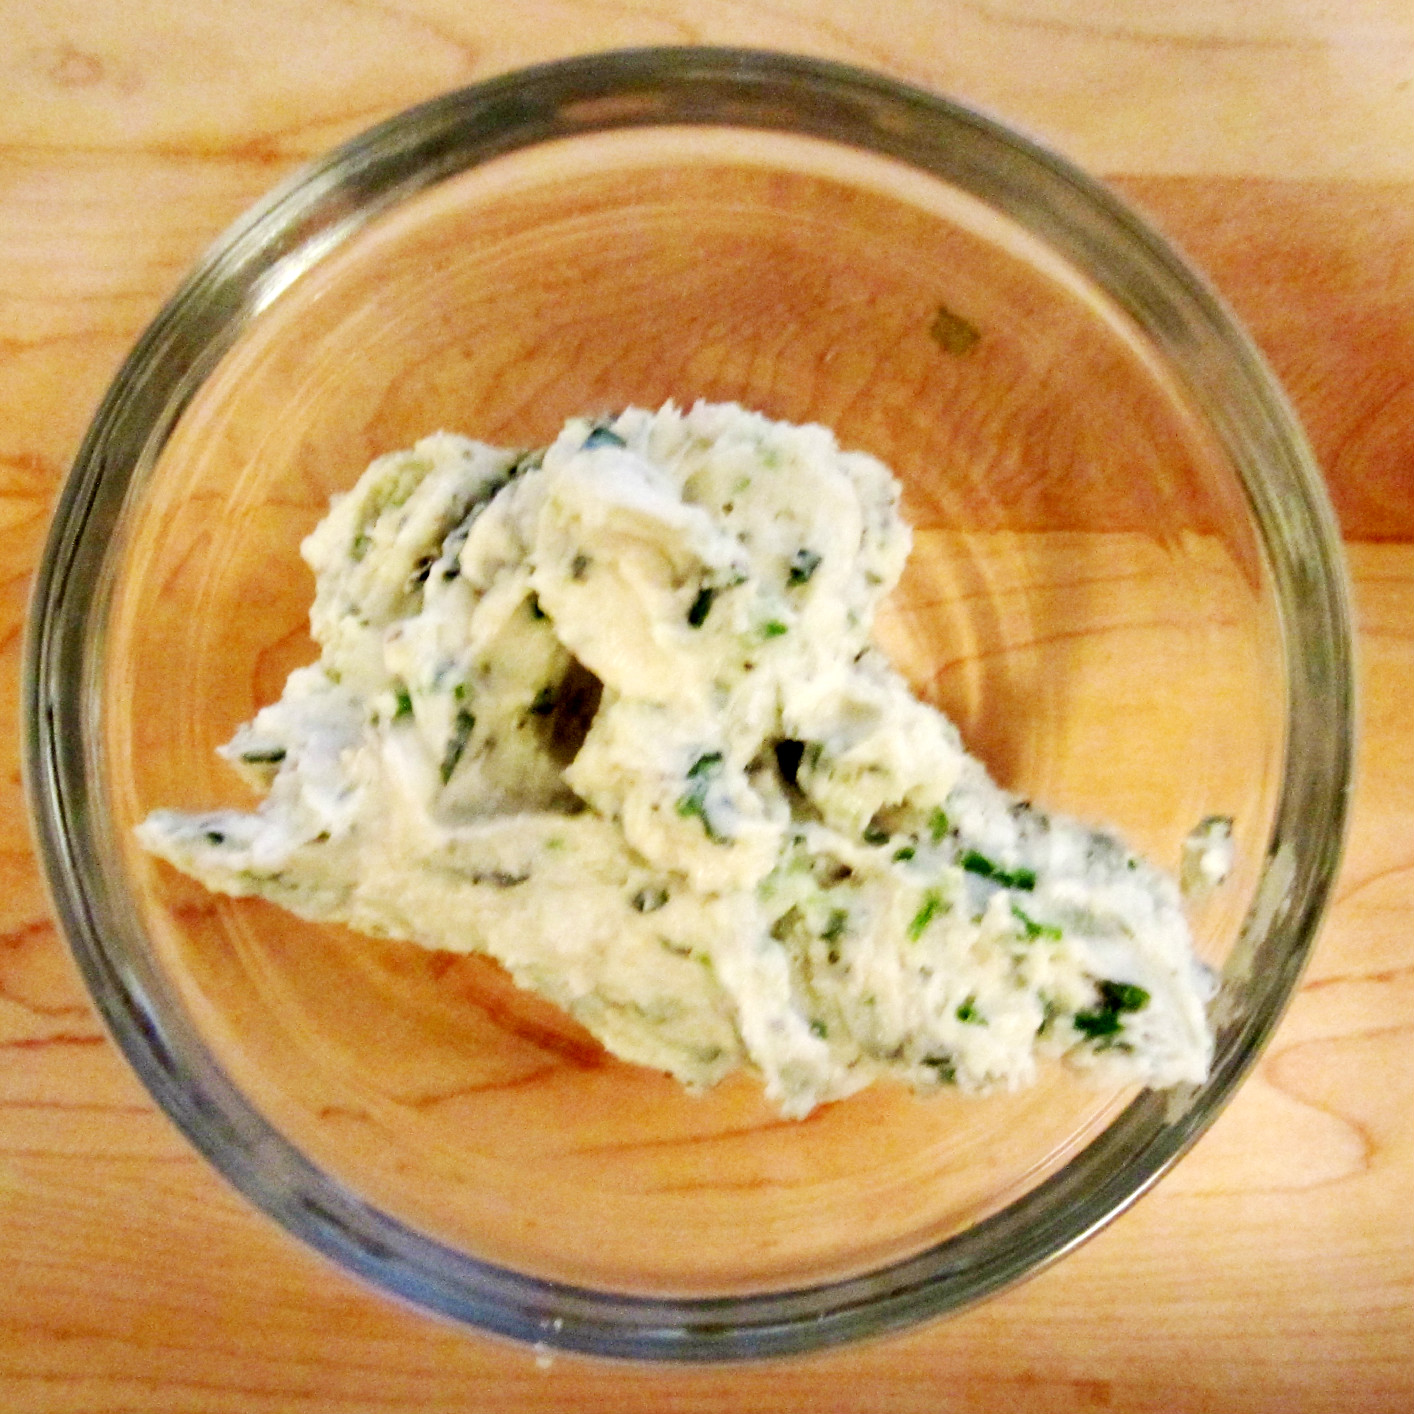
To make the filling, I pureed the goat cheese, a handful of mixed fresh herbs (chives, oregano and basil) and fresh ground pepper into a smooth paste using a mini food processor.  

The next step is filling the blossoms with the cheese mixture. I realize that the idea of putting cheese into these delicate blooms can seem intimidating, but it is quite easy if you follow these steps:

  • Before filling the blossoms, take care to wash and completely air dry them on a piece of paper towel. The stamen should also be removed prior to filling the cavity. 
  • Use semi soft cheese, which will hold it's shape.  This is especially important when considering which type of ricotta to use.  I would not recommend using store bought ricotta (out of the plastic container), as it is very thin. Instead, buy a small piece of homemade ricotta or use ricotta salata.
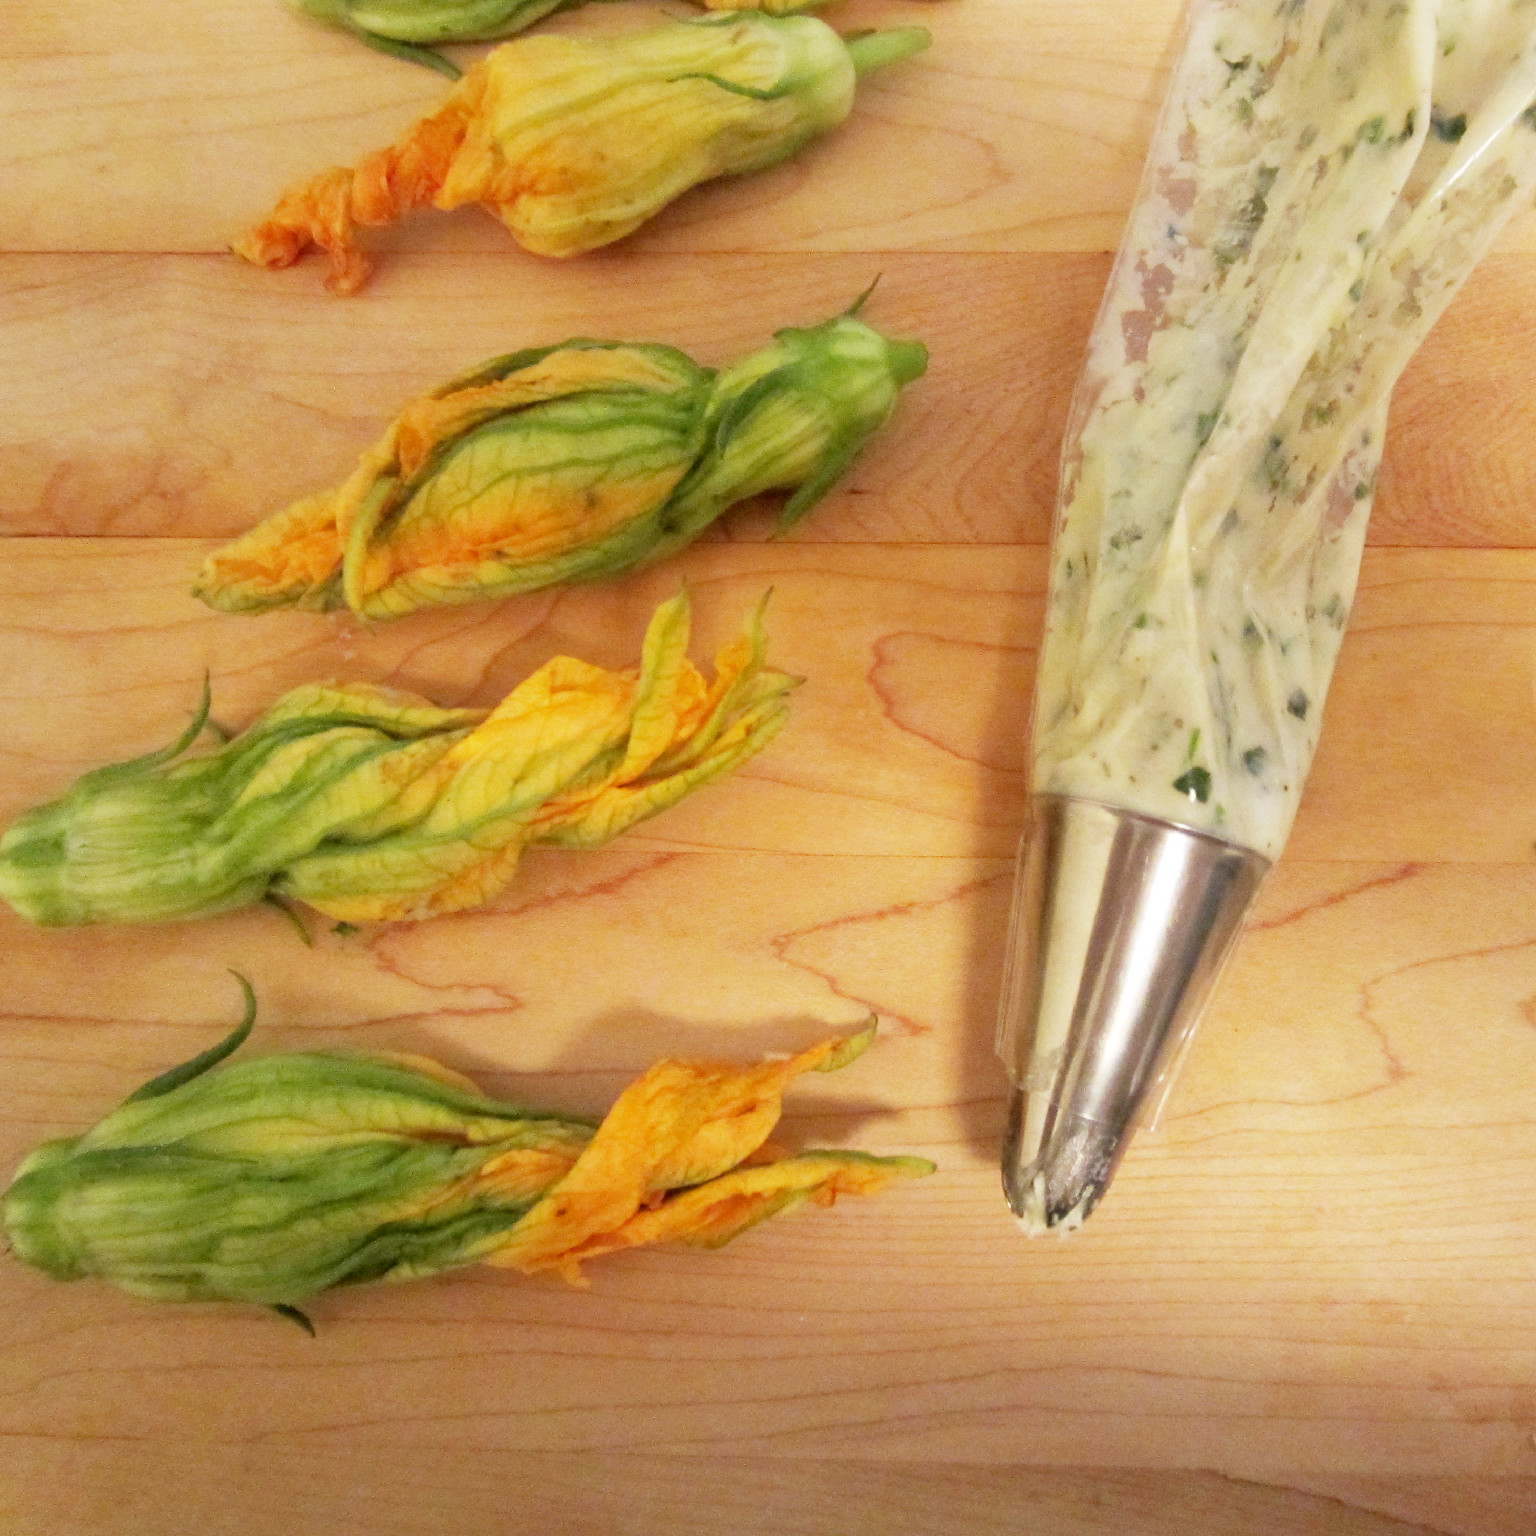
  • Use a pastry bag with a large tip to fill the squash. Attempting to do this with a spoon will be a frustrating (and futile) endeavor. 
  • Do not overfill the blossoms. I typically fill them to the point where the petals start to separate.
  • To finish, twist the ends of the petals gently to close.

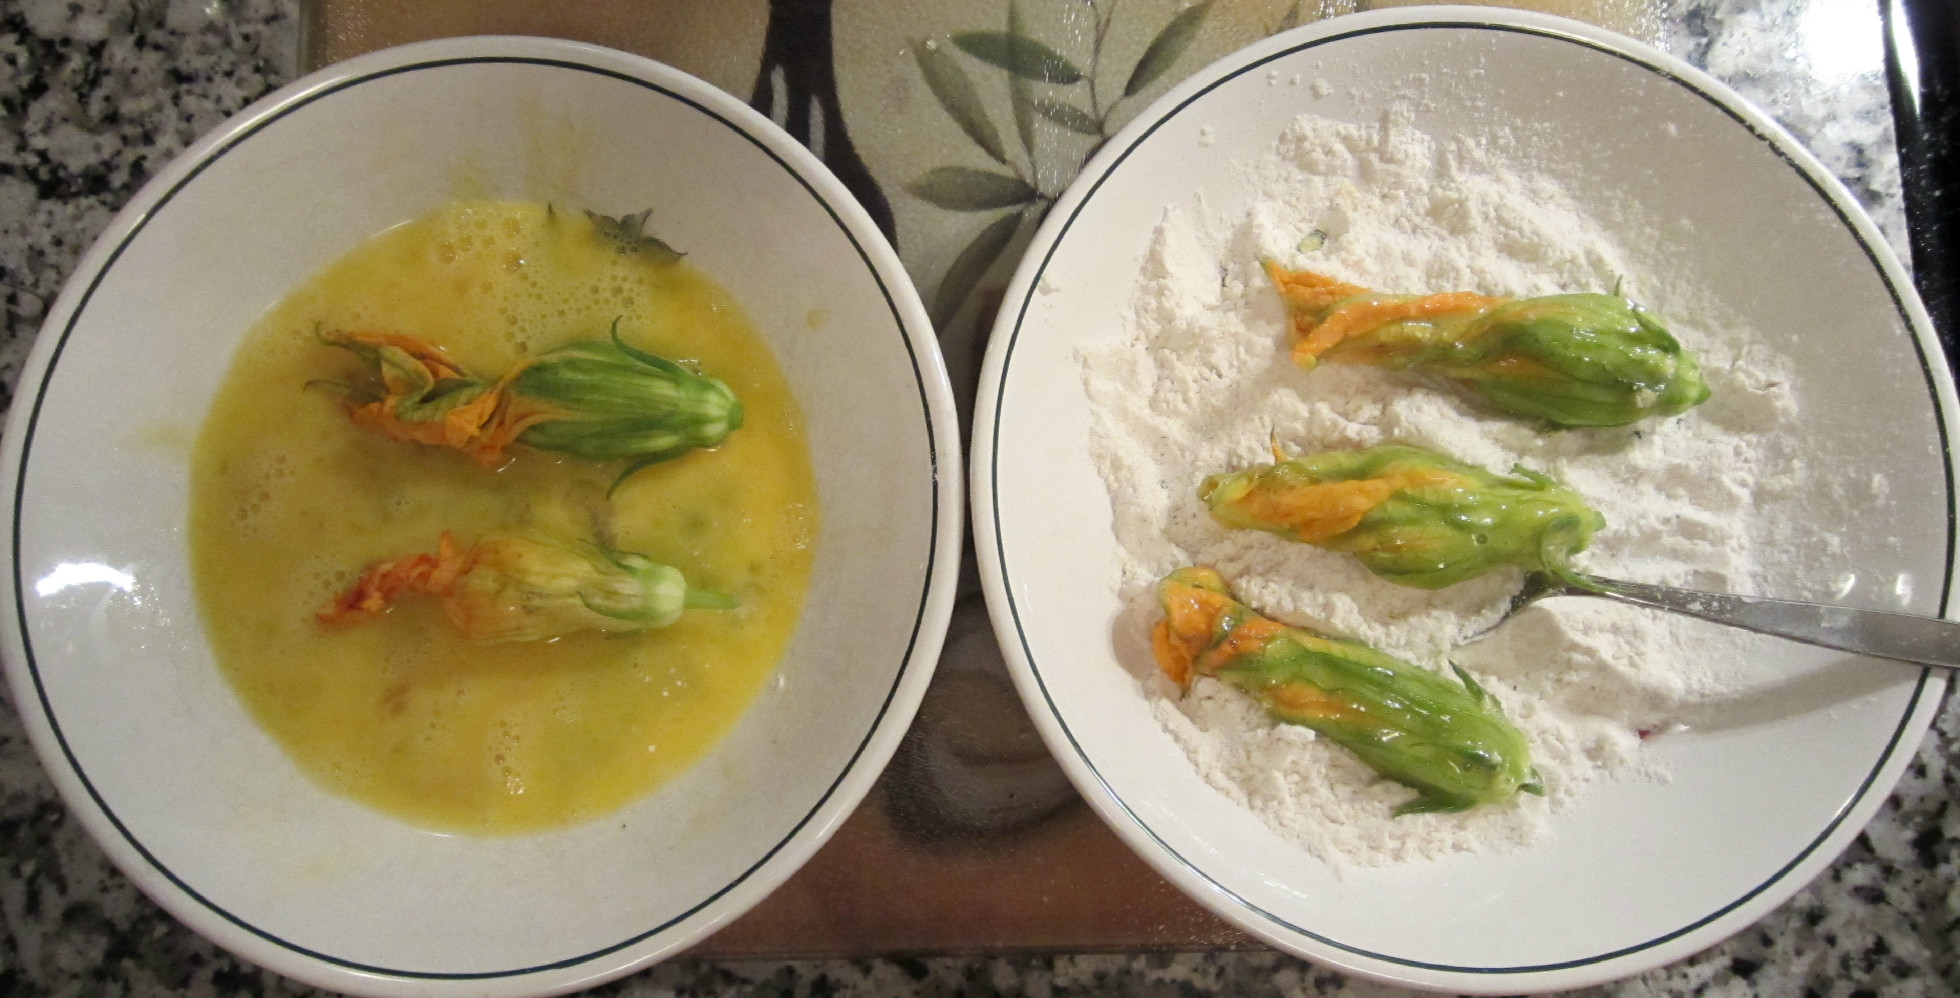
I coat the stuffed squash blossoms in egg and then flour. I find that this produces a crunchy crust, which is light but not over bearing.

The final step is frying the blossoms.  (This is my least favorite step, as it makes a mess of my stove!) Again, here are a few tips to make this step successful: 

  • You do not need a lot of oil, but it needs to be hot. When the oil is at the proper temperature, a sprinkle of flour will seize immediately. If the oil is not hot enough, the blossoms will be soggy and greasy.
  • Do not crowd the pan.
  • Try to turn the blossoms only once (i.e. after the first side is crisp).
  • After the blossoms are finished, place them on a piece of paper towel to drain. Sprinkle with a little salt immediately.

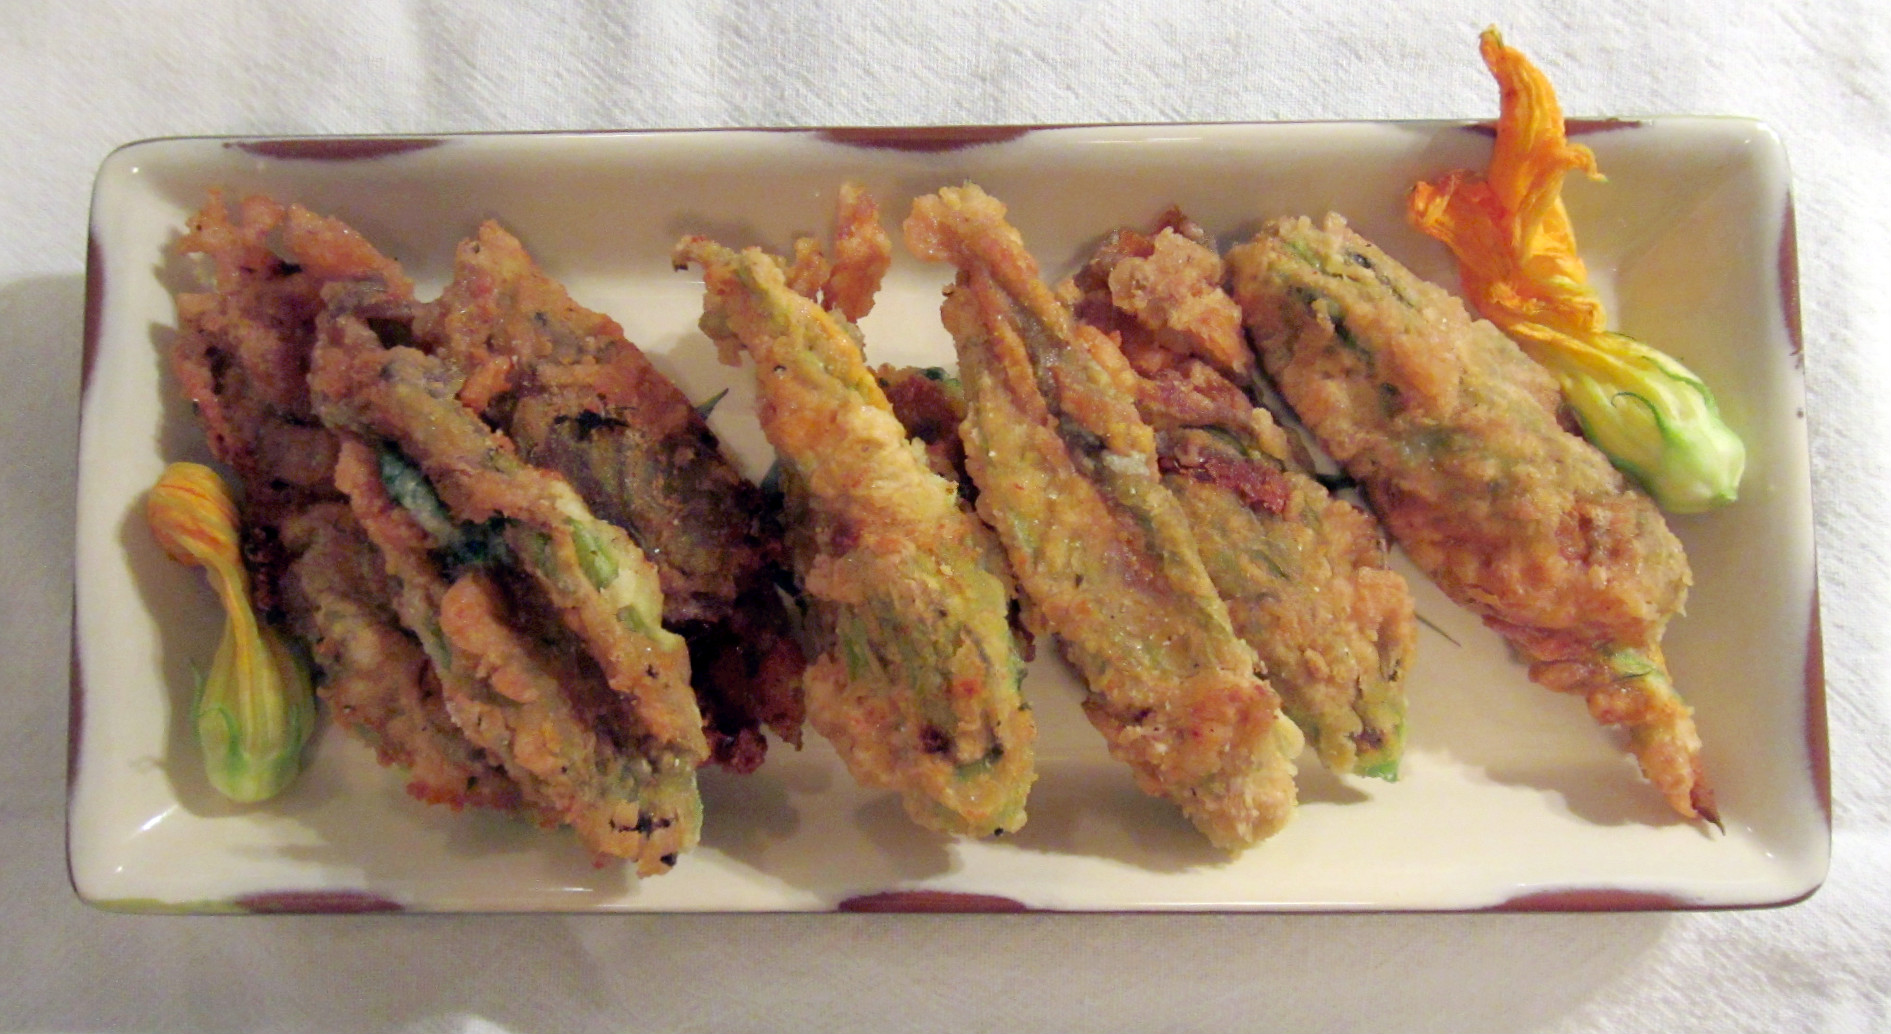
Stuffed squash blossoms are best when eaten immediately. If you have a large number to fry, place the cooked blossoms in a low oven to keep them warm.

 Enjoy!

Follow ajinthekitchen on Twitter

Sunday
Jun262011

Spinach and Feta Quiche

I make quiche often. It is fast and easy, and I love that fact there are always leftovers.  I also enjoy the (almost) infinite combination of ingredients that can be added to the custard. This week, I made a fresh spinach and feta cheese quiche.


Fresh spinach needs to be cleaned thoroughly. I typically fill my kitchen sink with cold water and soak the leaves for at least 20 minutes. Using this method, the dirt sinks to the bottom of the sink and the spinach leaves float to the top. I then dry the leaves on an absorbent dish towel. A salad spinner also works well. 

After the spinach is clean, I chop it coarsely and quickly sauté it (with a shallot or small onion) in a small amount of olive oil.  You can also also steam it, if you like.  In either case, be sure to squeeze out any excess water from the spinach -- either by using a fine mesh strainer or placing the cooked spinach on a piece of paper towel. 

To make the custard, I blend 4 jumbo* eggs, 1 cup of heavy cream, and salt/pepper to taste.  You can substitute one cup of skimmed evaporated milk for the cream, if you would like to make a low fat alternative.

To assemble the quiche, I place half of the cheese on the bottom of the pie shell, followed by the spinach . I then pour the custard into the shell and sprinkle the remaining cheese on top.

The quiche bakes for approximately 40 minutes at 375F.  Ovens vary, so check the custard after 30 minutes. The custard is set when an inserted knife comes out clean.

This quiche is a wonderful summer meal served with a salad and a chilled glass of buttery (oak aged) Chardonnay. I hope that you enjoy it.

The printable recipe is here.

*If you are using smaller eggs, increase by one or two eggs. 

Follow ajinthekitchen on Twitter

Saturday
Jun252011

Preserving Sour Cherries for Later Use

I didn't go to the Farmer's Market yesterday looking for sour cherries. In fact, I wasn't expecting to find any NY State cherries at the market this year. (Unfortunately, the NY State crop was all but ruined due to poor weather conditions during the spring bloom.*) But as luck would have it, my favorite fruit farmer at the Tribeca Greenmarket managed to harvest a small amount of fruit to bring to market.

Even when the weather cooperates, fresh sour cherries are very difficult to find.  Unlike their sweet cousins, they have a very short growing season (roughly several weeks from the end of June to the middle of July) and they are highly perishable.  As a result, supermarkets and green grocers typically do not carry them. At most farmer's markets, they sell out in a blink.

In the US, sour cherries are primarily grown in northern Michigan, while most sweet cherries are grown in the Pacific Northwest.

One needs approximately 2 pounds of sour cherries to make a 9 inch pie -- which is exactly what I bought.  But once I got home, I knew that baking a cherry pie this weekend was out of the question. (I am leaving for the long holiday weekend on Friday, and I have alot to accomplish before then.) The obvious solution: preserve the cherries for later use.

There are various ways to preserve sour cherries, but the most straight forward is to freeze them.

It is not recommended to wash the fruit before freezing, as pre-washing can make the skin tough. The stems and pits should be removed however. It is actually much easier to pit a sour cherry than a sweet cherry. The fruit is softer and the pits dislodge easily.  I used a cherry pitter, but I know that many people just use a paper clip. 

After the cherries have been prepped, spread them onto a parchment lined cookie sheet and place them in the freezer for about 2 hours. When completely frozen, transfer the cherries to a zip lock bag and return them to the freezer. (This is a great trick when freezing blueberries as well). The advantage of using this method is that the cherries do not freeze into a solid block, thereby making it possible to take out only what you need.

I can't wait to bake a pie with these beauties, once things have settle down.

*Unfortunately, most of the cherry crop was lost this year due to poor weather conditions (ie 11 consecutive days of overcast conditions) during the spring bloom.  Without sunshine, plants are unable to produce carbohydrates (through photosynthesis) which fuels their growth.  I was told by several fruit farmers that the blooms literally fell off the tree.  

Follow ajinthekitchen on Twitter

Saturday
Jun252011

Baking Bread

The Hot Bread Bakery makes a killer onion bialy.* It also provides jobs and training for immigrant women in New York City. They sell their bread at Green Markets around the city (including the Tribeca Green Market ) to fund the cost of their programs.  It is a terrific concept. This organization definitely deserves our support.

Here is a clip about the bakery and the important work that they do:

*The organic eggs from the Tribeca CSA aren't bad either!

Follow ajinthekitchen on Twitter