


« Making (Autumn-Themed) Marzipan Fruits and Vegetables »
I have to confess, I was not happy with the marzipan pumpkins I made for the Boo Cake. The coloring was off and the scoring (i.e the lines) were messy. (If you look at the cake again, you can see that the marzipan sheared as I was scoring it.)
So being me, I set off on a mission to learn more about sculpting marzipan. And the upshot was....? A bit disappointing.
It turns out that there is very little about sculpting marzipan on the web and virtually nothing in print form. But after experimenting on my own, I concluded that these confections are rather easy (and fun) to make: All you need is basic Play Dough skills, a few ingredients/tools and patience.

Marzipan is a soft, pliable paste which is made from almond paste, powdered sugar and a small amount of corn syrup (to moisten it). It is extremely popular in Northern Europe, where it is draped over cakes and sculpted into fruit, flowers, animals and people. It is extremely easy to make, but in a pinch, it also can be purchased ready made. (The Danish Company, Odense, sells marzipan in a 7oz log. It is typically in the baking section.)
Marzipan is the color of blanched almond, and needs to be tinted before sculpting. After adding food coloring, it typically takes a few minutes to knead the coloring uniformly throughout the paste. (In professional kitchens, the color is often applied with an airbrush or painted directly onto the figure. Alas, no airbrush here.)
For this project, I toned down the color hue by adding a small amount of brown coloring to the green, yellow, red and orange marzipan.
To give the pears and apples a mottled appearance, I used powered brown (pear) and red (apple) food coloring which I applied with a small craft brush. (After it is applied, you blend the color into the paste with your finger.)
Before starting, here are a few tips to guide you:
- Hands and work service need to be clean. I would also highly recommend covering your counter with wax paper to avoid food color stains. (As you work with the marzipan, your hands will get messy. Just keep washing and drying them.)
- Use gel (i.e. paste) food coloring. Liquid food coloring makes the marzipan wet -- and essentially ruins the consistency.
- Go easy on the coloring! You can always add more -- but you can't take it away if you add too much.
- When cutting the marzipan, use a lightly oiled knife. This simple step will prevent the marzipan from shearing when you cut it. I used vegetable oil, but you can use any flavorless oil. After you dip the blade in the oil, wipe off the excess with a piece of paper towel. You don't want oil dripping onto the candy!
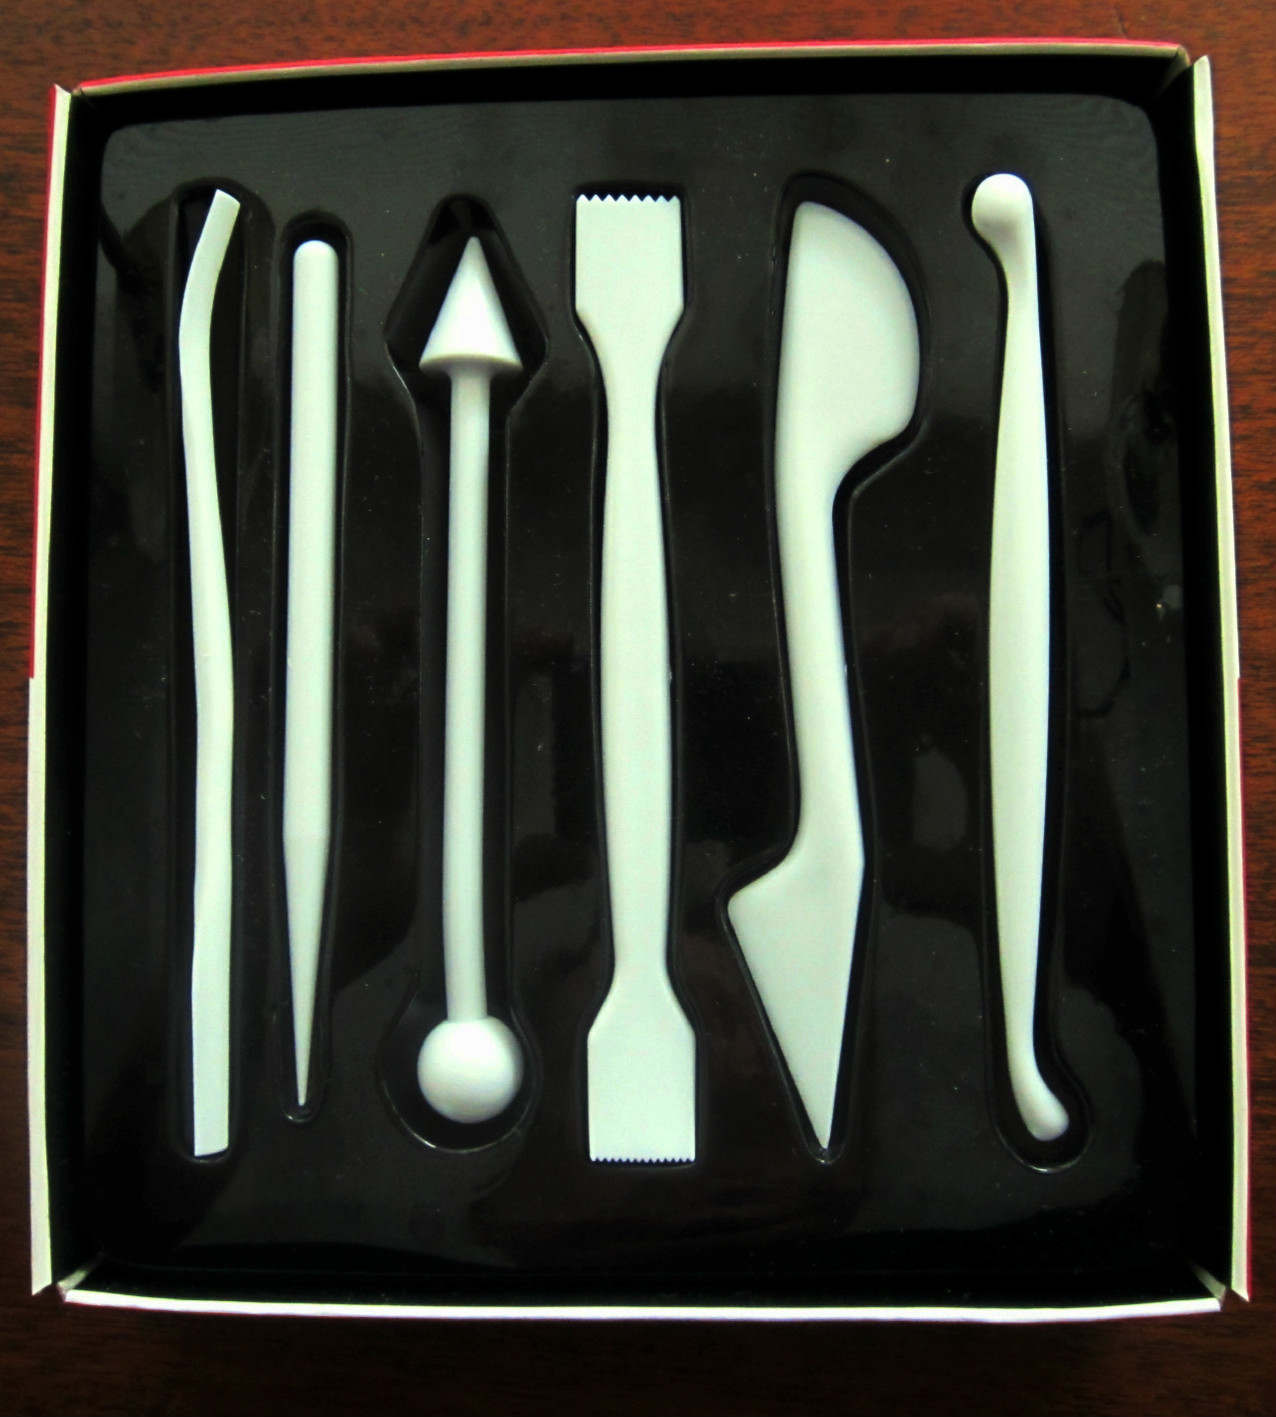
- Special tools are not needed. However, if you want to go all out, you can buy basic marzipan/fondant sculpting tools. (The set above set me back $6.99.) The 'exacto-like' blade cut the marzipan effortlessly, and I used the cone shaped tool to make small indentations in the fruit, before inserting the clove stems (see below).
- Marzipan dries out very quickly, so store it in a plastic bag until ready to use.
- It is best to use all edible ingredients, so that no one inadvertently bites down or swallows something dangerous (like wire or fabric). I used whole cloves for the stems. (Let people know that they should pull them out before eating the candy.)
- Store marzipan figures in a plastic container with a tight fitting lid. Do not refrigerate! The marzipan will harden like a rock if you do!
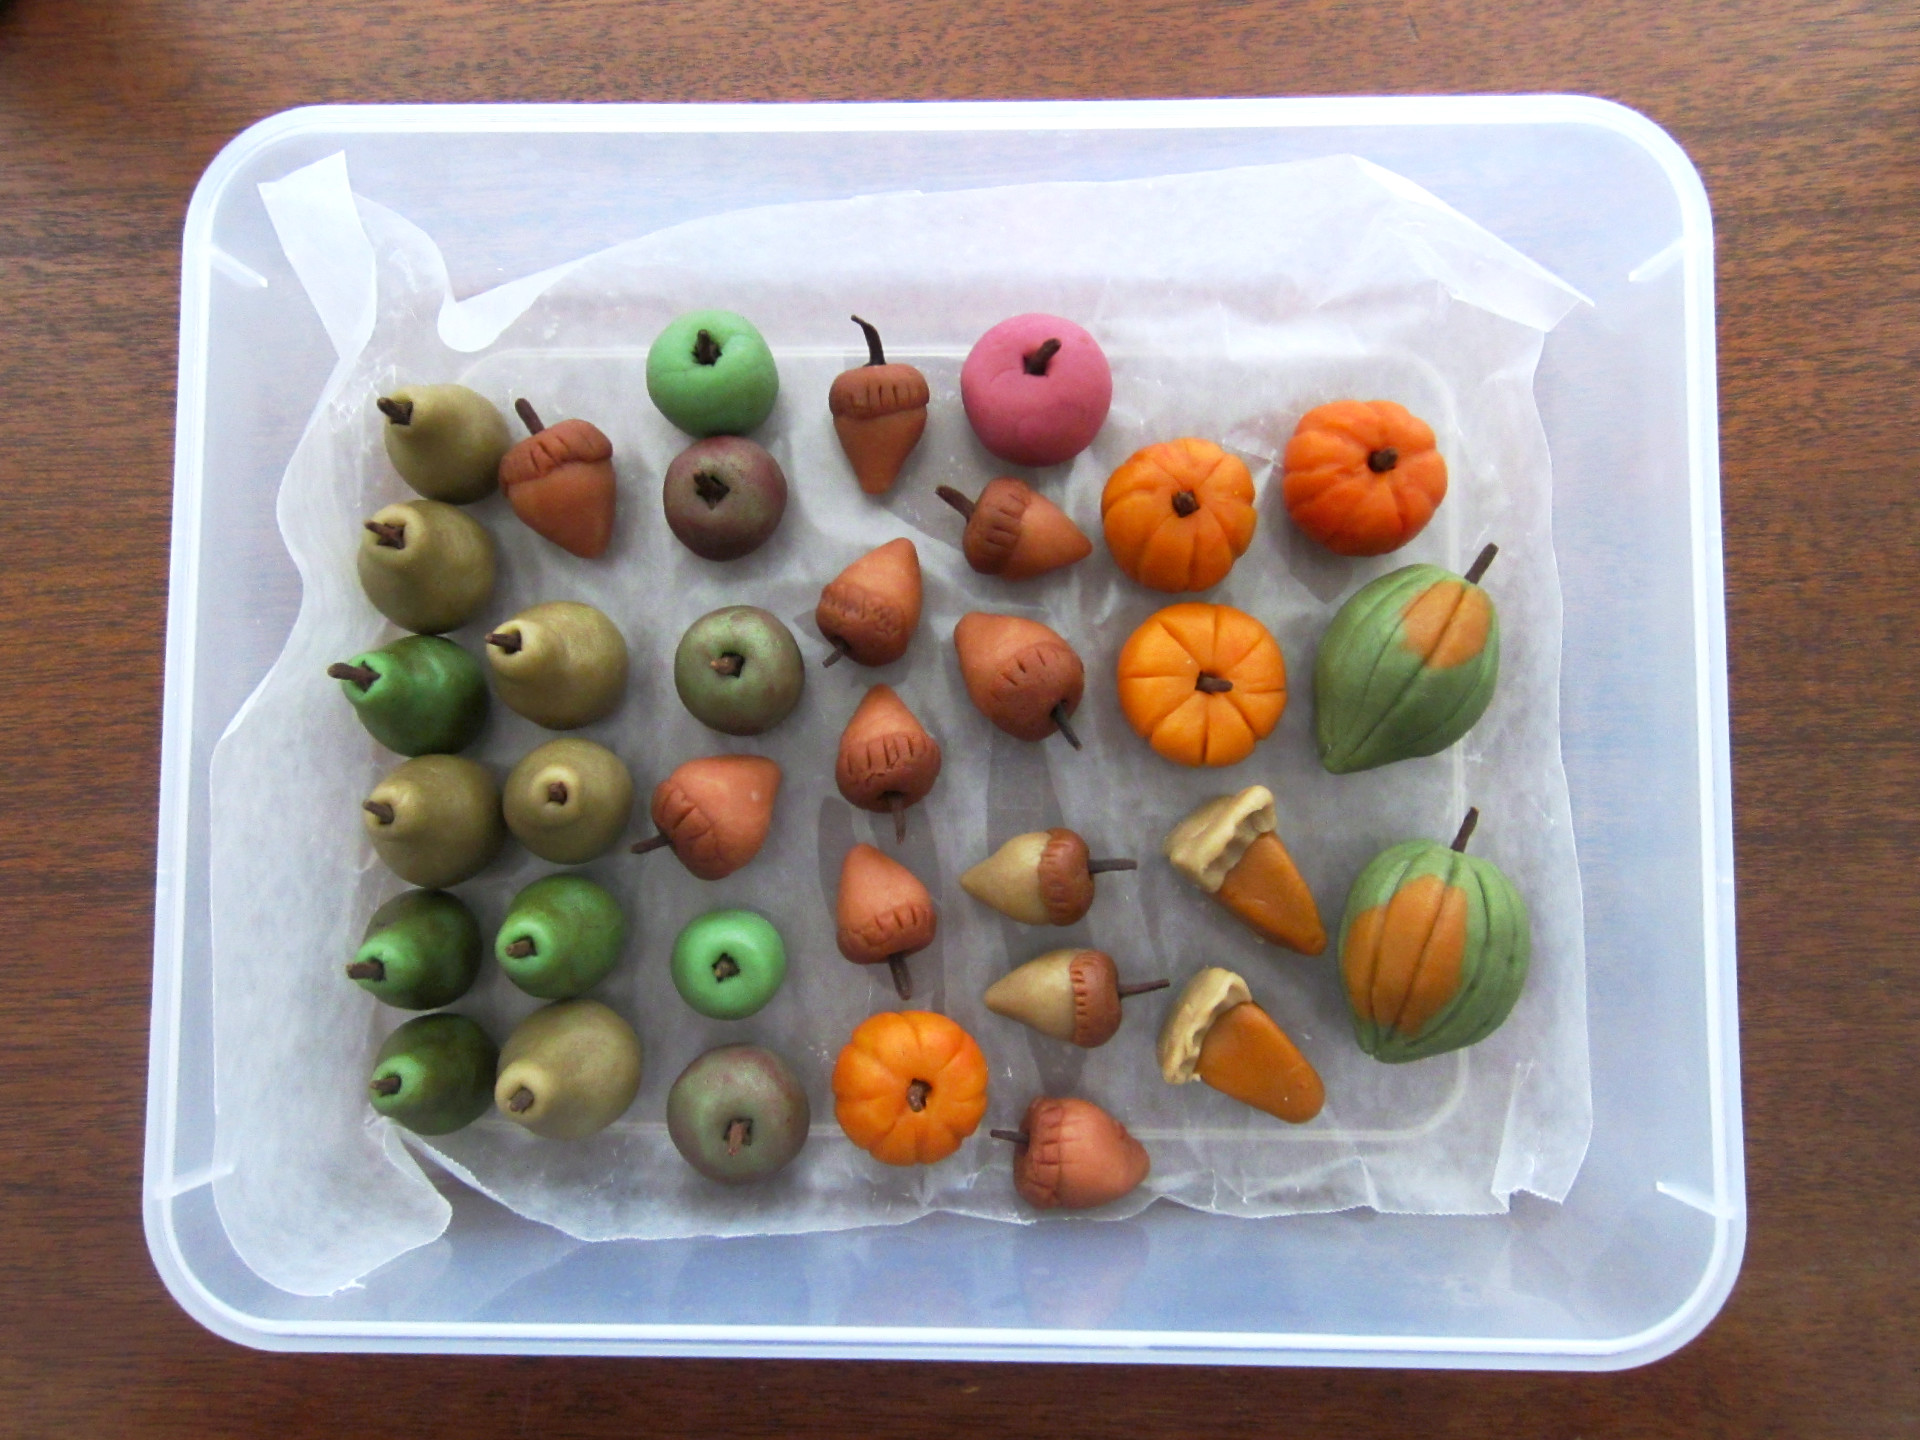
I have compiled a brief guide, with pictures and instructions, if you want to give the project a try. All the figures start with a small ball of marzipan, which is then rolled, pinched or cut, depending on what you are making. Don't stress when doing the project. If you don't like the way something comes out, roll it into a ball and start again. The whole point is to have some fun!
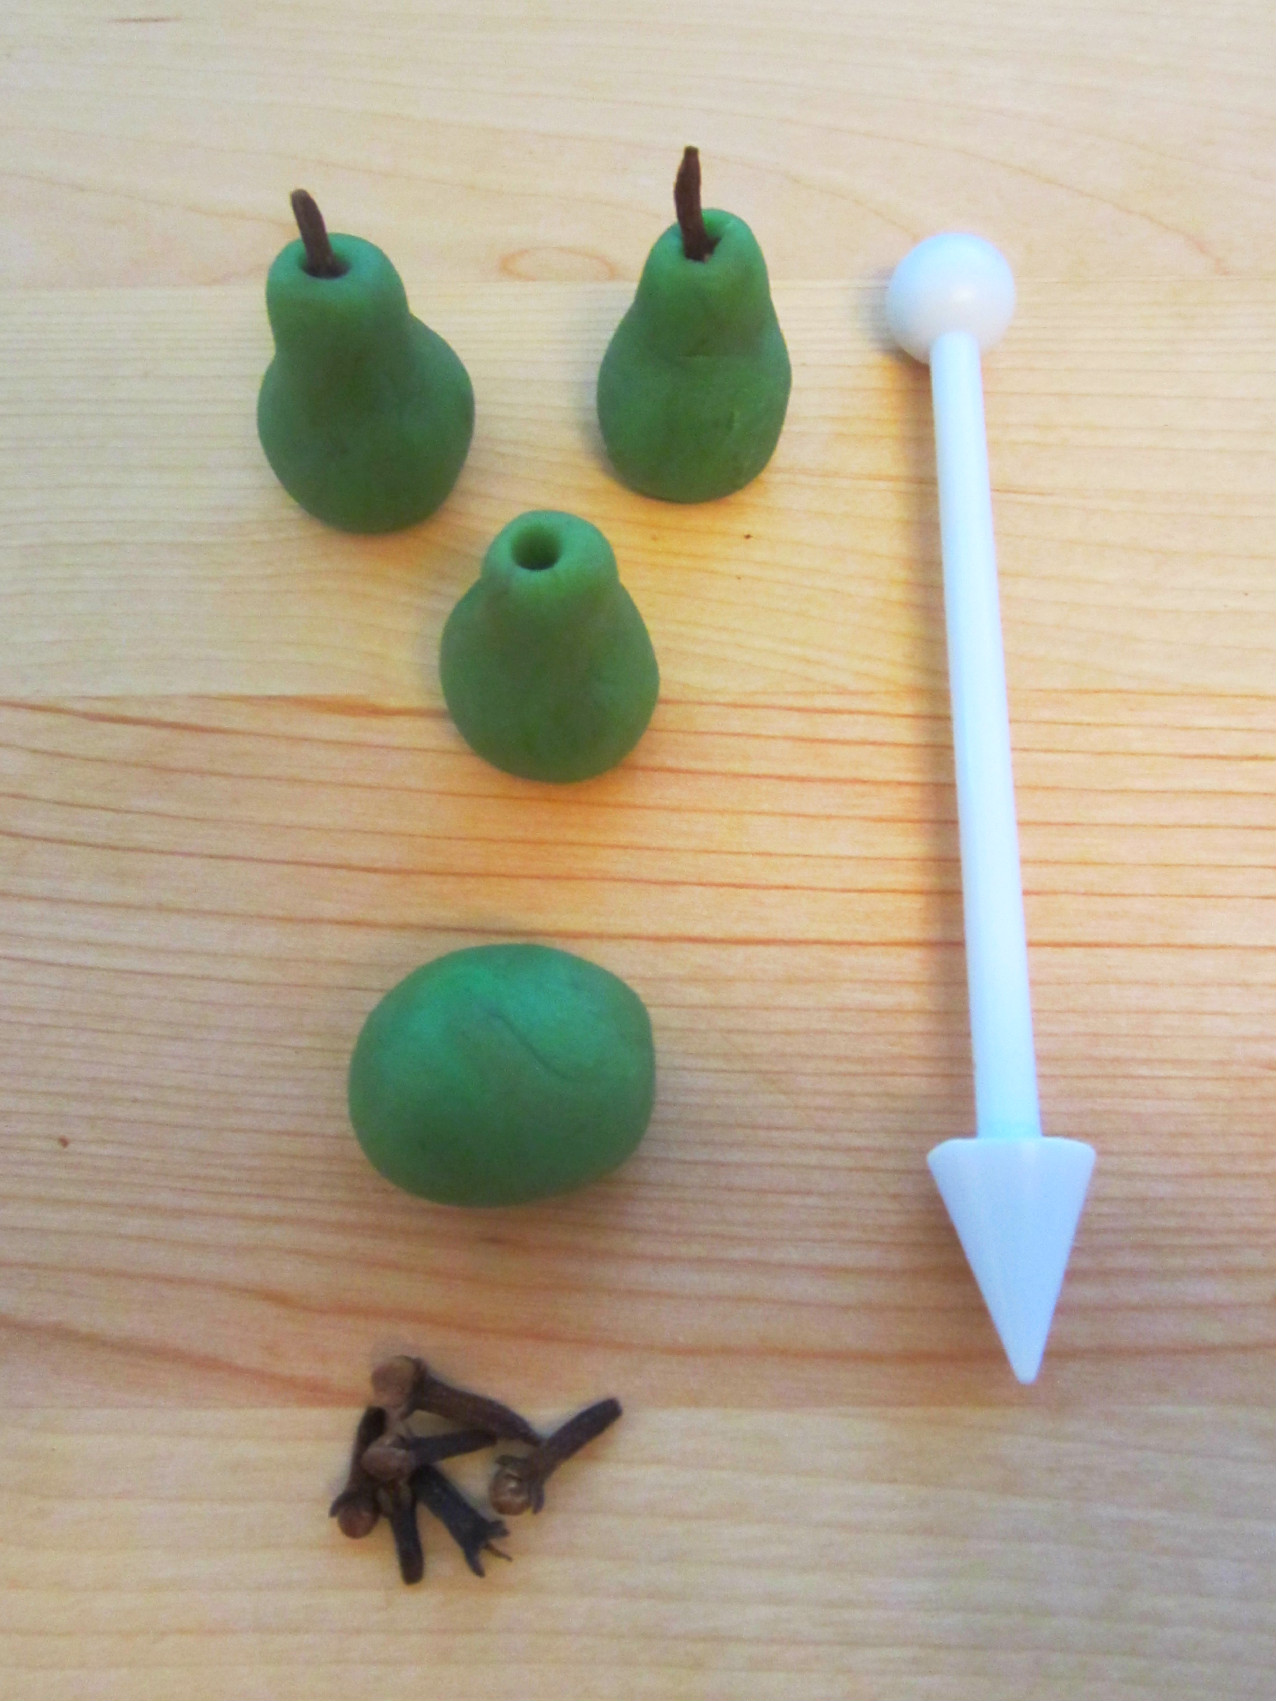
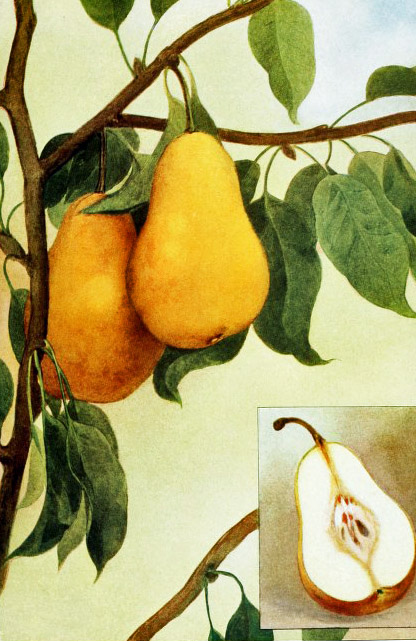
Pear: Roll a small piece of marzipan into a ball. Roll one end of the ball between your palms to form the pear shape. Indent the top of the pear with a conical sculpting tool (or tooth pick) to insert the clove "stem". Apply powdered food coloring with a craft brush, as above, to create a mottled appearance (if desired).
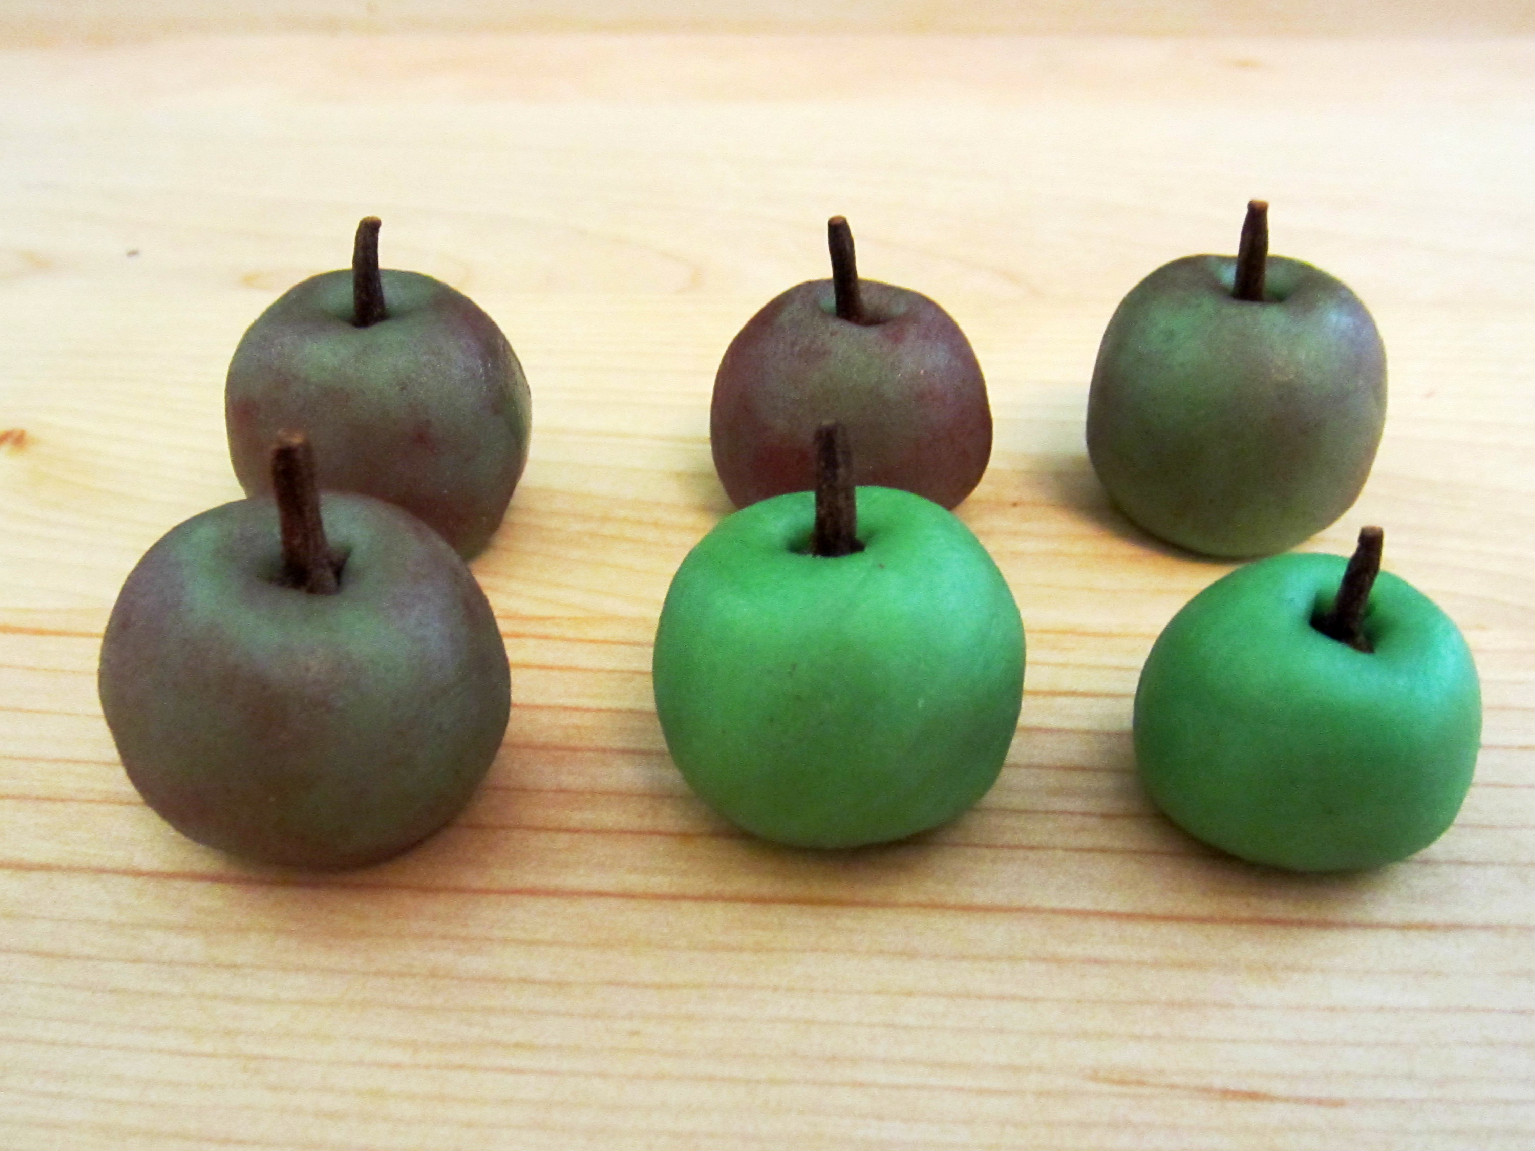
Apple: Roll the colored marzipan into a small ball. Indent the top of the apple gently with your finger. Using a cone-shaped sculpting tool (or a toothpick), make a small hole in the top of the figure to insert the clove 'stem'. Apply powdered food coloring with a craft brush, as above, to create a mottled appearance (if desired).
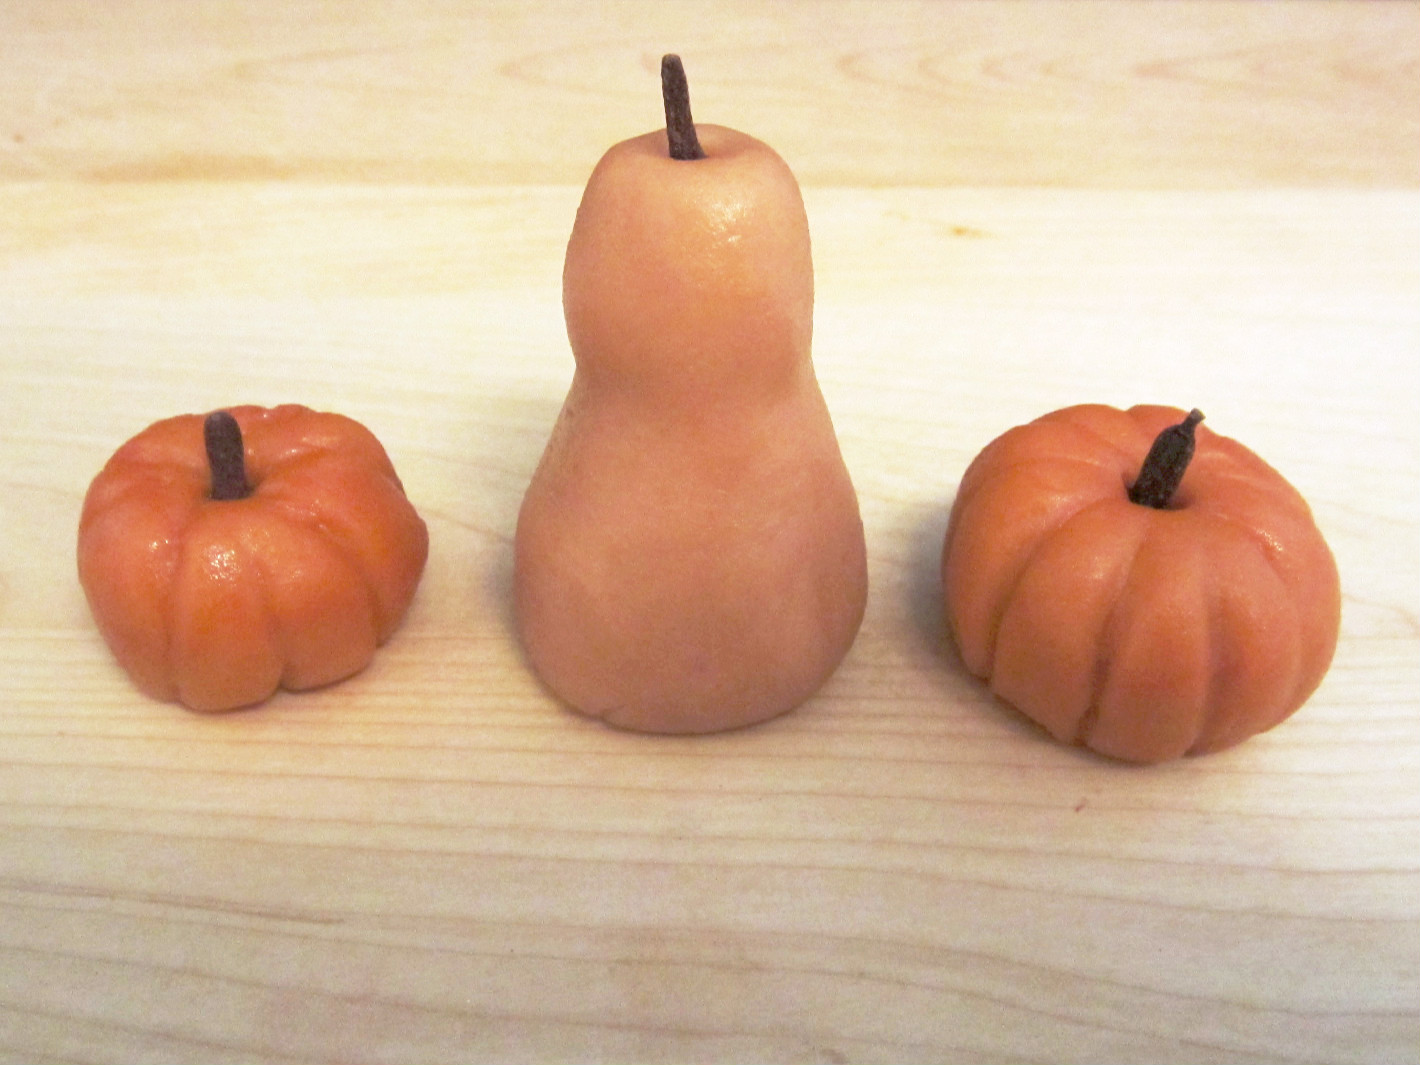
Pumkin: Roll the colored marzipan into a ball. Using a lightly oiled knife (see above), score a line completely around the ball. Repeat this step 3 more times. Indent the top of the scored pumpkin gently with your finger. Using a cone-shaped sculpting tool (or a toothpick), make a small hole in the top of the figure to insert the clove 'stem'.
Butternut Squash: Roll the colored marzipan into a ball. Using the palm of your hands, roll the maripan into a slightly elongated cylinder. Using your thumb and forefinger, pinch the center slightly and round off the top and bottom of the figure (see above). Using a cone-shaped sculpting tool (or a toothpick), make a small hole in the top of the figure to insert the clove 'stem'. To make the squash stand erect, gently apply some pressure on the base to flatten it.
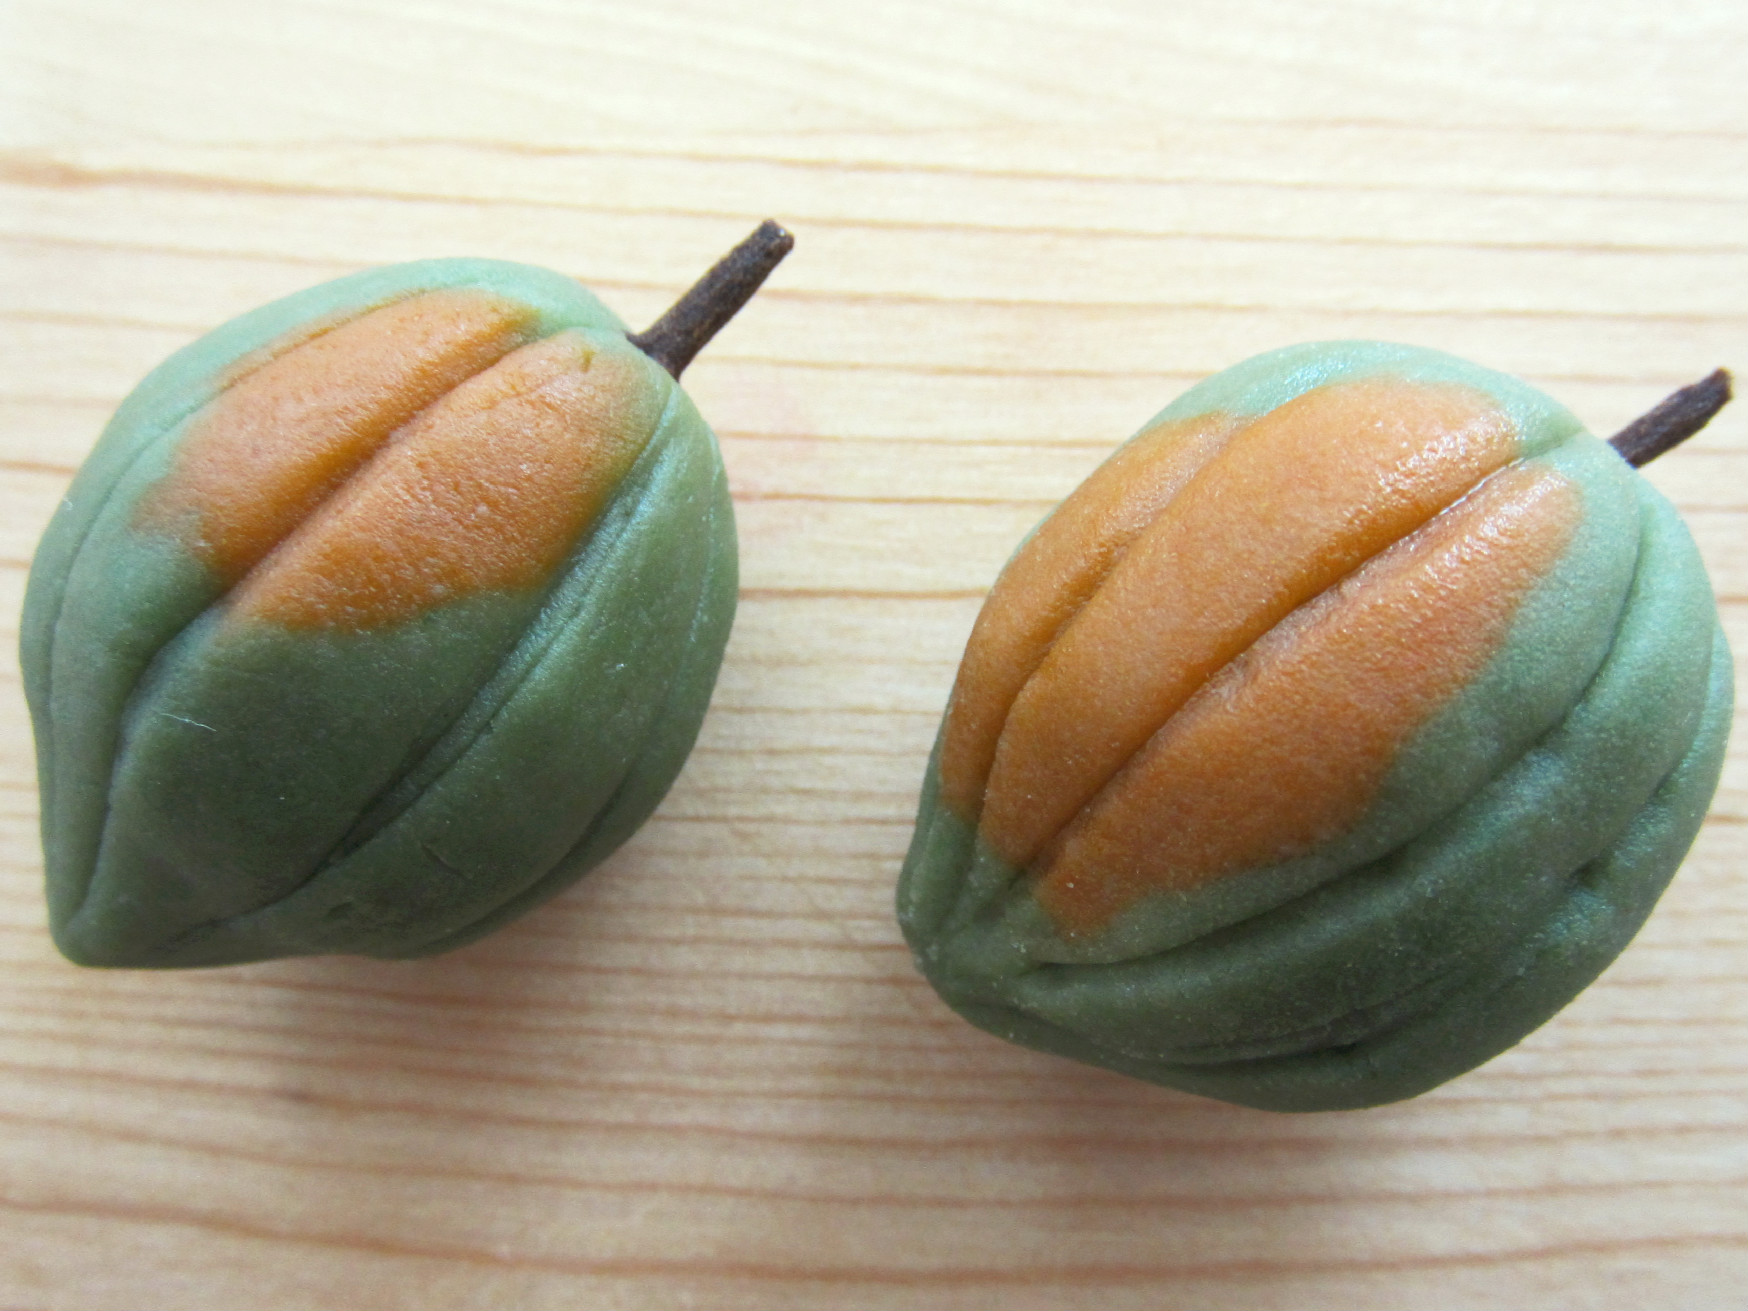
Acorn Squash: Roll the colored marzipan into a ball. (If you want to add a splash of contrasting color, such as orange or yellow, incorporate a small piece into the ball as you are rolling it.)
Using your thumb and forefinger, pinch the bottom to form a dull point. Using a lightly oiled knife, score a line completely around the figure. Repeat this step 3 more times.
Indent the top of the scored squash gently with your finger. Using a cone-shaped sculpting tool (or a toothpick), make a small hole in the top of the figure to insert the clove 'stem'.
An acorn squash lies on it's side. To prevent the figure from rolling, gently apply some pressure on one side to flatten it.
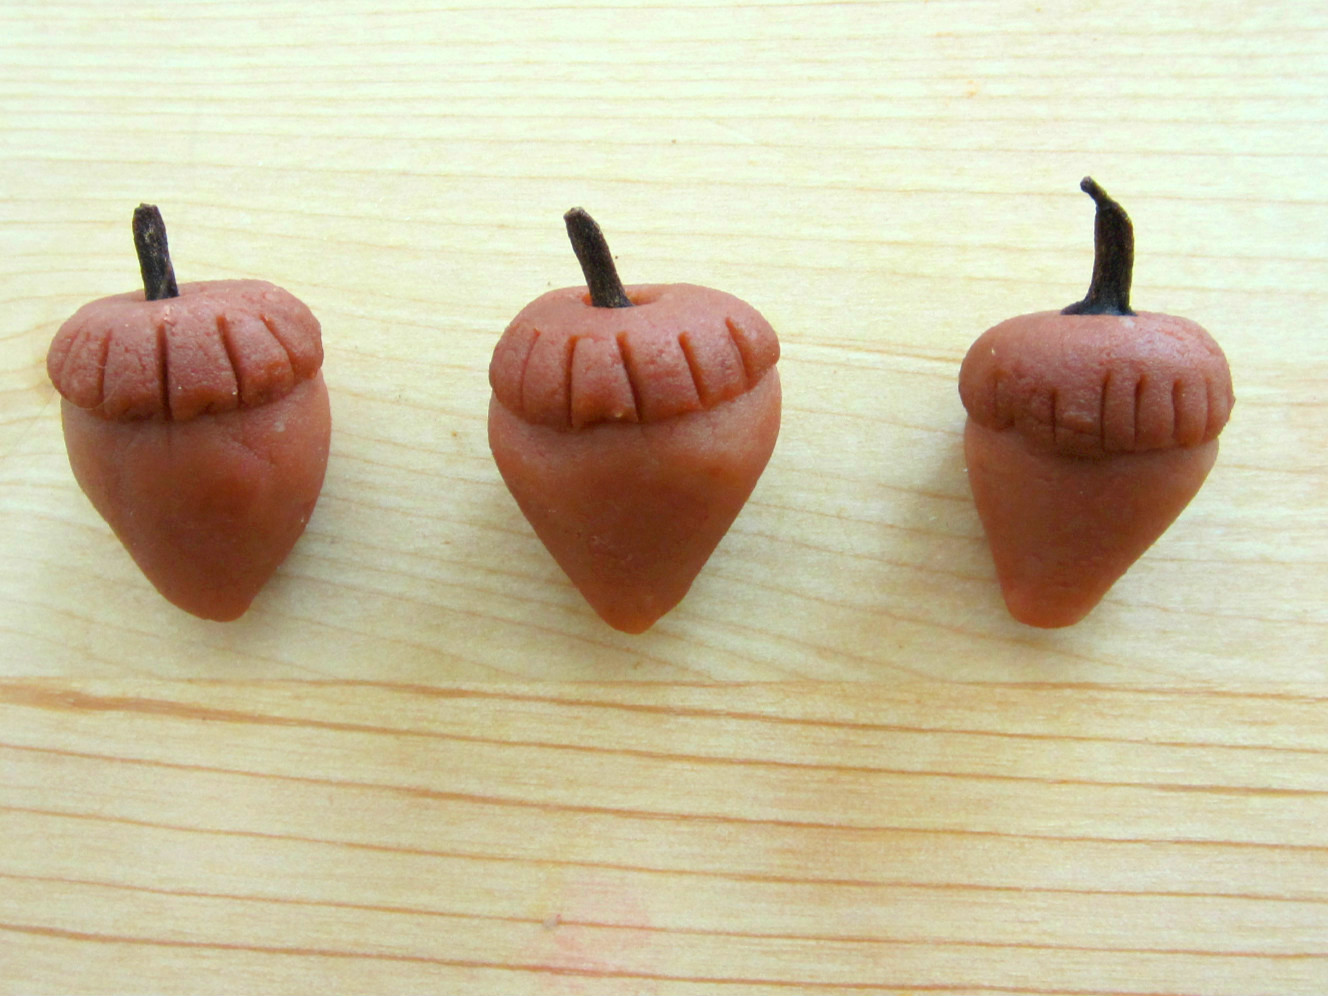
Acorn: Roll the colored marzipan into a ball. Using your thumb and forefinger, pinch the bottom to form a dull point.
To form the "cap", roll a piece of marzipan (in a contrasting color) out between two sheets of wax paper. Using a punch cutter (or a lightly oiled knife) cut out a small round. Place the round on top of the "acorn", pressing it gently in place. Crimp the edges with a sculpting tool or the tines of a lightly oiled fork.
Indent the top of the acorn gently with your finger. Using a cone-shaped sculpting tool (or a toothpick), make a small hole in the top of the figure to insert the clove 'stem'.
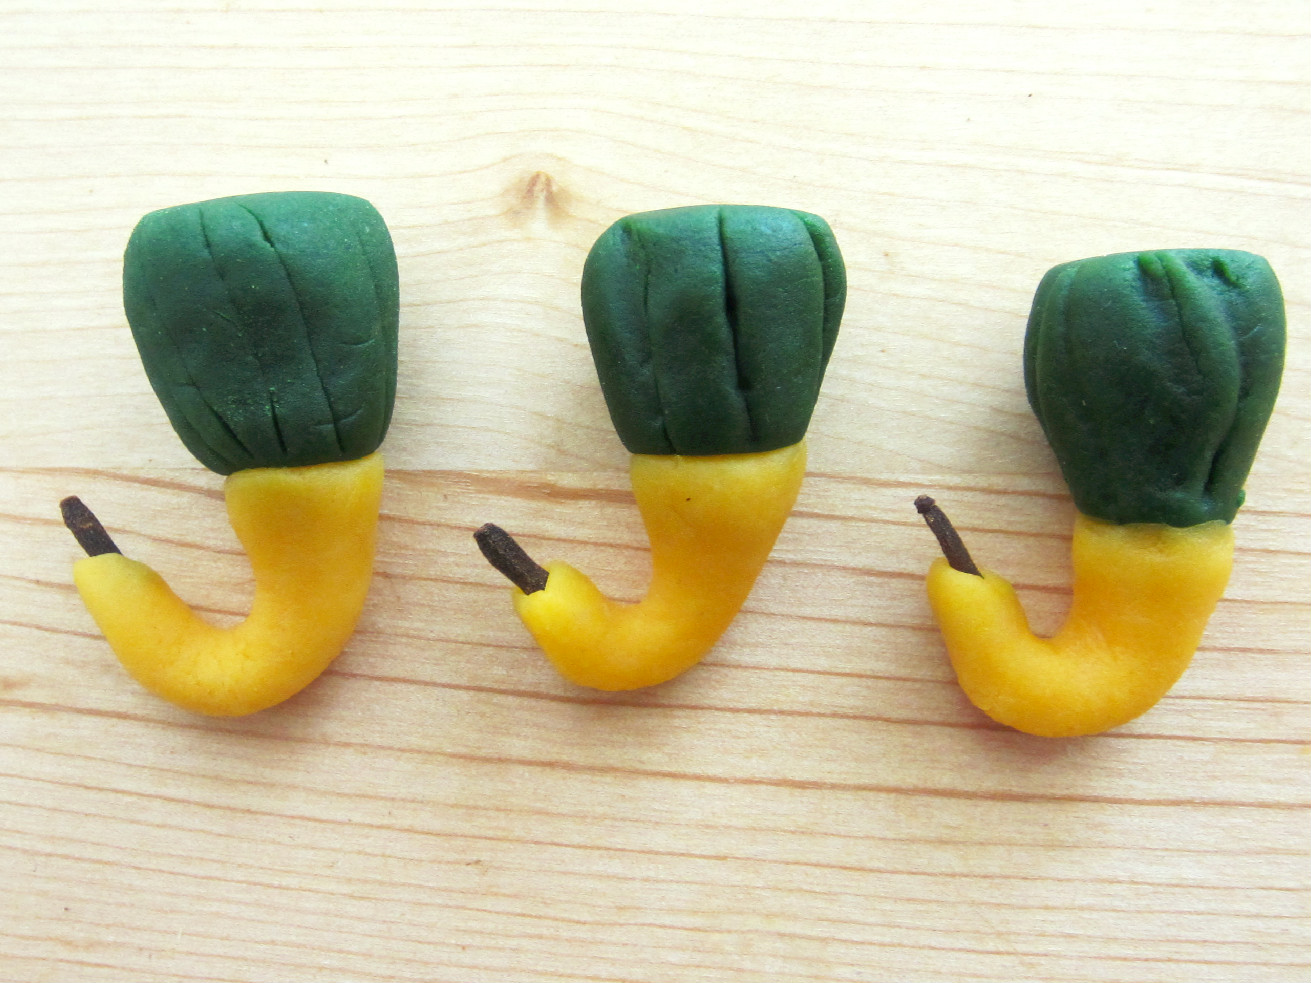
Spoon Gourd: With the palms of your hand, roll out a blunt ended cylinder with the palms of your hand to form the neck. With a lightly oiled knife, cut a flat end; this end will attach to the base.
With a contrasting color (such as dark green), roll out a ball approximately 3 times the diameter of the cylinder. Using a a lightly oiled knife, score a line completely around the figure. Repeat this step 3 more times.
Attach the cut end of the cylinder to the ball, where the score lines intersect. Apply light pressure to adhere the two pieces.
Gently bend the neck to form a goose-neck shape (see above). Place a clove into the top of the "gourd" to finish. (This step takes some patience, depending how thin you make the neck. I would recommend removing the ball end of the clove to facilitate the process.)

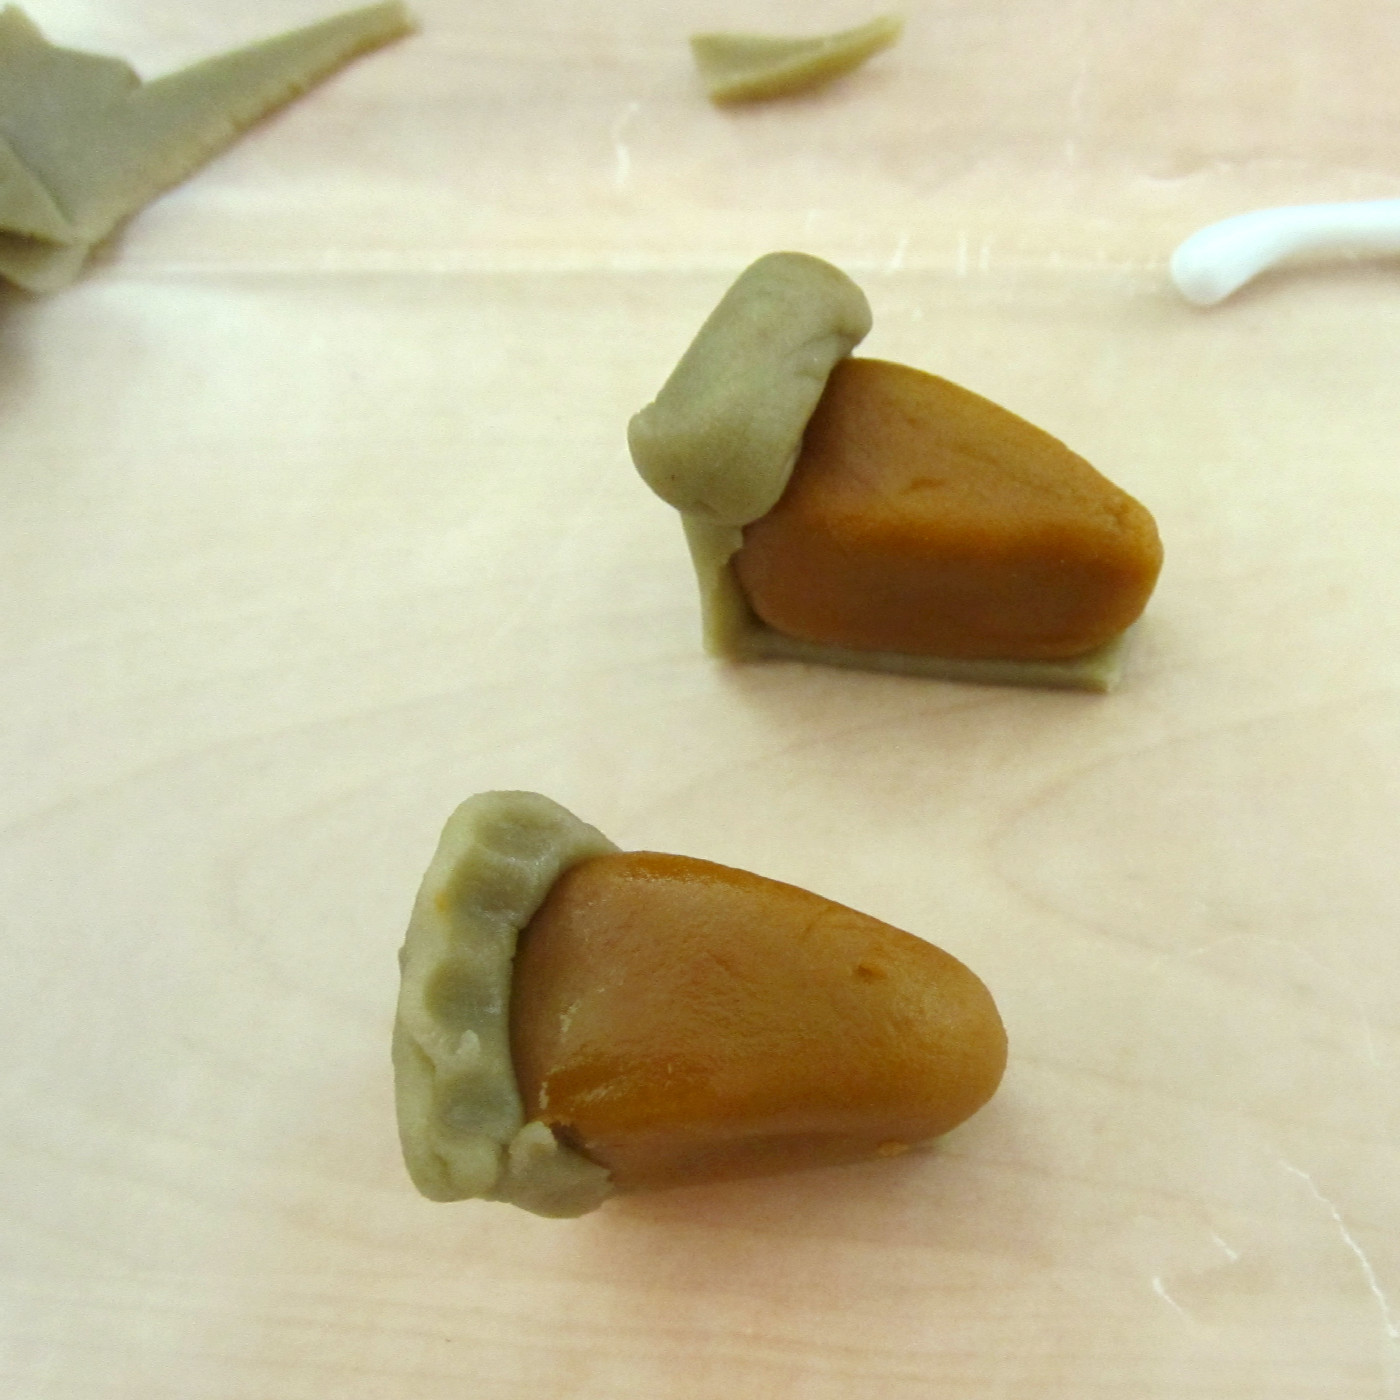
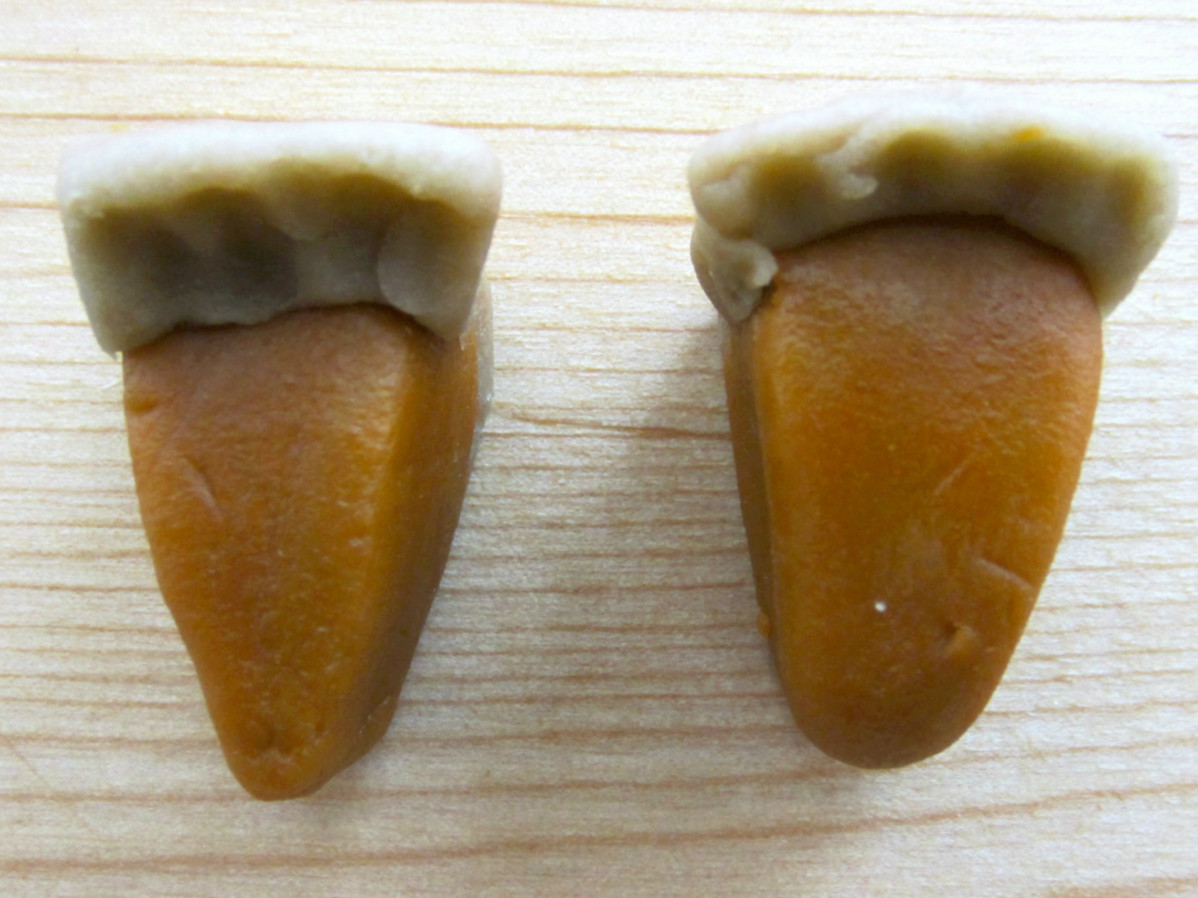
Slice of Pumpkin Pie: Roll (pumpkin hued) marzipan into a ball. With the palms of your hand, roll the ball into a short cylinder. Using your thumb and fore finger, pinch one end to form a V shape (i.e. a slice of pie). Use a a lightly oiled metal spatula to flatten the sides and back of the "slice".
Roll a piece of marzipan (in a contrasting color) between two pieces of wax paper. Place the pumpkin "slice" on top of the rolled marzipan. Using a lightly oiled knife, trim the sides of the "crust" (using the pie slice as a guide), extending the cut out to form the back of the crust and the top crust. The flap should be as long as the pie slice. (See picture to the left)
Gently press the flap onto the back of the "slice", rolling the excess to form the top crust. Using a lightly oiled sculpting tool, crimp the top crust. (See picture to the right)
Idea adapted from Cake Central
Source Guide
New York Cake and Baking Shop
56 W 22nd St (between Fifth and Sixth) * 212-675-2253 * www.nycake.com
Michaels Stores
Wilton
Odense Marzipan

 Michelle
Reader Comments (1)
What a comprehensive guide! Thank you for dropping me a note on twitter to tell me about your experience. The Odense marzipan can be pricy ranging from $4.99 to $8.99. I'm going to give the IKEA marzipan a try and see how well they work. I have a carrot cake that I want to decorate with little marzipan carrots. Your tips and tricks will come in handy.
Another thing I remember learning in school is to dust work surface with icing sugar to prevent sticking.