


« Building a better Tiramisu »
I never understood the appeal of tiramisu, until I tasted the 'real deal' while on vacation in Rome. Light, rich and boozy, the Roman version put other sad and soggy attempts to shame. But truth be told, it is really not necessary to go to Italy for decent tiramisu. All you need is a good recipe and some tips to avoid the inherent pitfalls which come with making it.
Let me start by saying, I made a lot of tiramisu this summer. The first go-around was at culinary school in Abruzzo, Italy. Later versions were made for family and friends on Eastern Long Island. And with each consecutive go-around, I tweaked my recipe until I was completely satisfied with the results.
Most tiramisu recipes call for the same ingredients: namely, egg yokes, sugar, mascarpone cheese, heavy cream, espresso, liqueur and lady finger cookies. However, many recipes differ in the ratio of these ingredients and this can definitely impact on how the tiramisu turns out.
Dino Paganelli, one of our culinary instructors and the executive chef at Palazzo Tour D'Eau, uses 3 egg yokes, 1 whole egg and 3 tablespoons of sugar as the base of his tiramisu. He beats the eggs and sugar by hand, and then partially whisks in 250 grams (approximately 8 ounces) of mascarpone cheese. He then whisks in 150 mls of whipped heavy cream, and beats the mixture until well incorporated. To assemble the tiramisu, he alternates the mascarpone cream with espresso-soaked lady fingers.
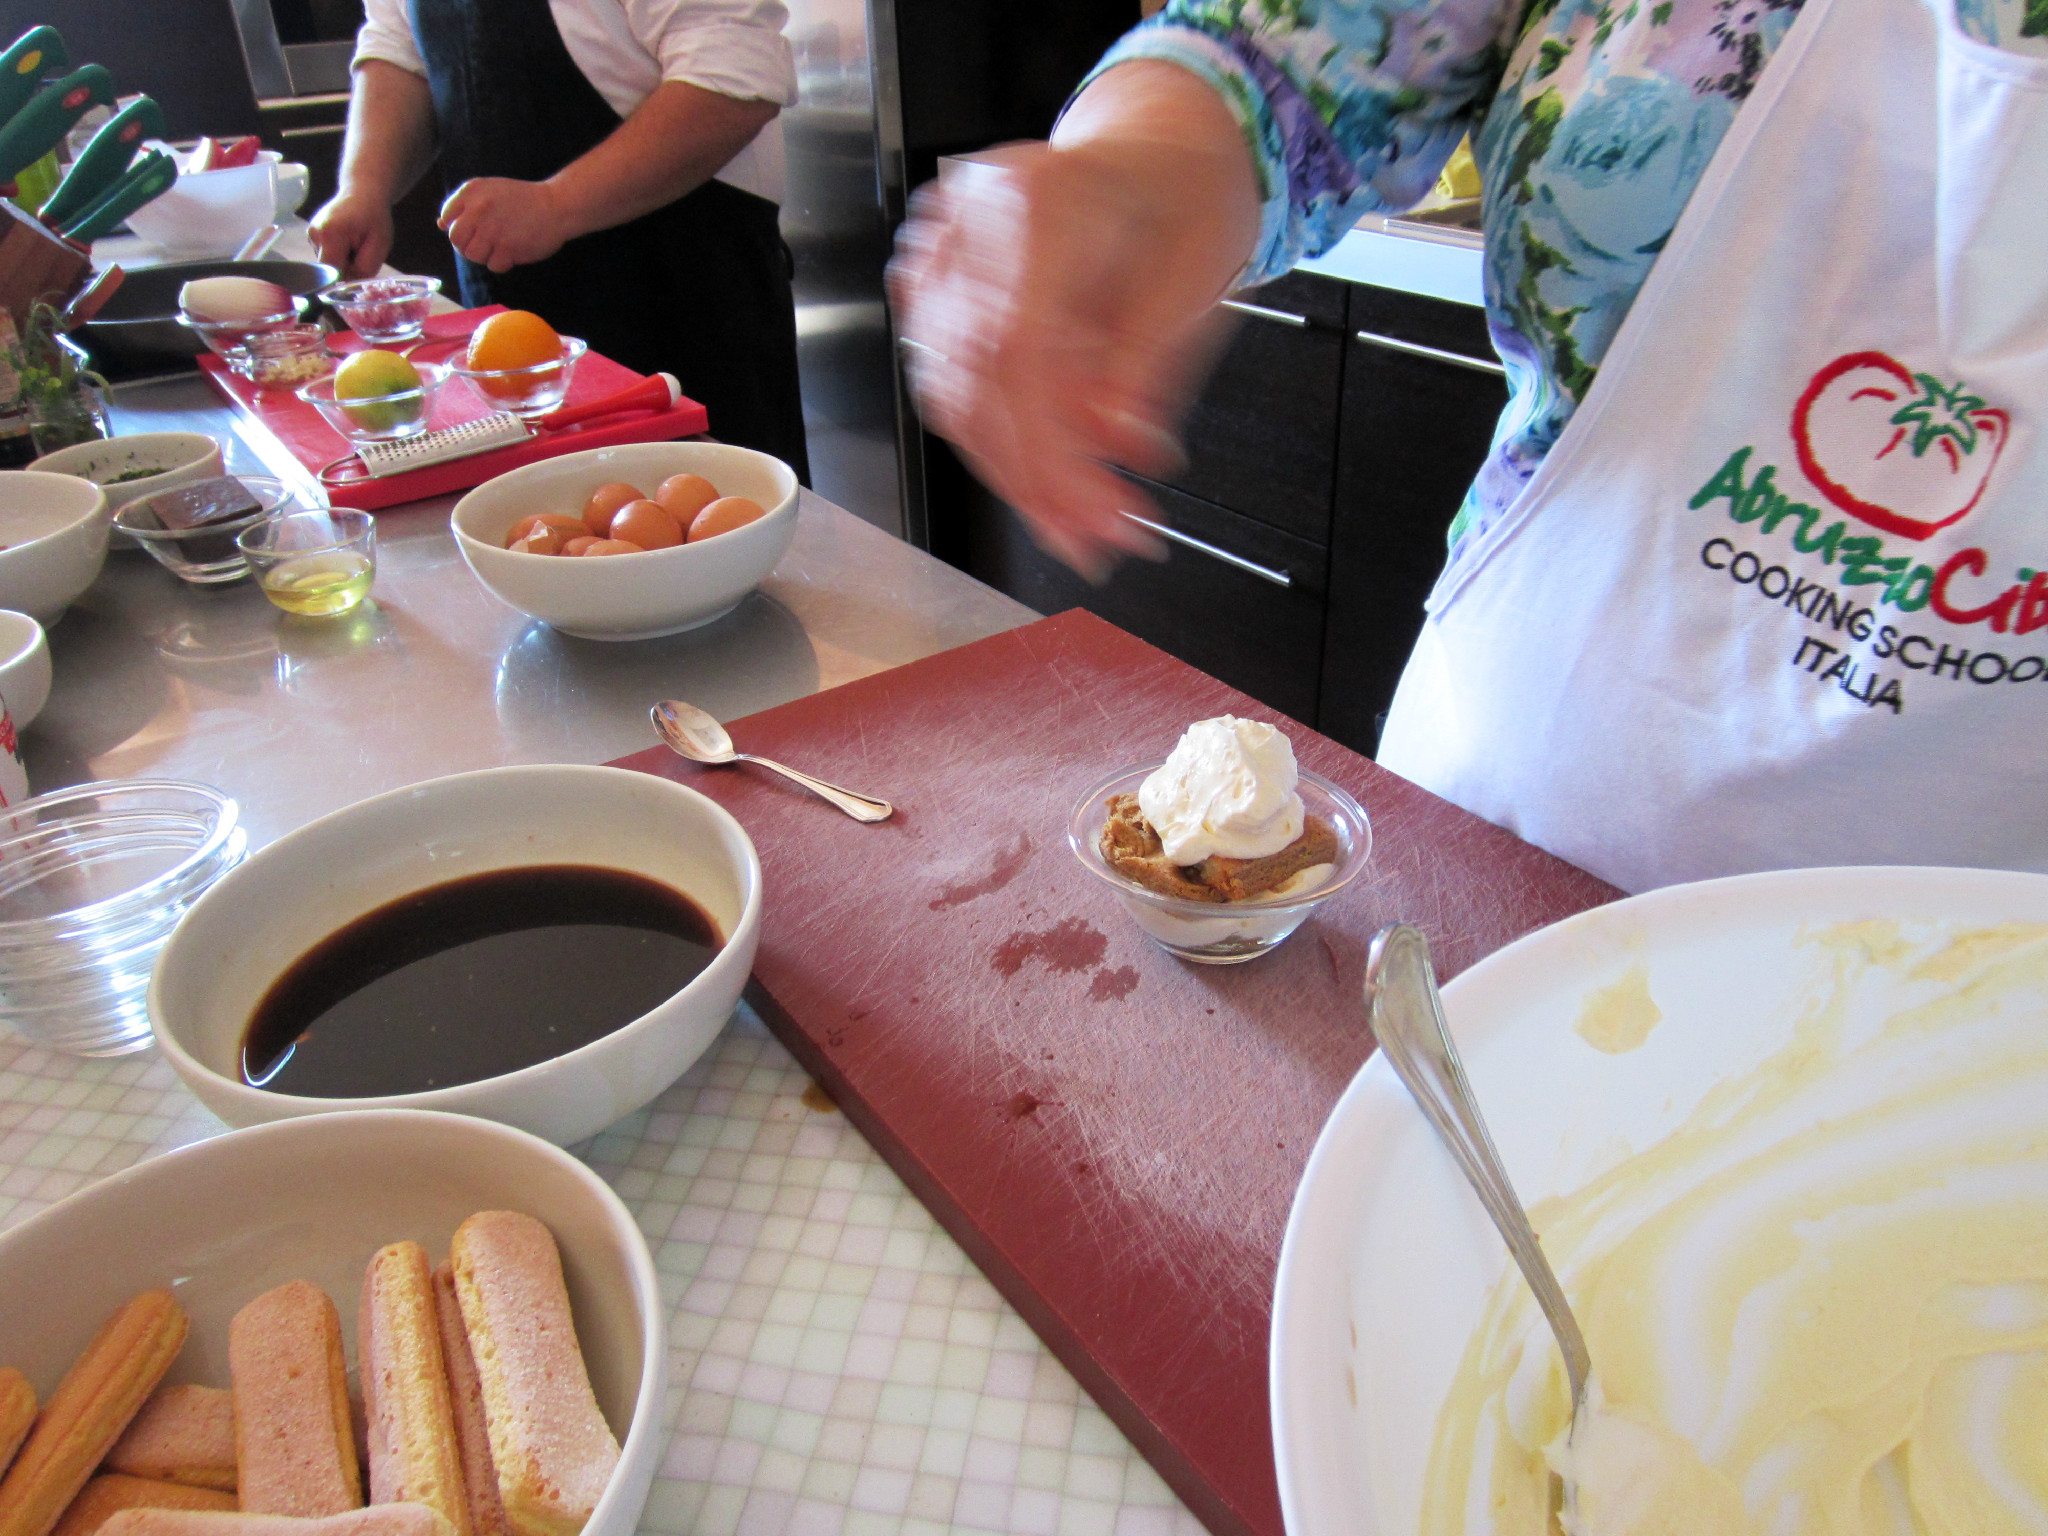
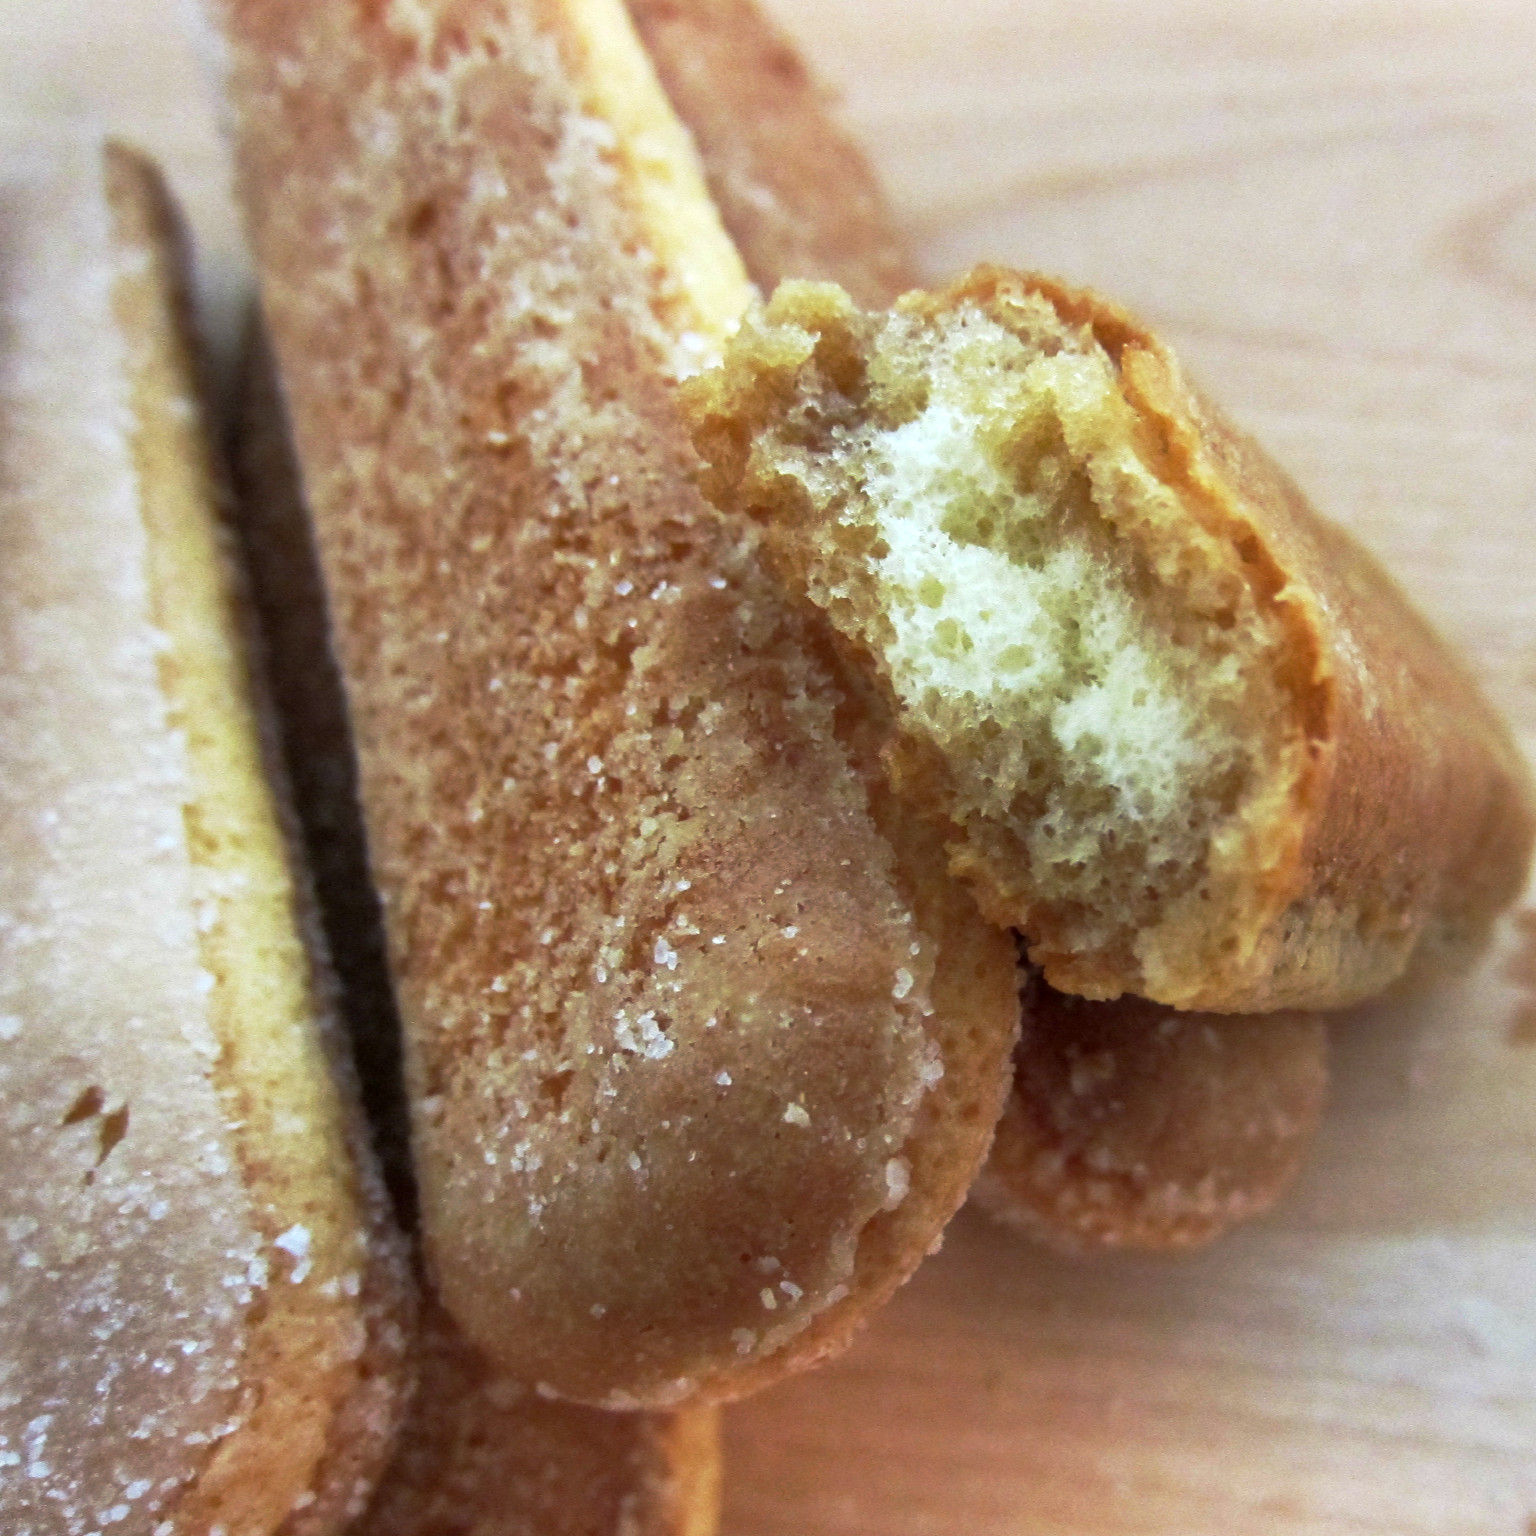
Italian Lady Fingers (savoiardi), pictured above, are very different than the sponge cake lady fingers we commonly see in the states. Savoiardi are crisp, with just a touch of sweetness. They generally hold up better after a brief soaking in espresso. But don't be fooled; if they linger in the espresso too long, they will quickly became soggy and disintegrate.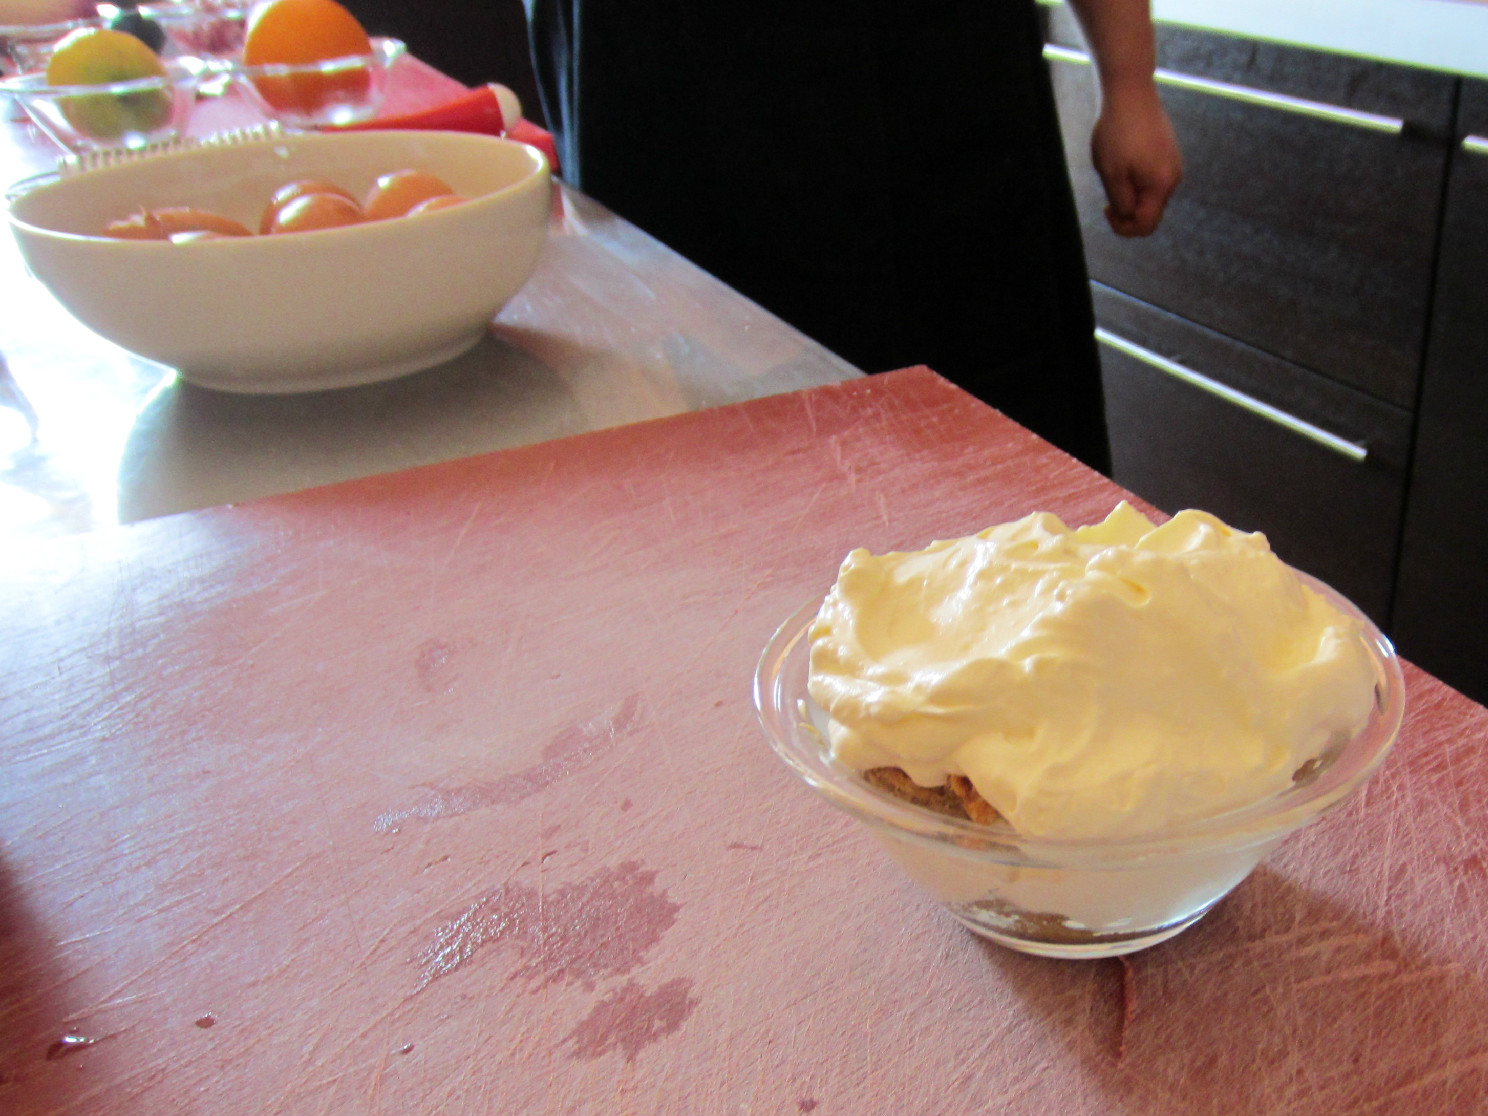
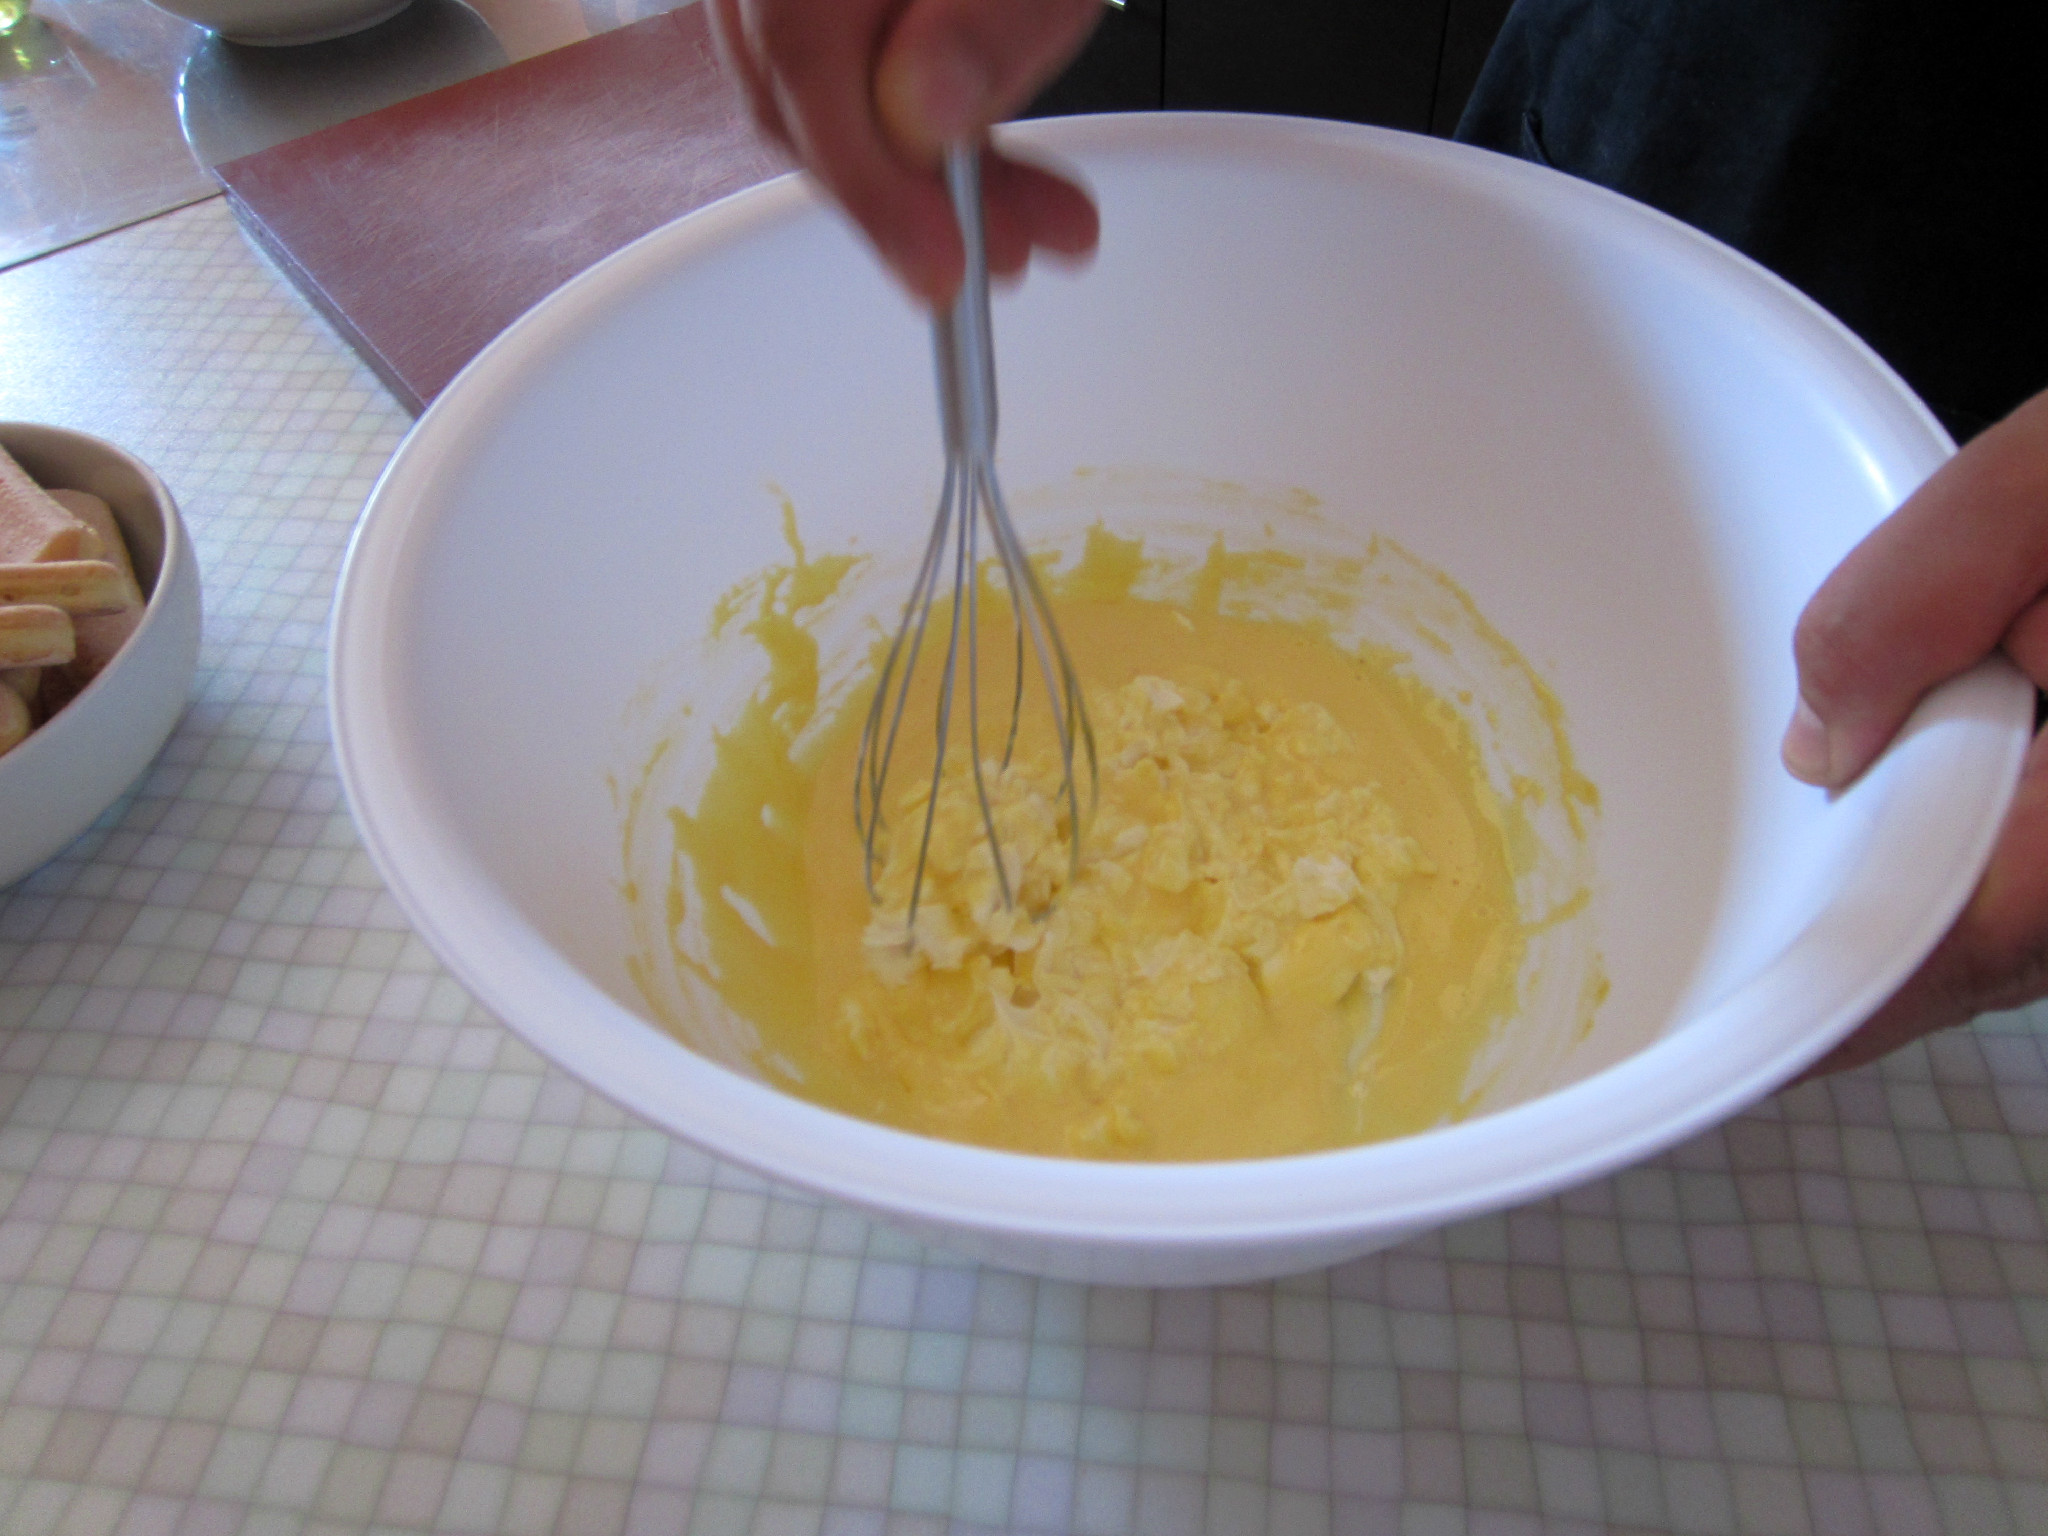
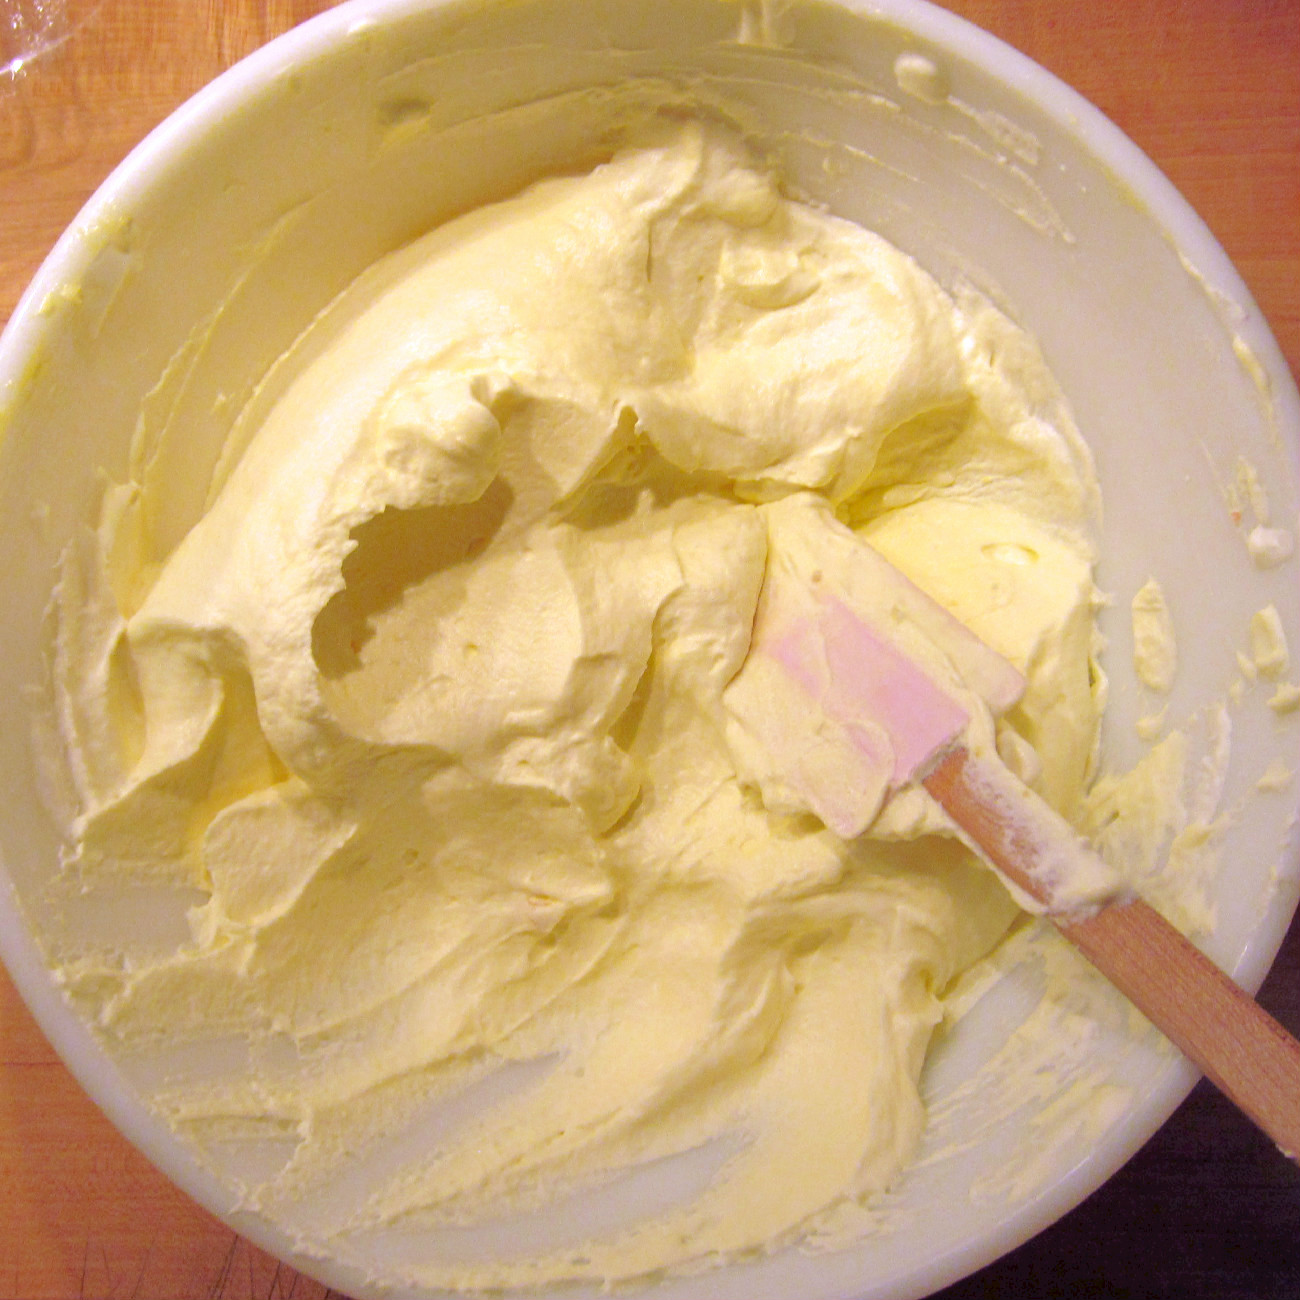
My initial attempt to replicate this recipe at home was OK, but not exceptional. My mascarpone cream did not have the lightness and volume I was hoping for. The second time around, I omitted the whole egg and increased the amount of sugar and cream. Equally as important, I used an electric mixer to beat the egg yolks and sugar (and later the cream), which gave the mascarpone cream more volume.
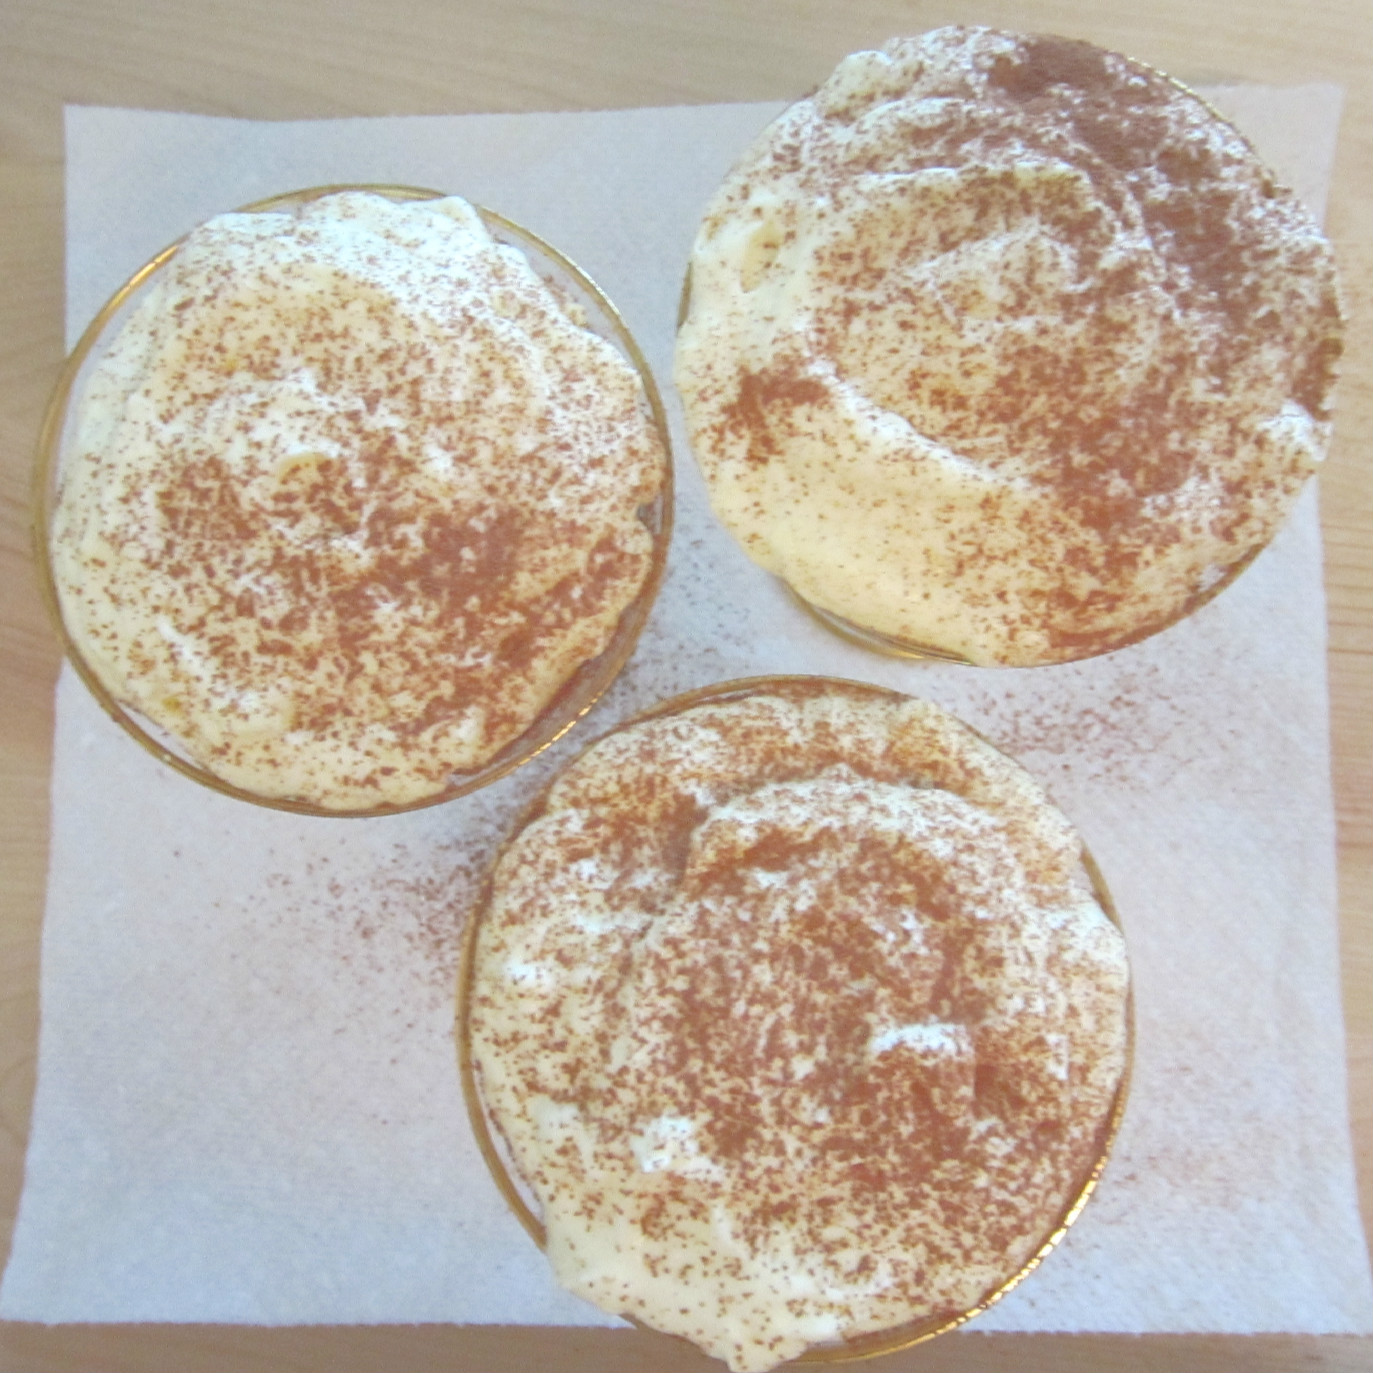
These changes did the trick. As you can see below, the mascarpone cream was just luscious.
I have made this recipe with both spongy lady fingers and savoiardi. The latter is more authentic, but much harder to find. If you use American lady fingers, dip them very quickly on one side only. If you feel that they are too saturated, you can line the perimeter of your dish with dry lady fingers. They will soak up any residual liquid and make for a very pretty presentation.
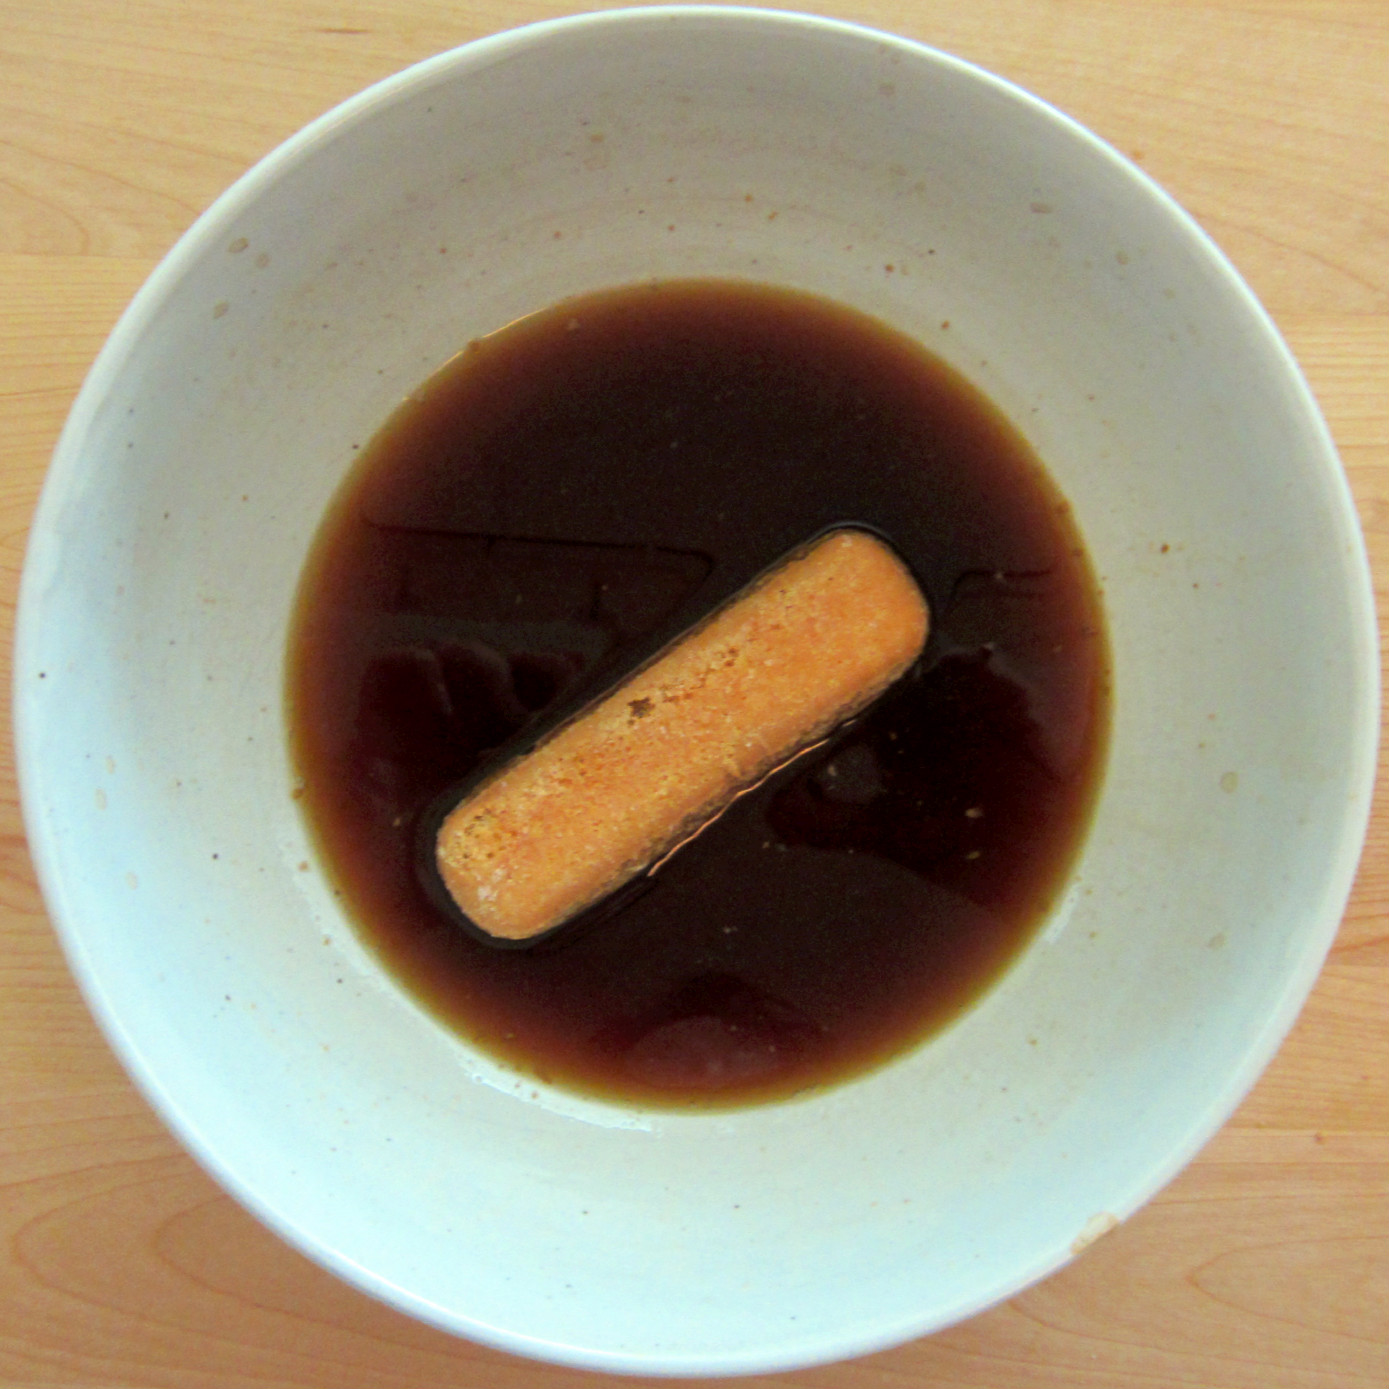
If you are using savoiardi, I would recommend the "drop and roll" method suggested by Cook's Illustrated. Basically, they recommend dropping the lady finger into the espresso and than rolling them over within 2-3 seconds. In this way, the espresso does not completely saturate the cookie (and you avoid soggy tiramisu). Definitely avoid submerging the cookies: otherwise, they will completely disintegrate into mush.
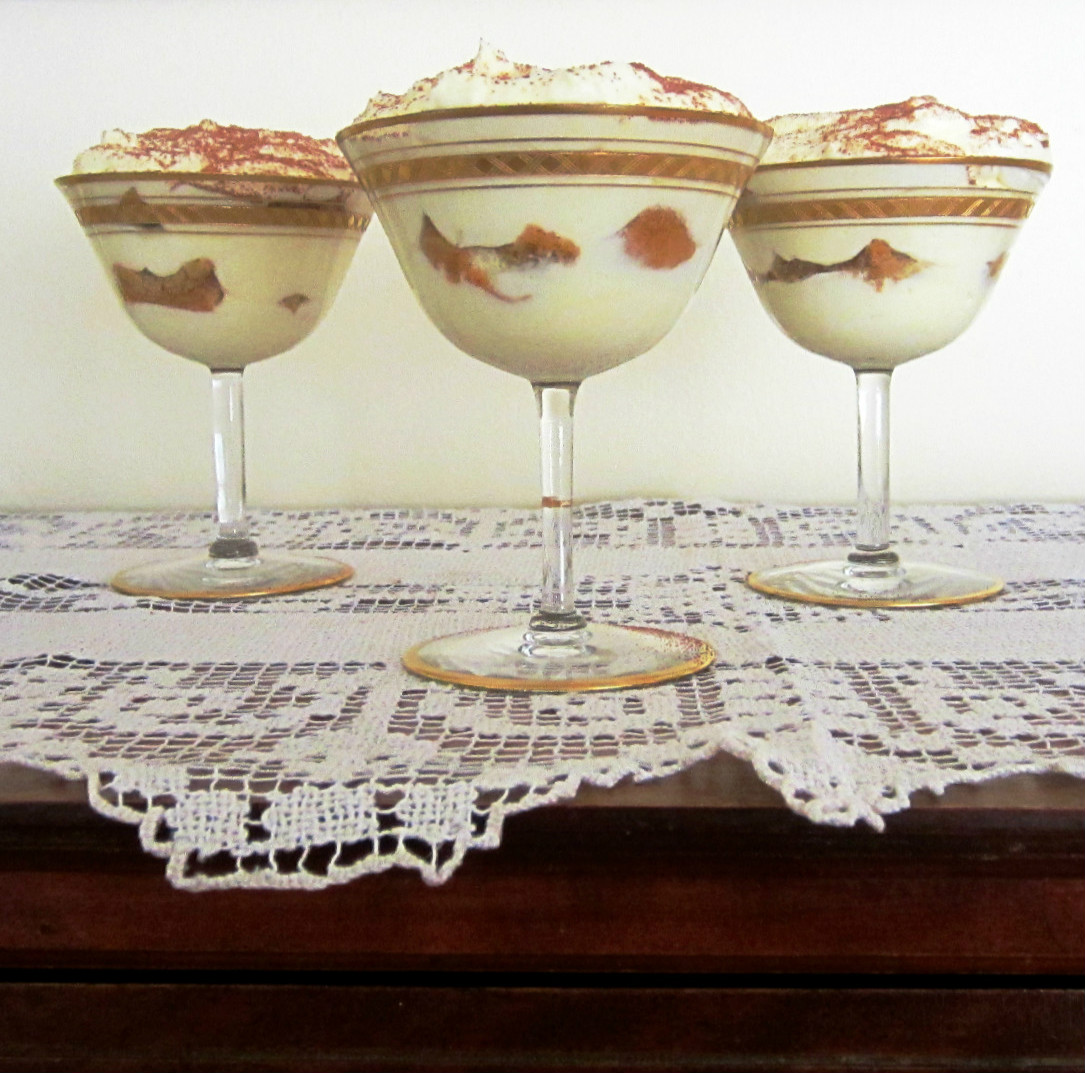
The tiramisu can be assembled in small, individual portions (as pictured above) or in a 9"x 13" baking. Either way, the process is the same:
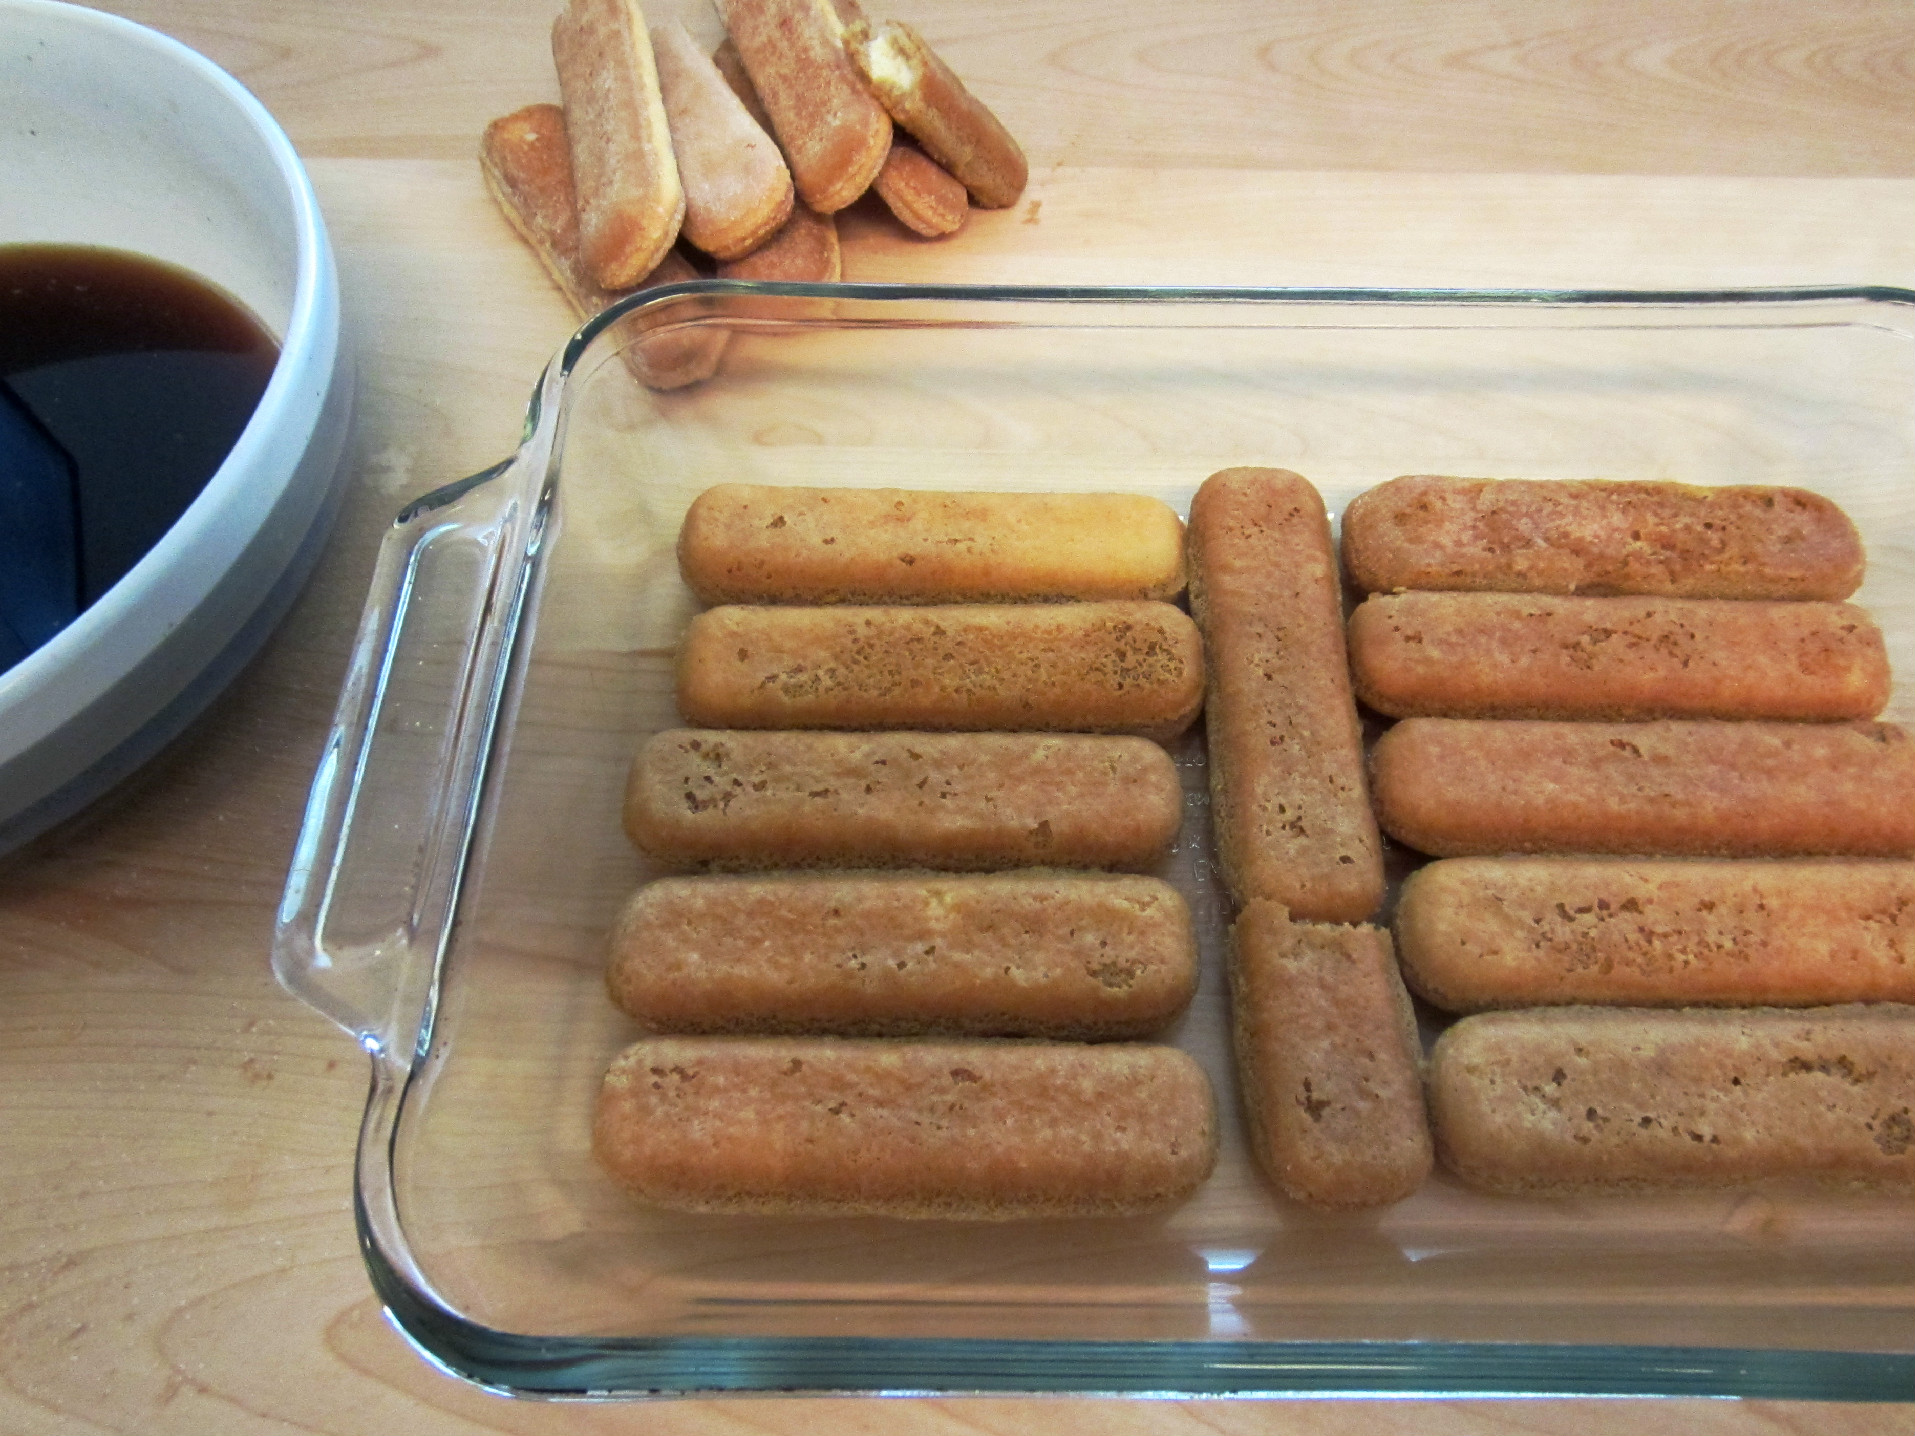
Arrange soaked lady fingers snuggly in the baking dish
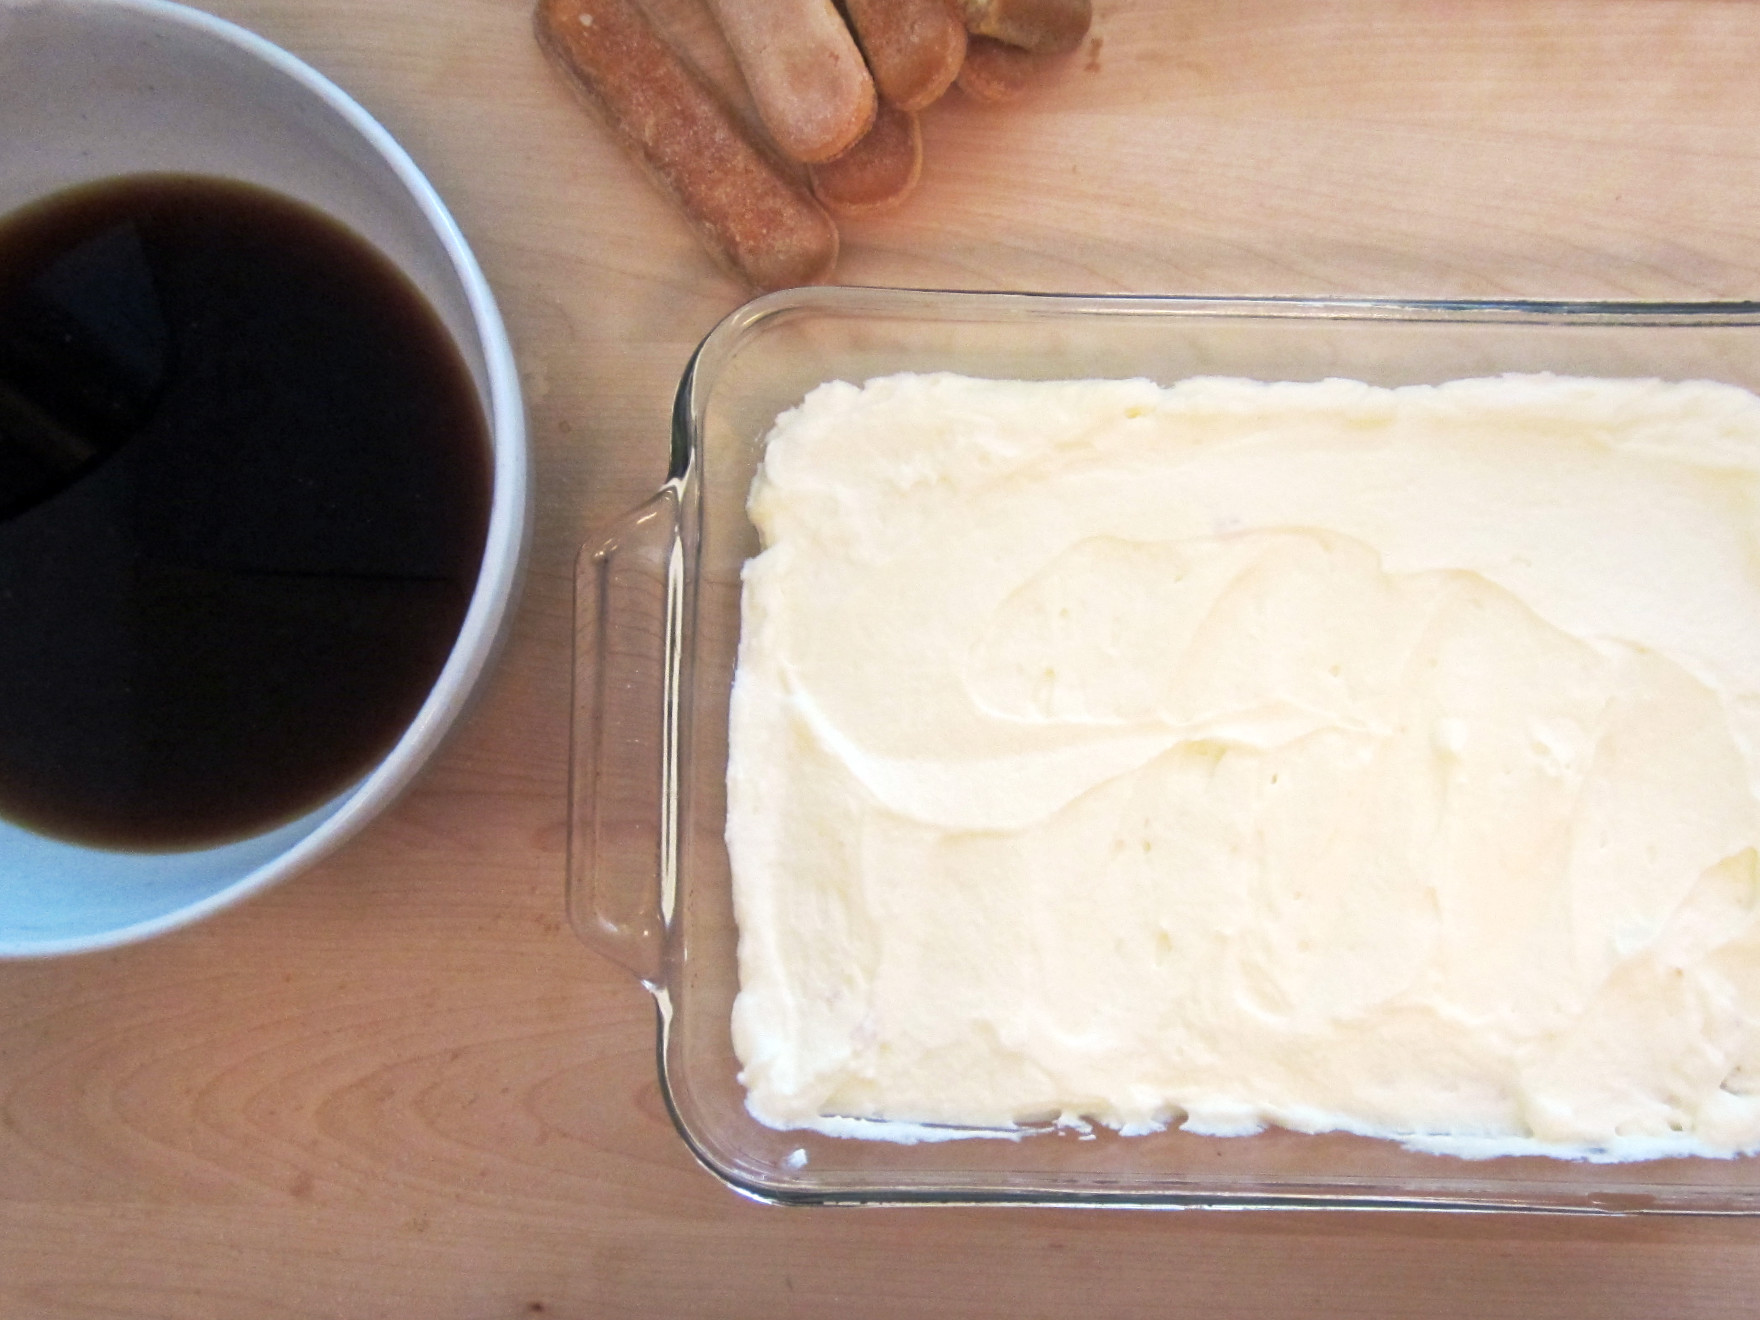
Spread half of the mascarpone mixture over the lady fingers
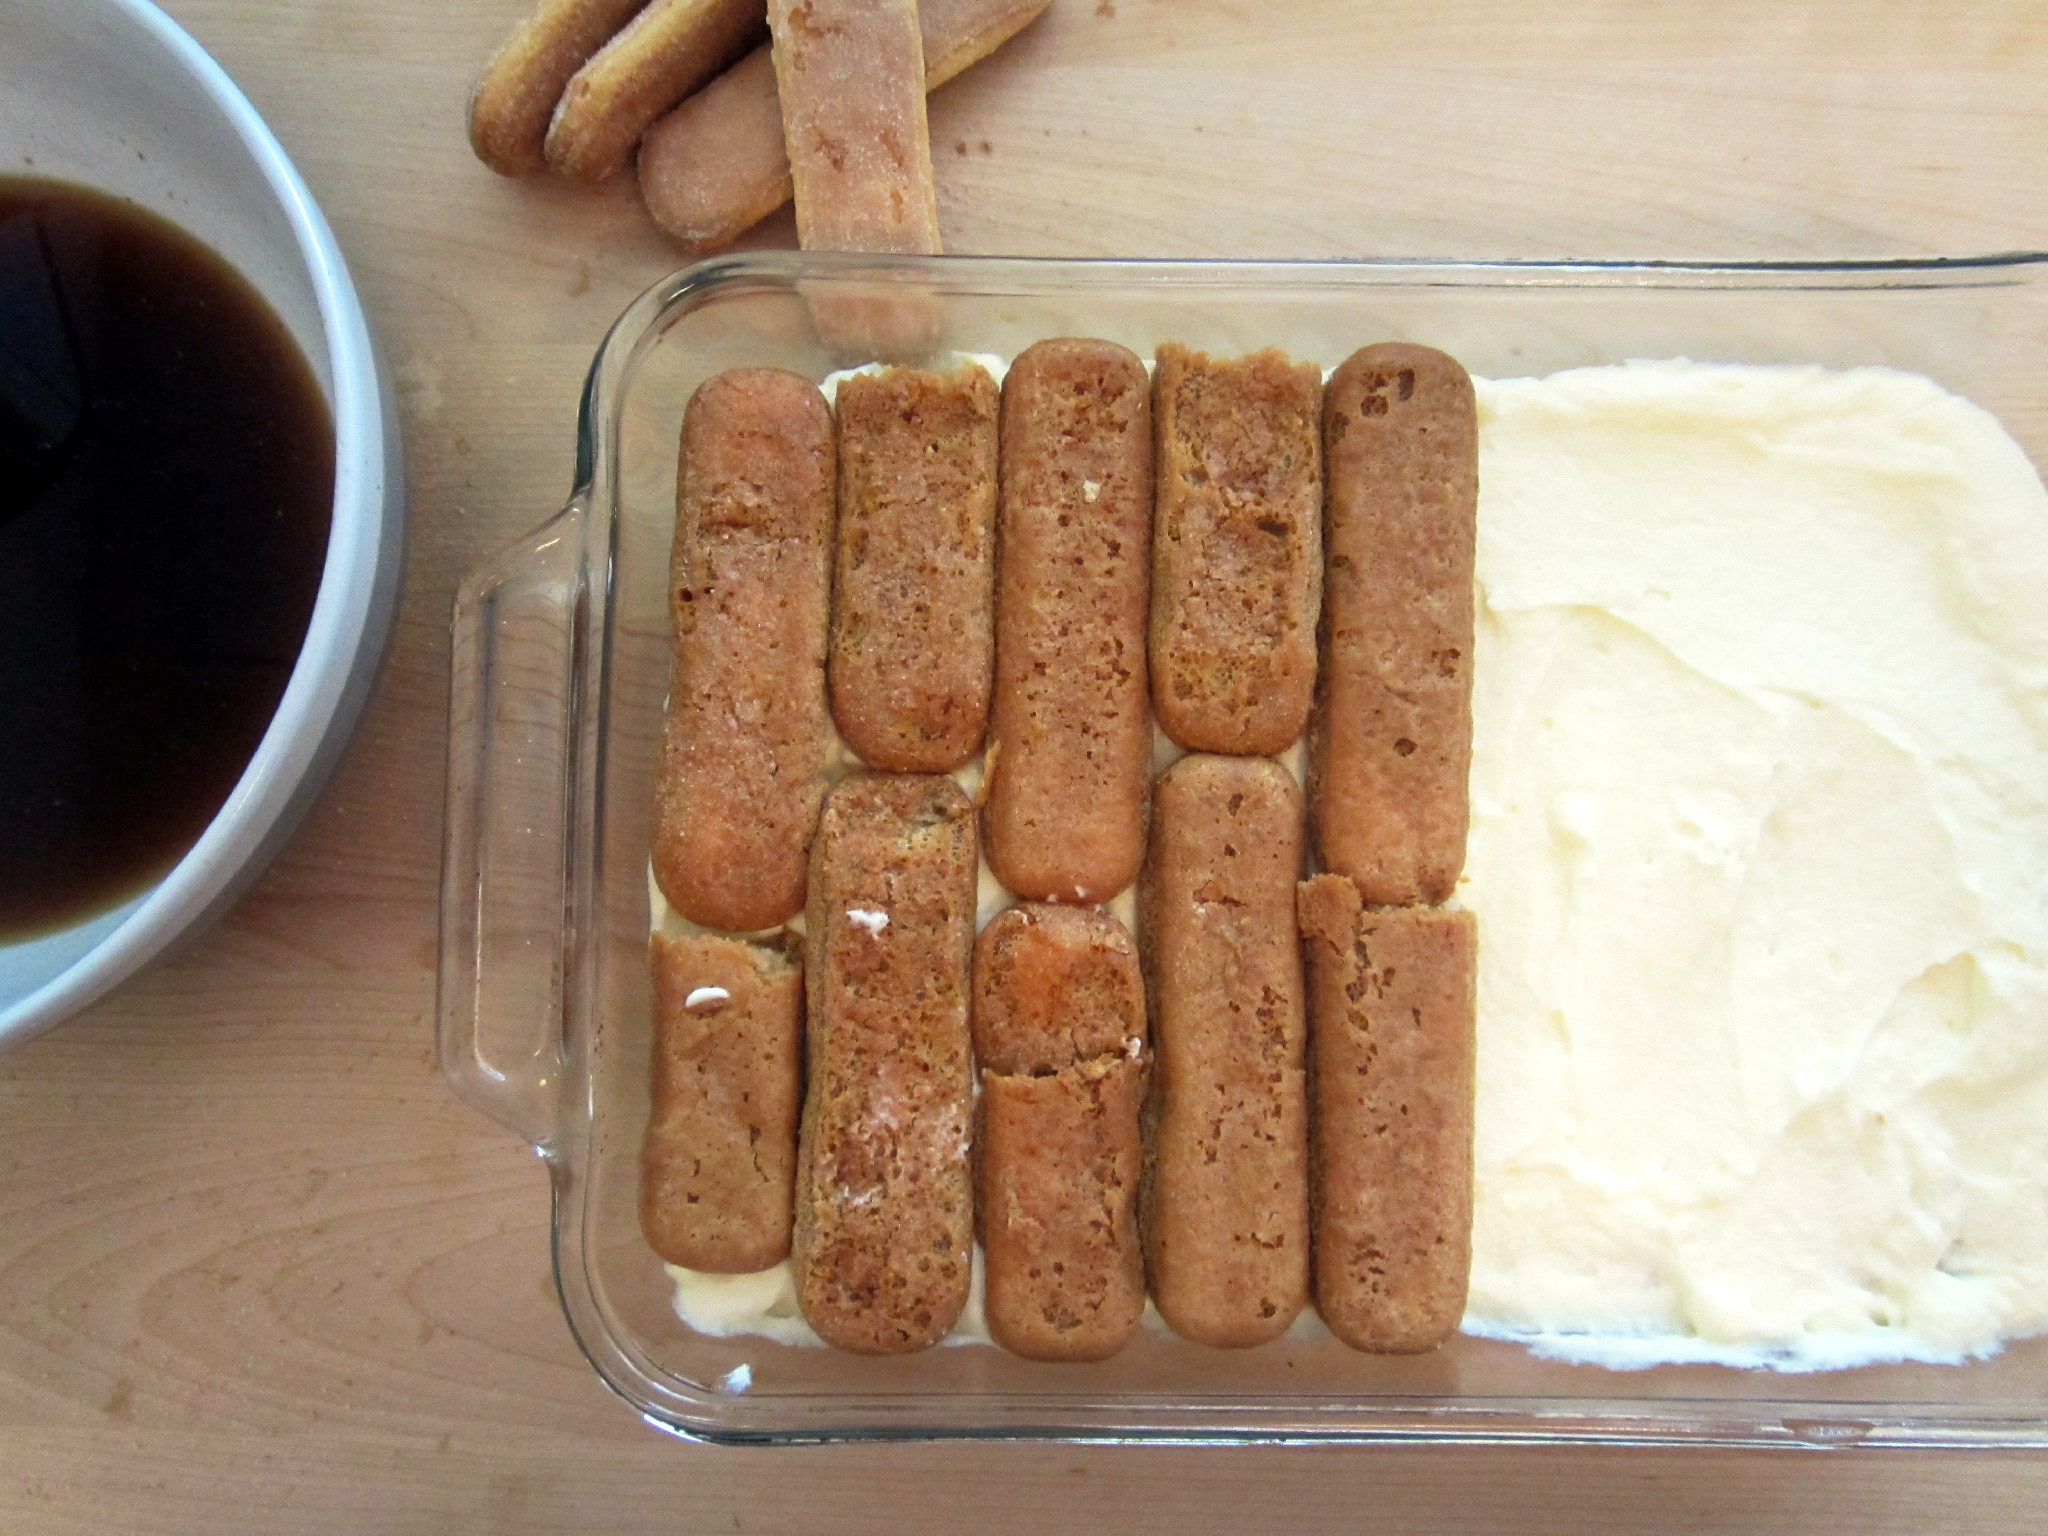 Repeat layering (i.e soaked lady fingers and the remaining mascarpone cream)
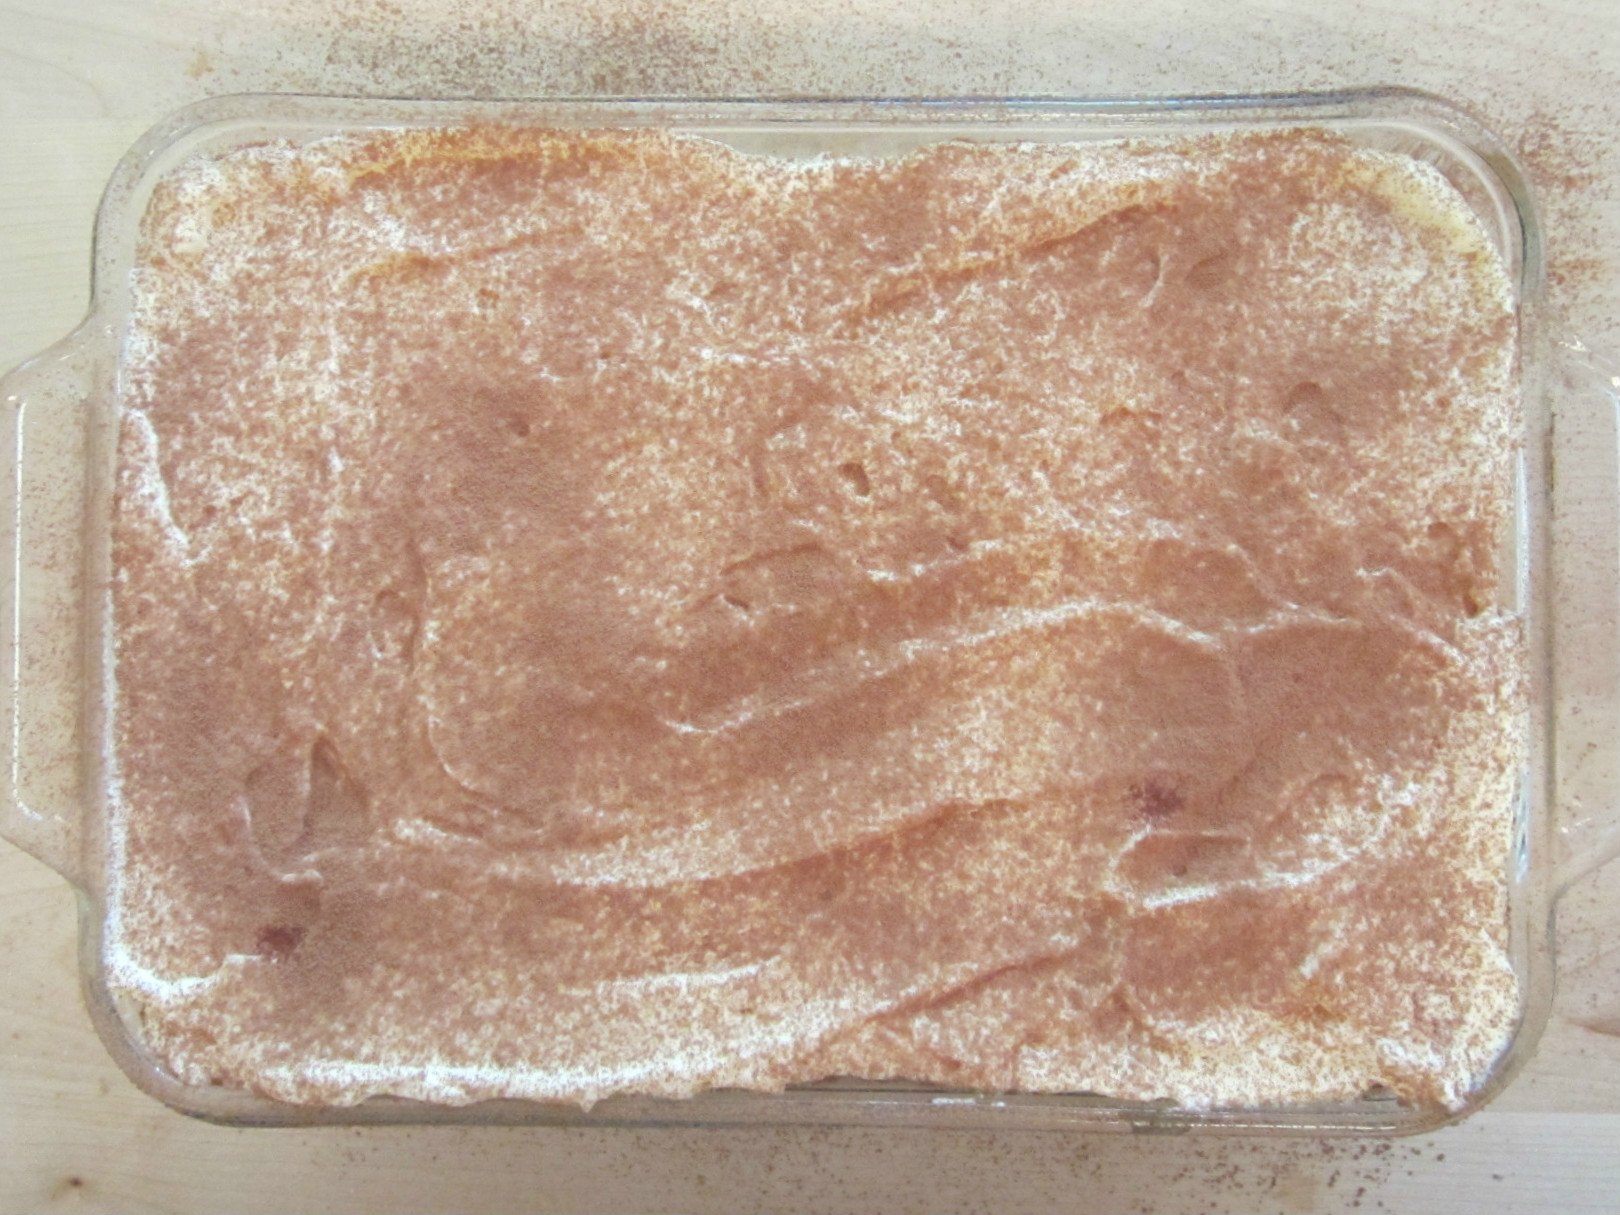
Dust top of tiramisu with cocoa
Tiramisu sets up in the refrigerator, and should be chilled at least 6 hours or overnight. If you make it in the baking pan, I find that scooping out a portion with a serving spoon works the best.
Tiramisu does not store well (the cream breaks down quickly), so only make as much as you need. In any case, I doubt there will be left overs. Everyone raves about this dessert. Enjoy.
The printable recipe is here.

 Michelle
Reader Comments